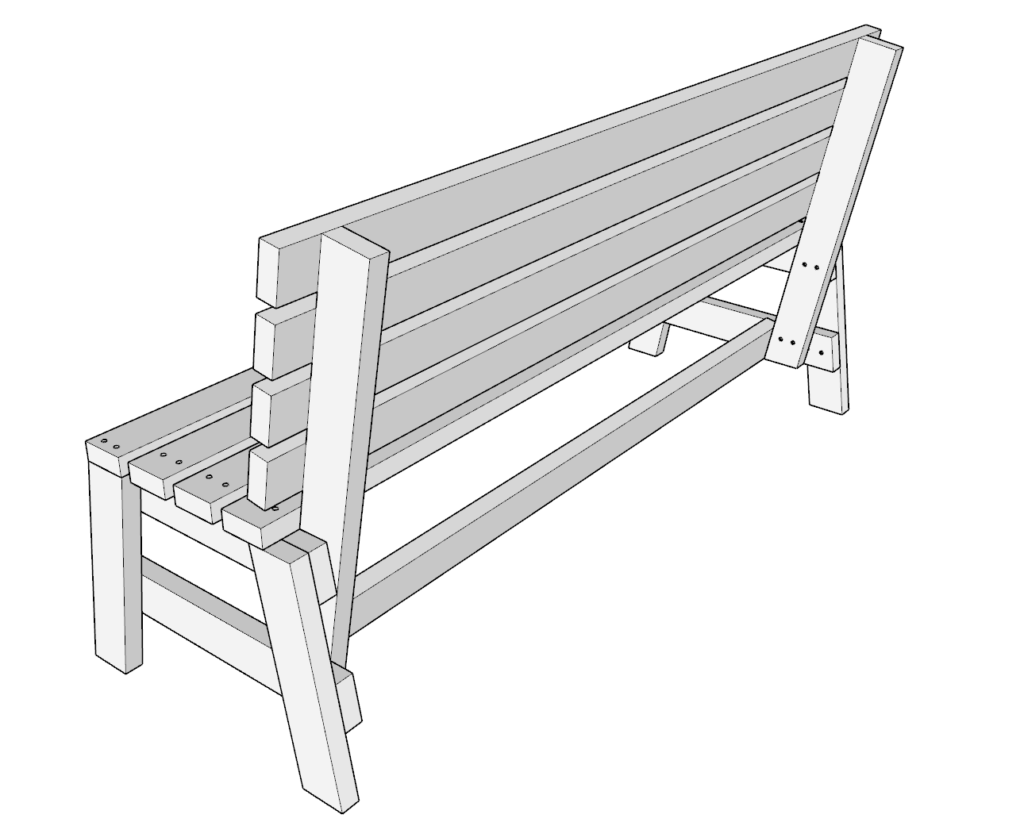
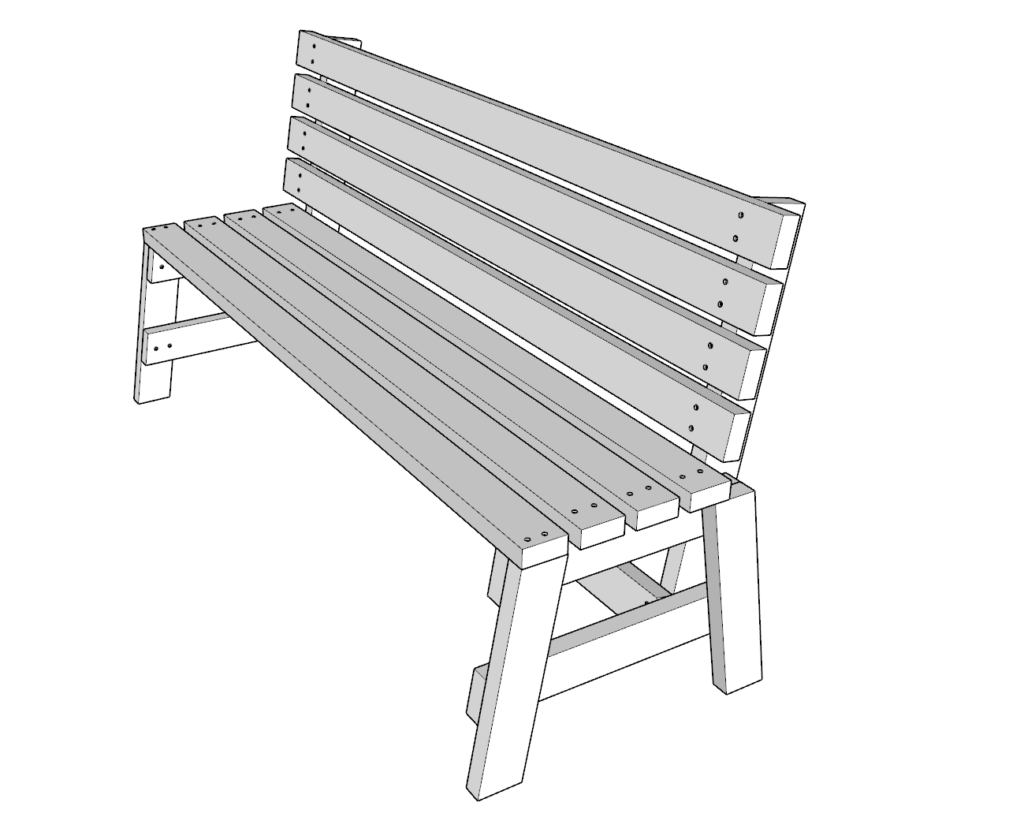
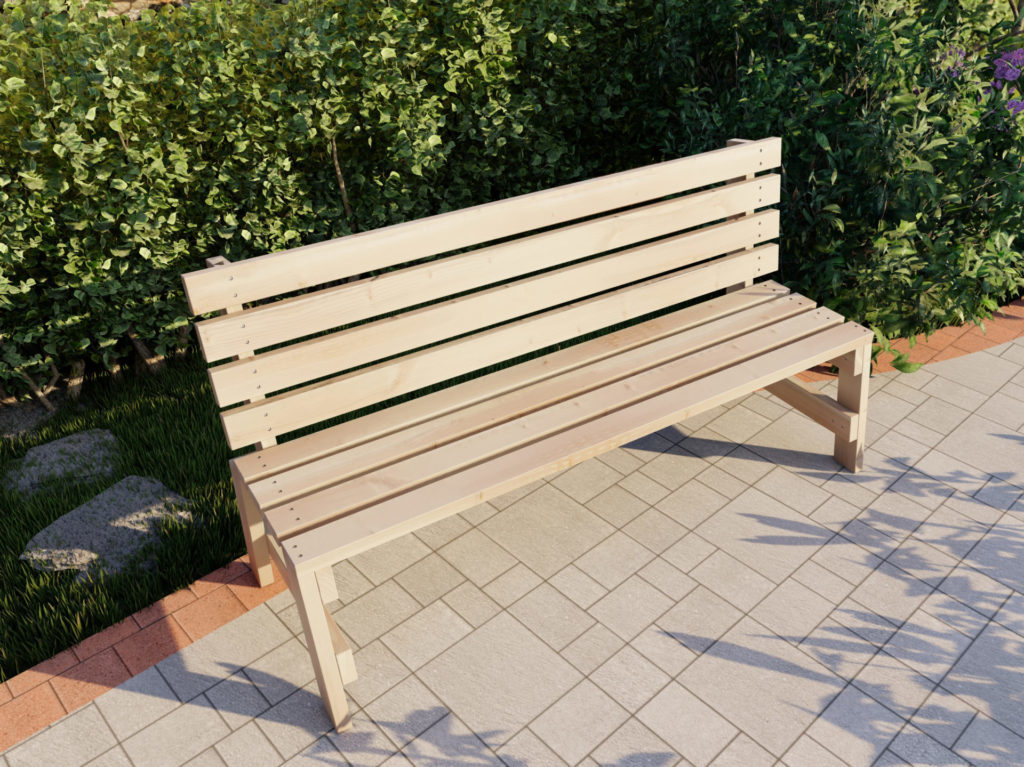
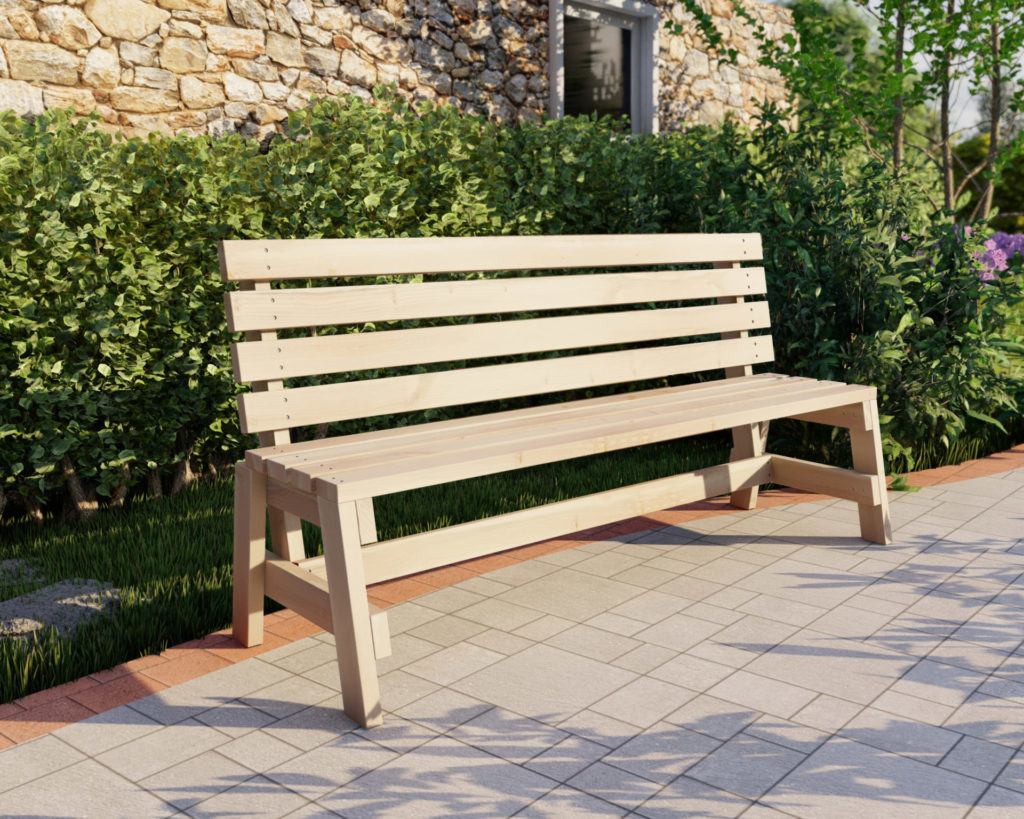
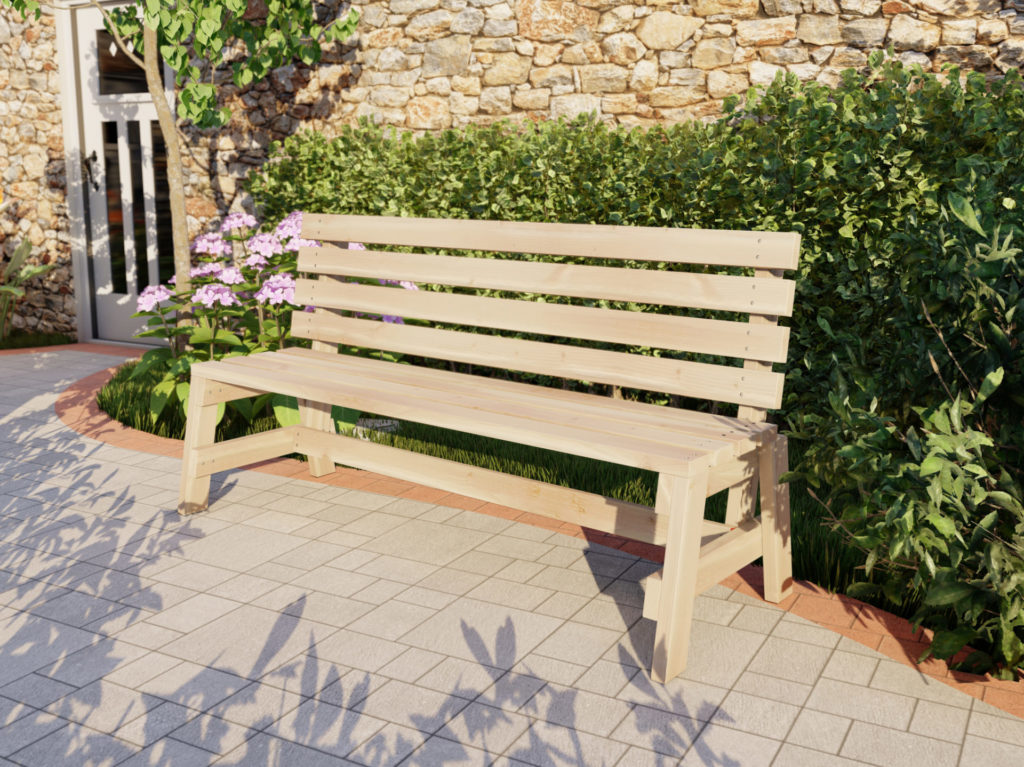
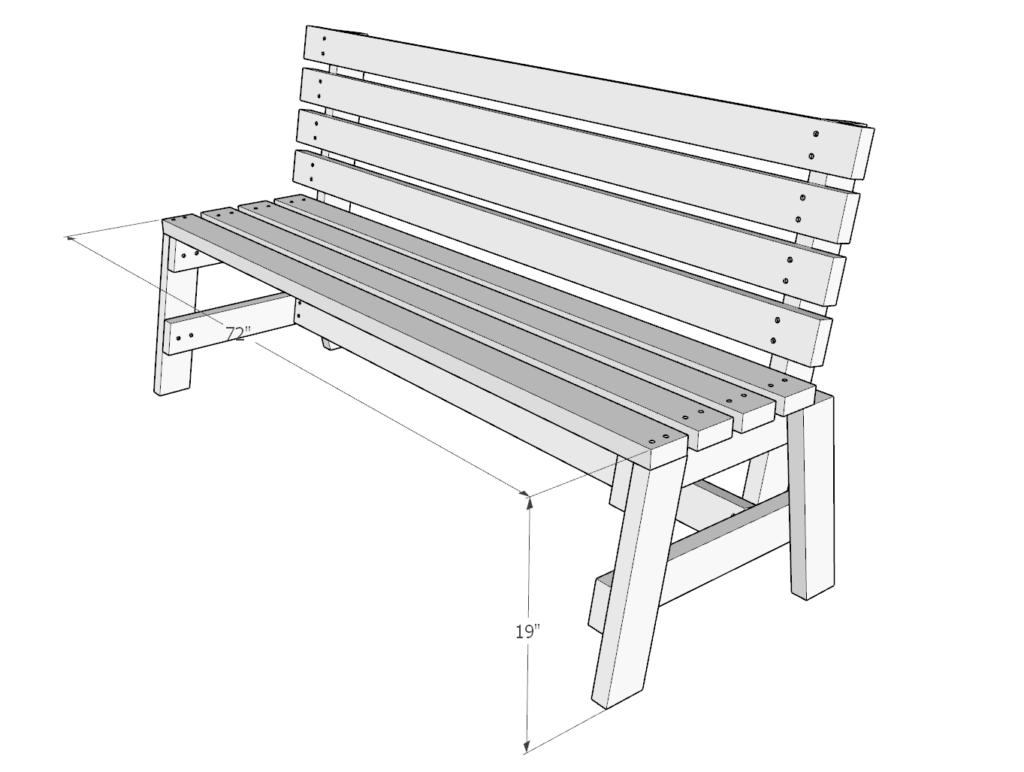
In this post you will find plans for building a park style 6-foot-long bench using only 2×4 wood construction. This design is fast and east to build with the step-by-step instructions bellow. These plans are designed for beginner level woodworking and are a 1-day build.
This bench is strong and true to last for years. In these plans you will find step by step instructions to help save your time and avoid making mistakes, illustrations, helpful links to materials and tools needed.
I recommend staining of painting all the precut lumber before assembly. This can save time and make the job even easier and faster.

Time to build
2 hours
Total cost of build
$50
Skill level required
Beginner
Download the PDF plans
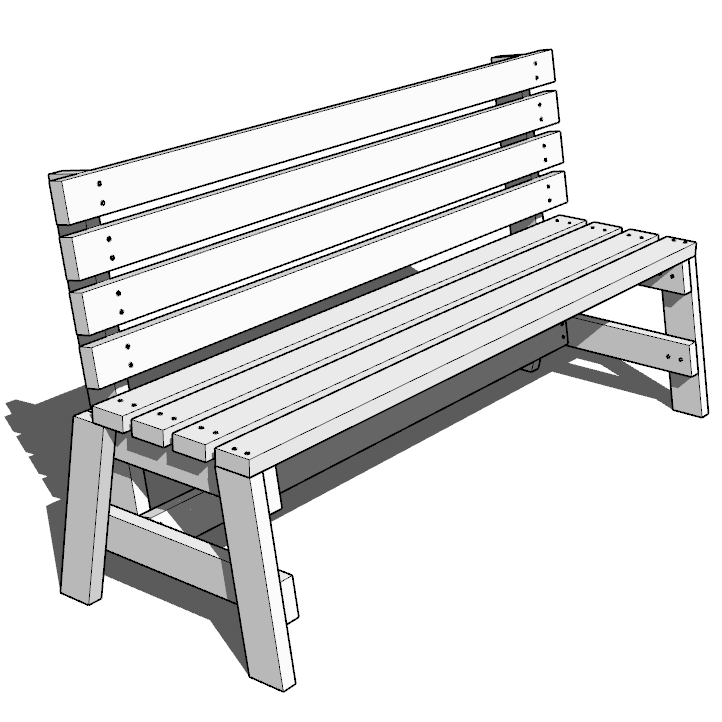
Outdoor wood park bench PDF
What is included in the PDF download?
- Easy to read step by step instructions
- Material list
- Cut list
- Tools needed
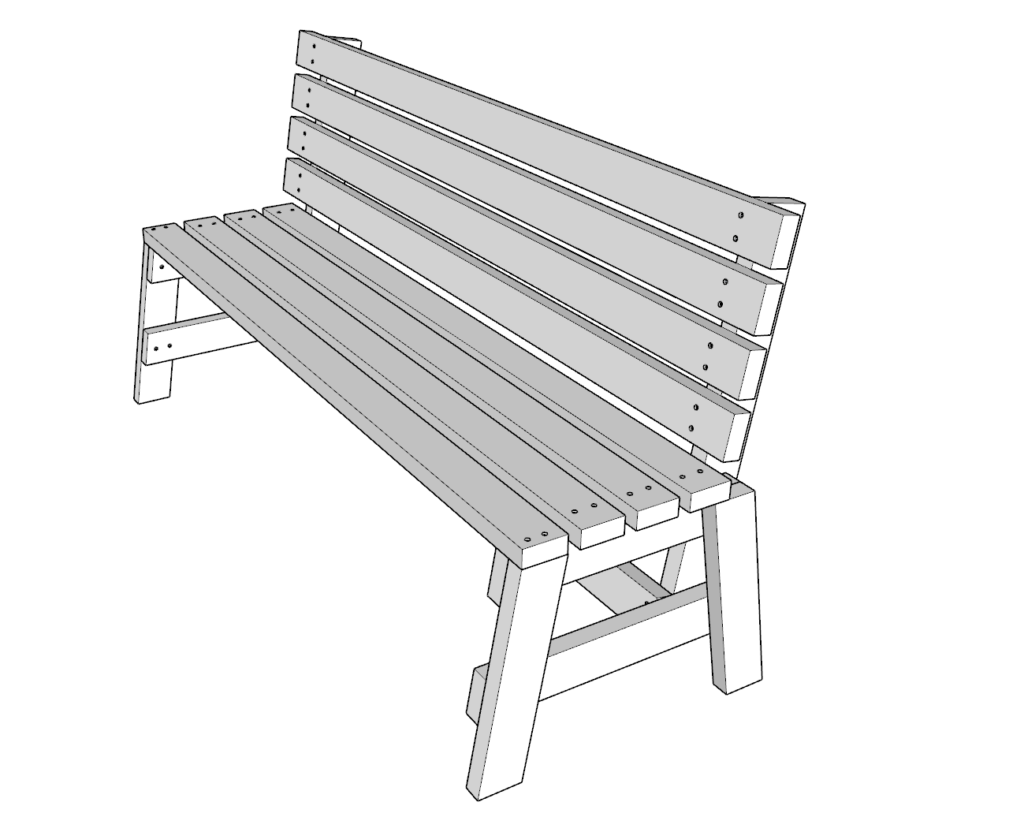
- 3D illustrations
- Helpful links to tools needed for the project
Recommend tools for this project
- Miter saw
- Drill
- Impact driver with bit for screws
- Sander
- wood countersink drill bit
- will need 5 lb of 2.5-in screws (highly recommend T25 Star Drive screws)
- Wood glue
- sand paper
Disclosure: Some of these links are affiliate links.
Material list
Available with purchase of PDF plans.
Step 1
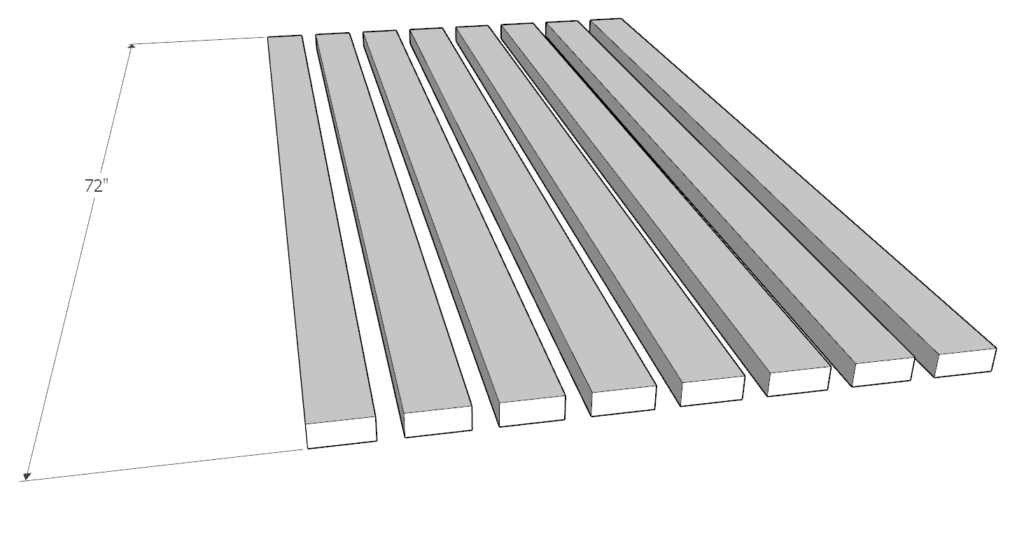
First, cut the 72-in pieces as shown in the diagram.
You will need a total of 8.
Step 2
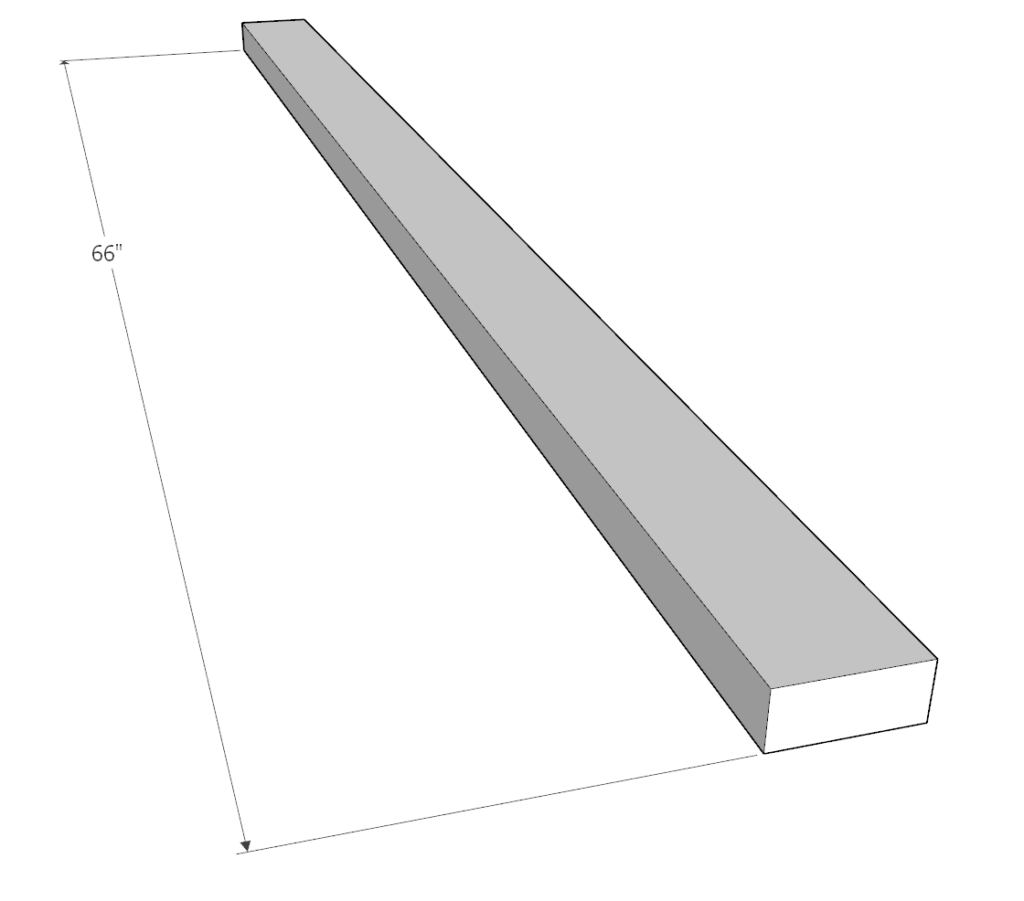
Next, cut two 66- in piece.
You will need a total of two of these.
Cut one of the ends at a 10-degree angle.

Step 3
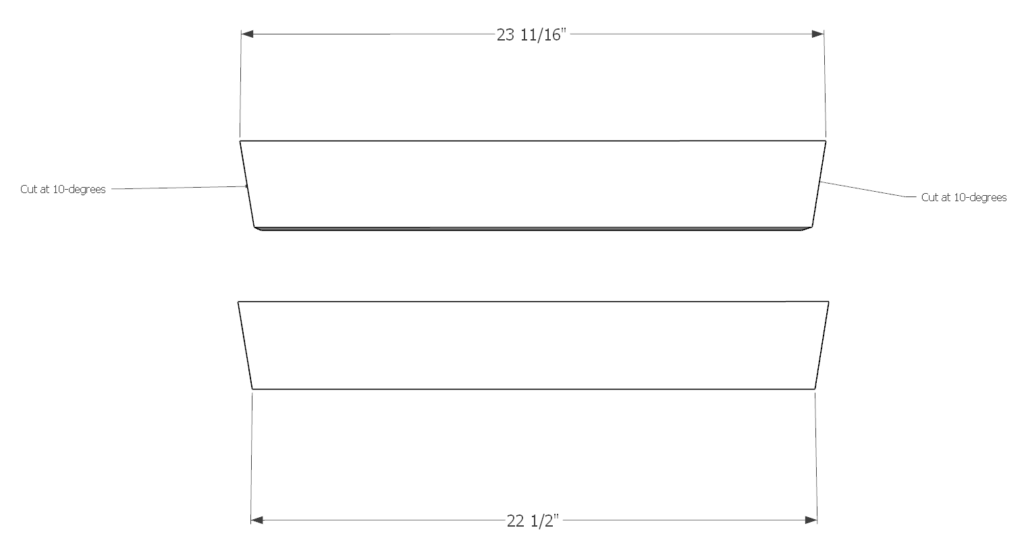
next, cut the 23 11/16-in pieces as shown in the diagram.
The ends are cut at 10-degrees on both sides as shown in the diagram.
You will need a total of two of these pieces
Step 4
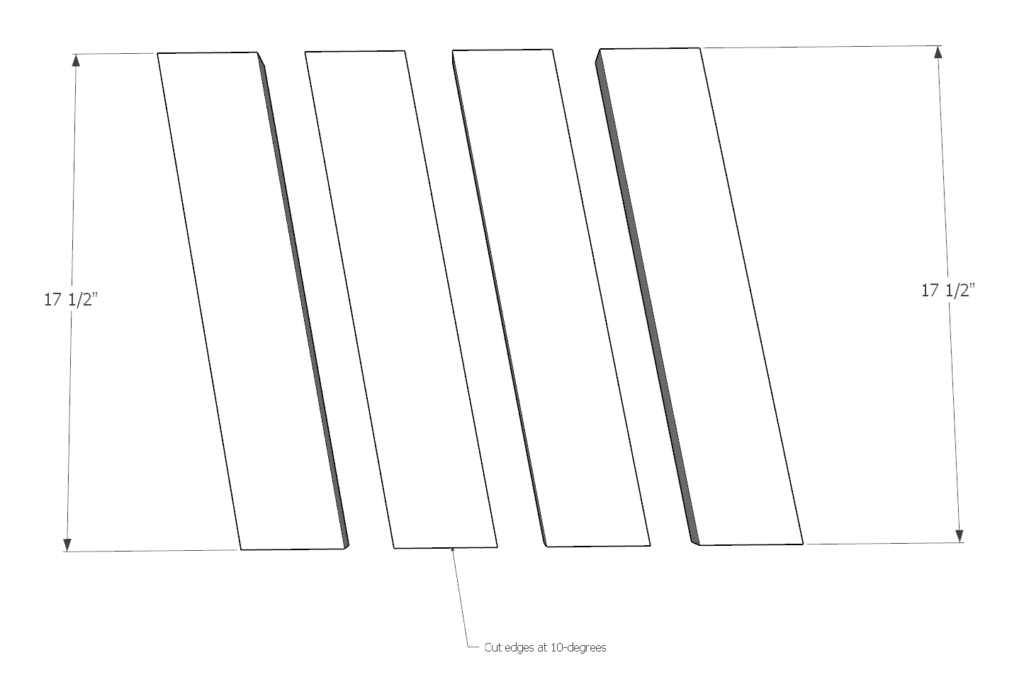
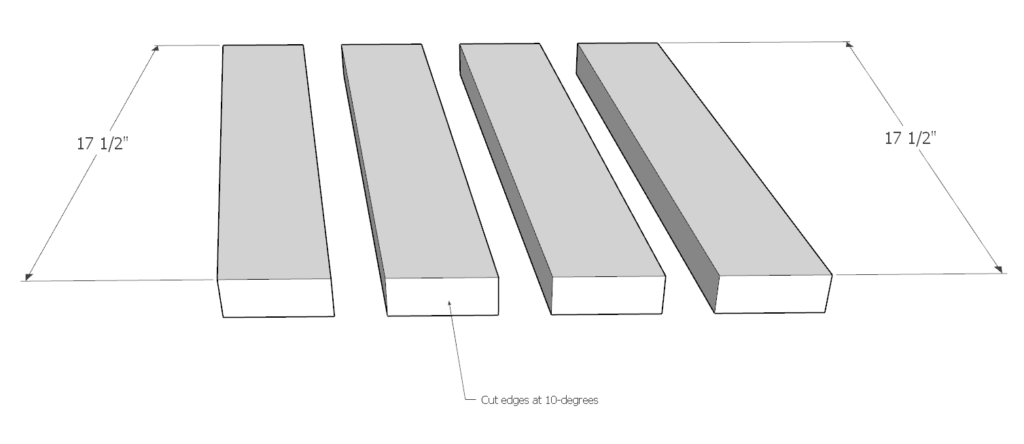
Next, precut the 17.5-in pieces as shown in the diagram.
The ends are cut at 10-degrees on both sides as shown in the diagram.
You will need a total of 4 of these pieces.
Step 5
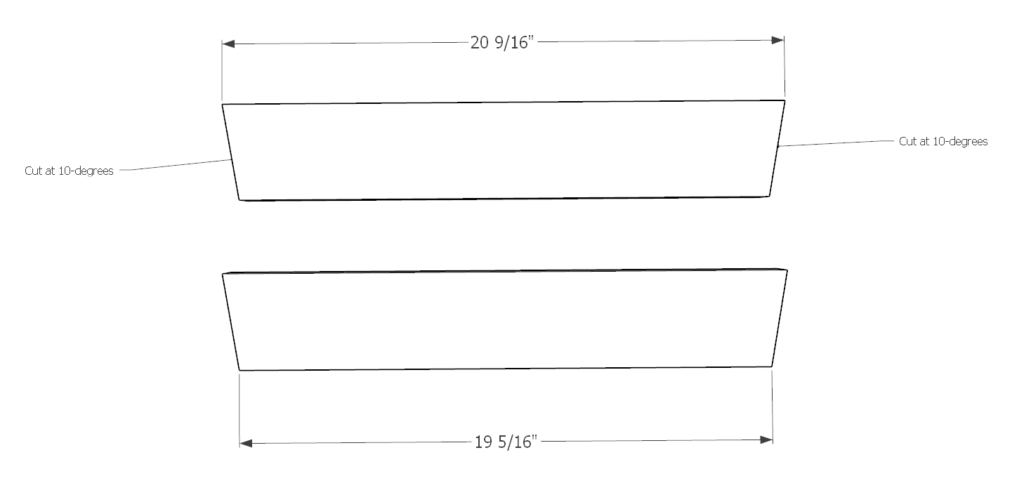
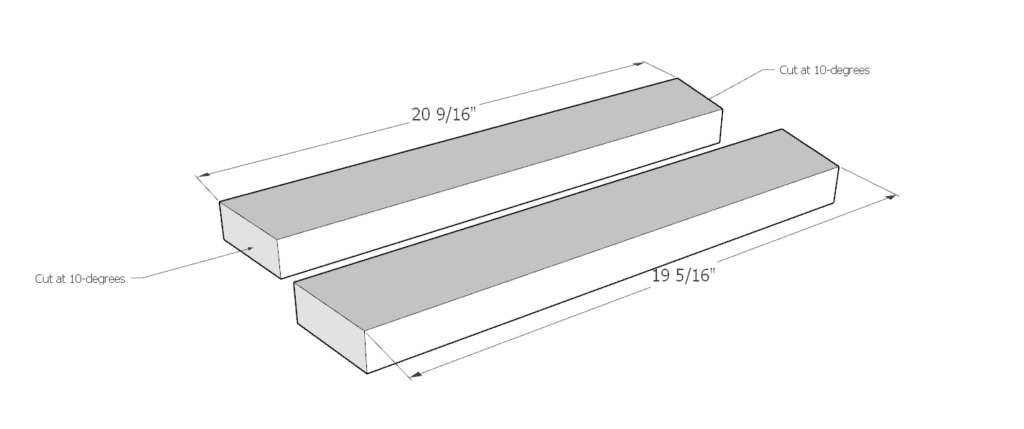
next, cut the 20 9/16-in pieces as shown in the diagram.
The ends are cut at 10-degrees on both sides as shown in the diagram.
You will need a total of two of these pieces
Step 6
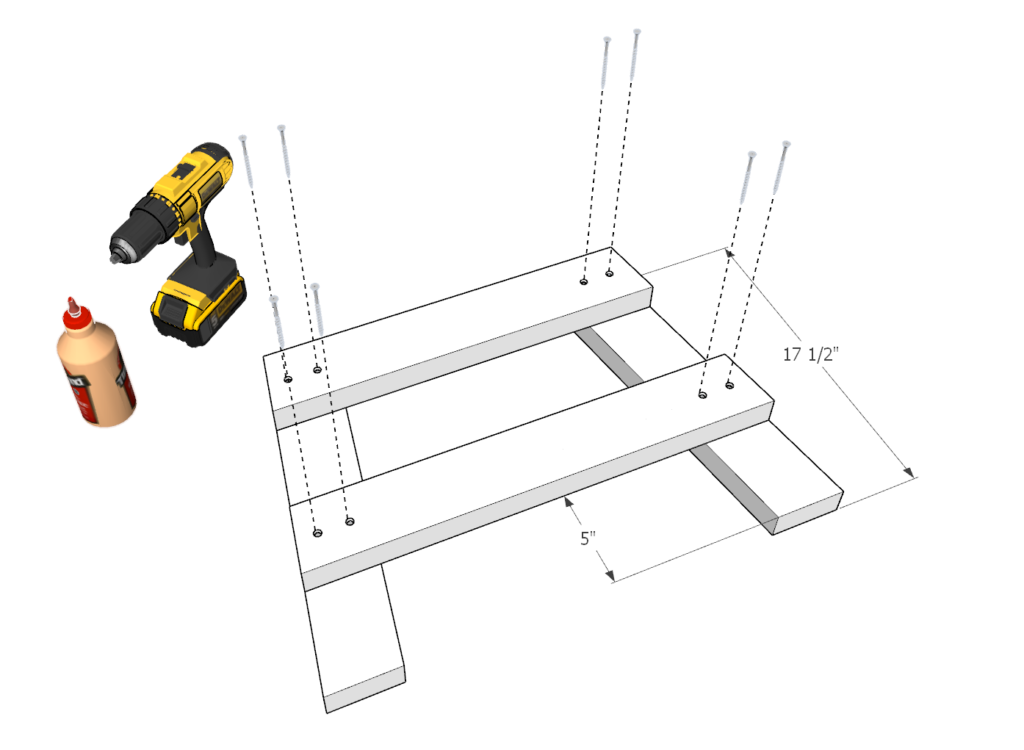
begin the assembly of the legs by putting together the 17.5-in pieces together with the 20 9/16-in piece and the 23 11/16-in pieces you cut in step 3 and 5.
Arrange the pieces as shown in the diagram
The 23 11/16-in piece must be about 5 inches away from the floor as shown in the diagram.
Predrill the holes, add glue to all areas that the wood pieces will be making contact, and add screws.
Make a total of two leg units like this.
Step 7
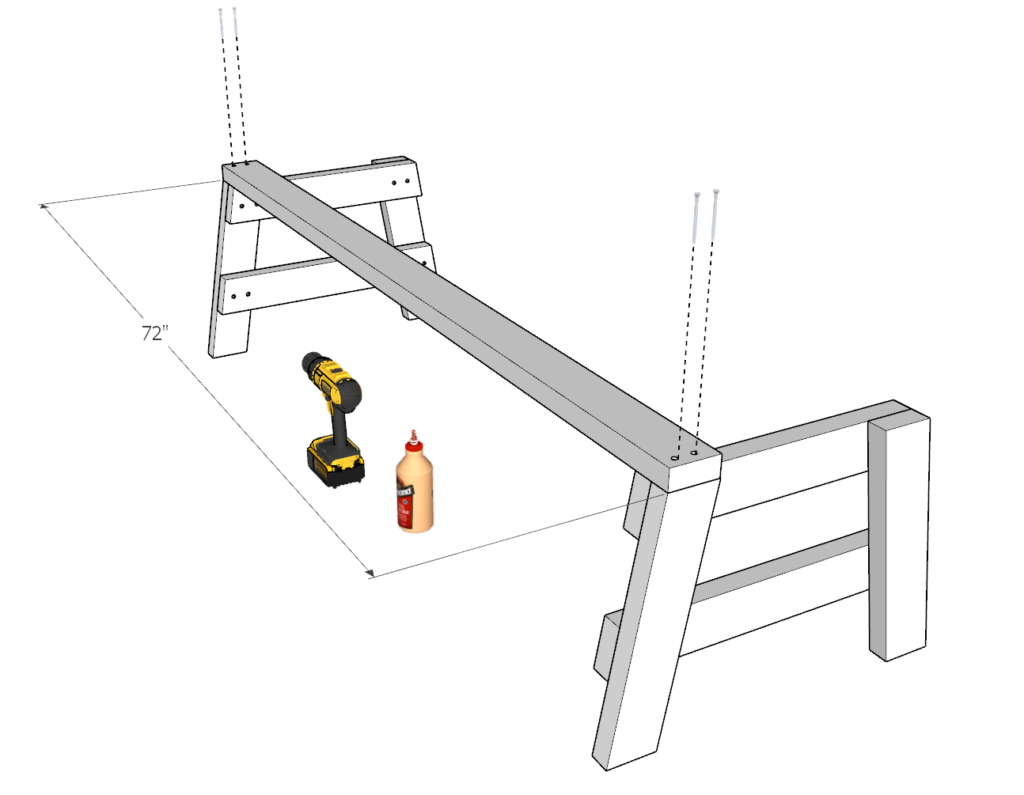
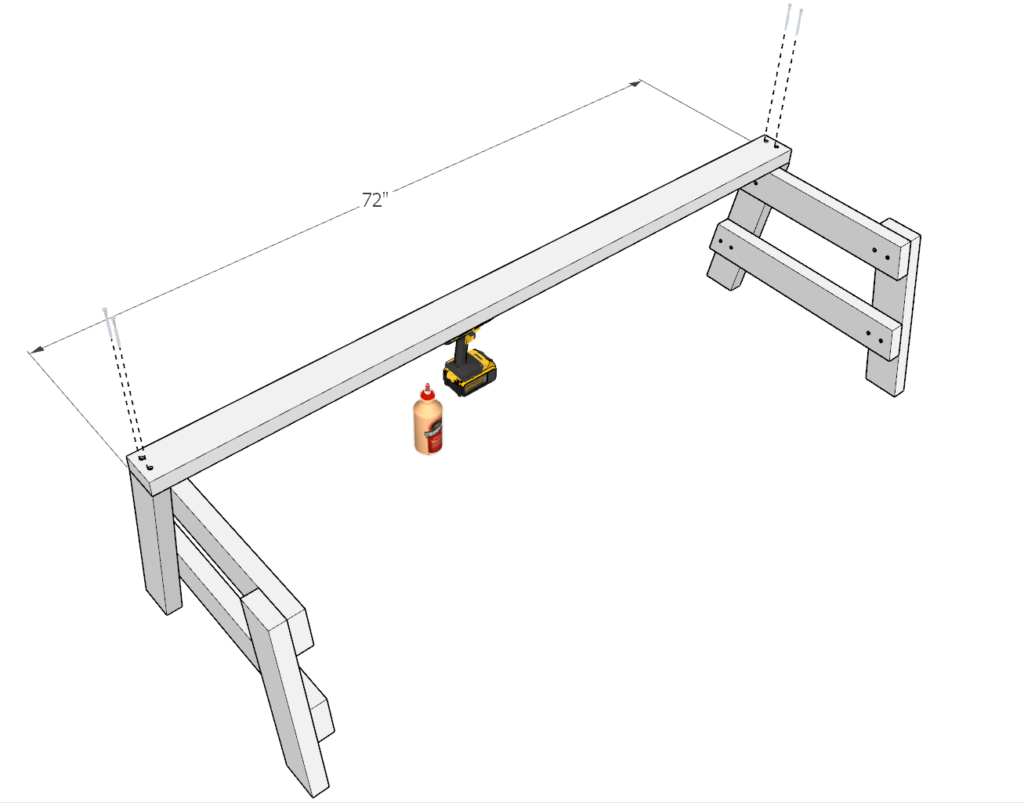
Next, take one of the 72-in pieces and connect the two leg units you made in step 6.
predrill, add glue, and add screws.
Step 8
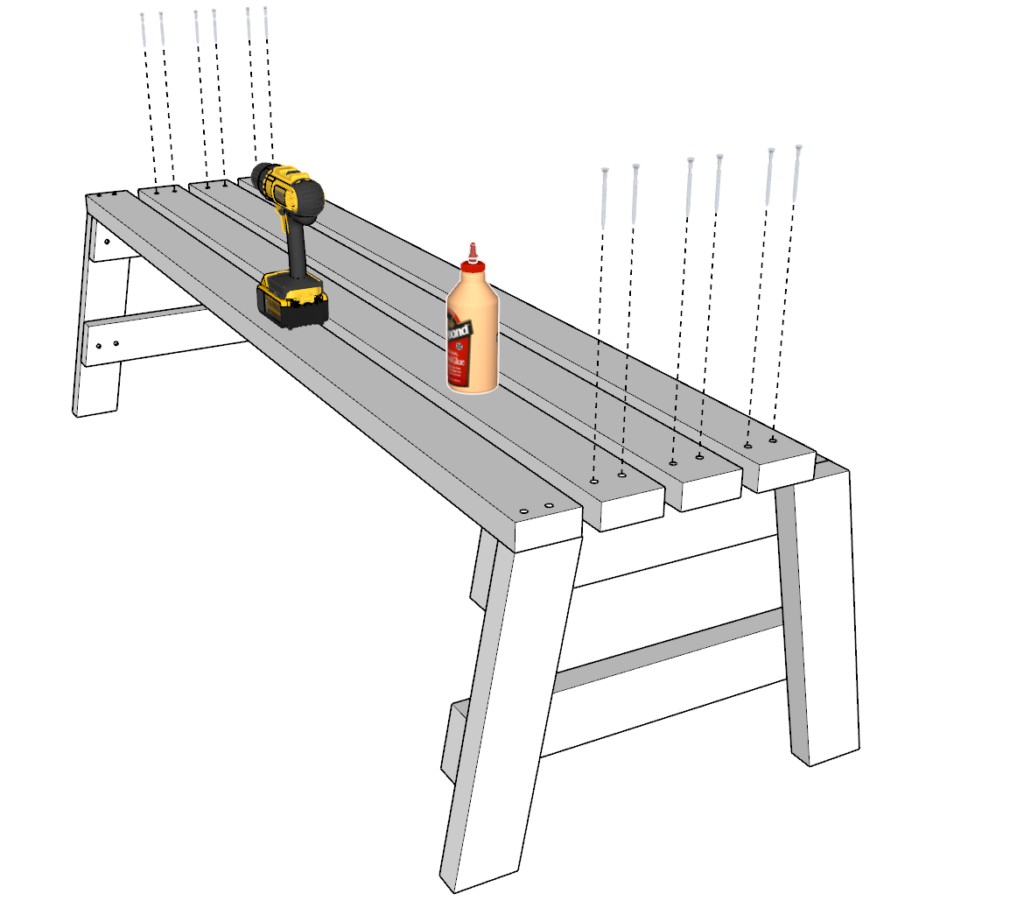
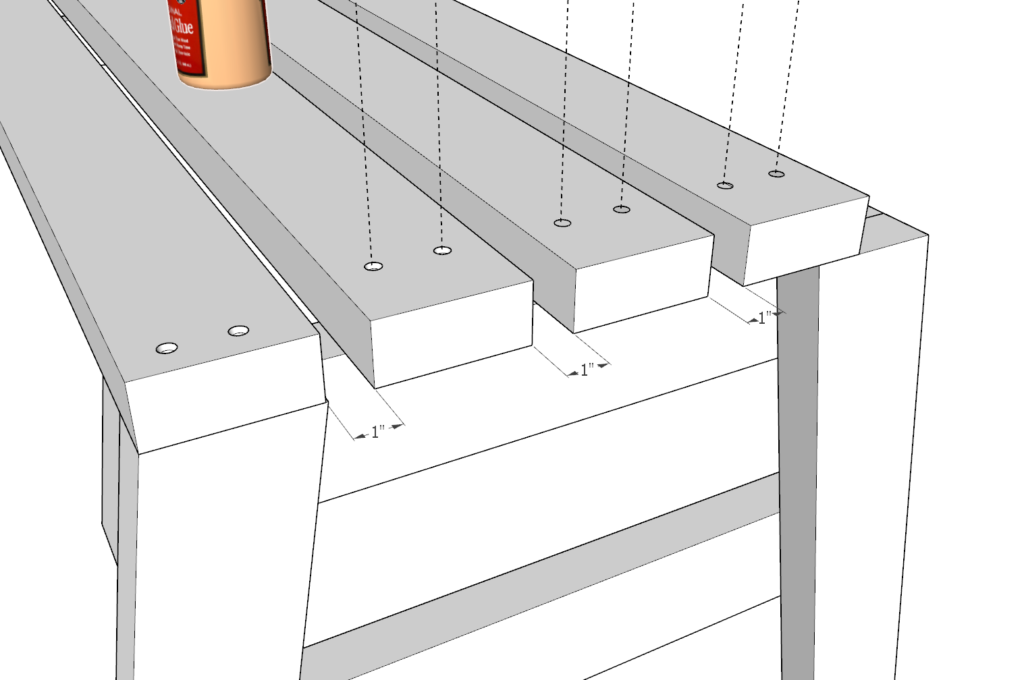
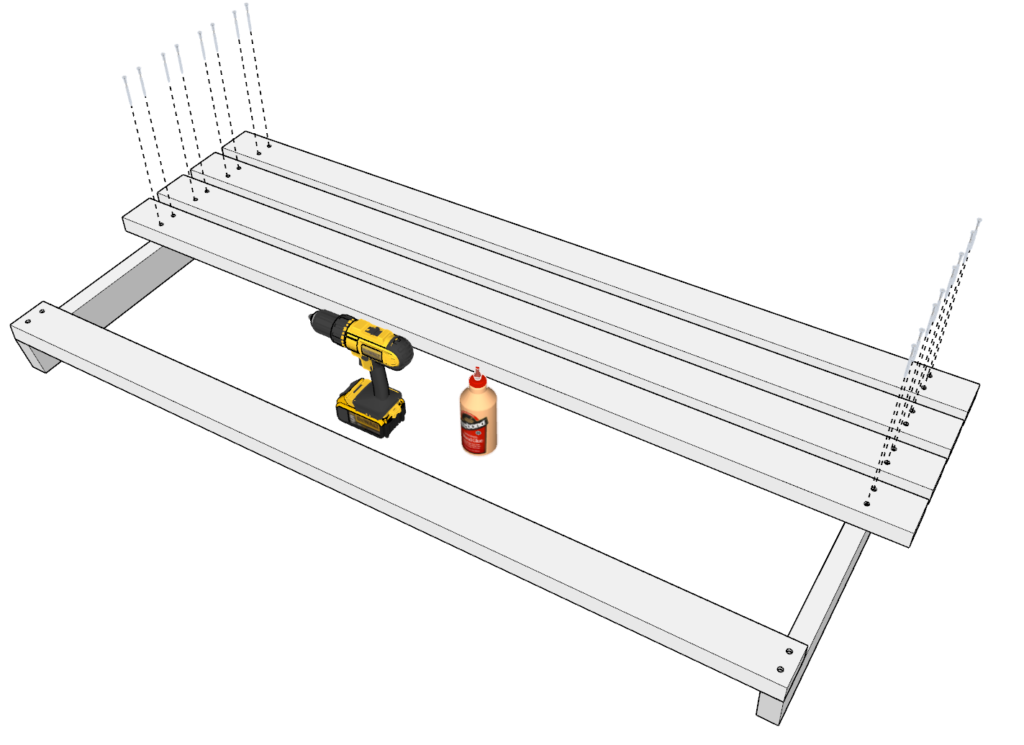
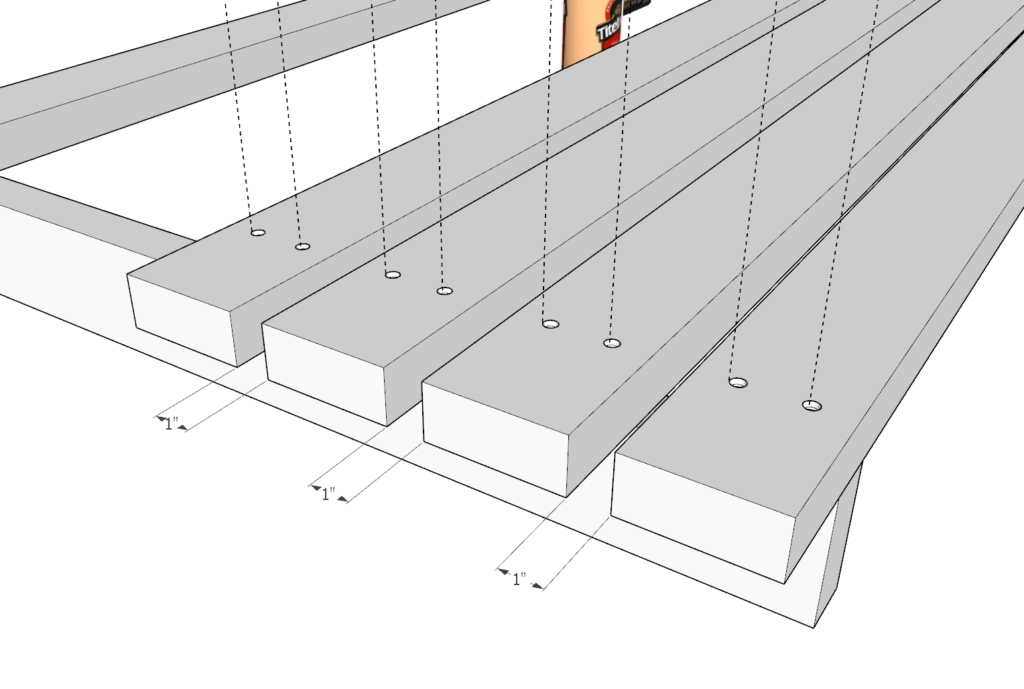
Next, add three more decking 72-in pieces you cut earlier to the bench. Space them 1-in apart.
Predrill, add glue, and add screws.
Step 9
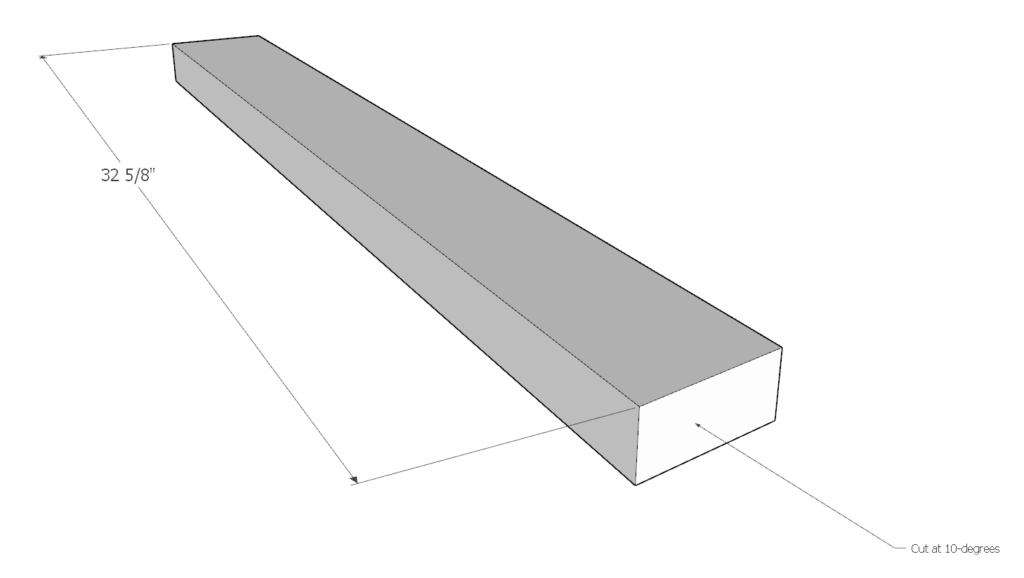
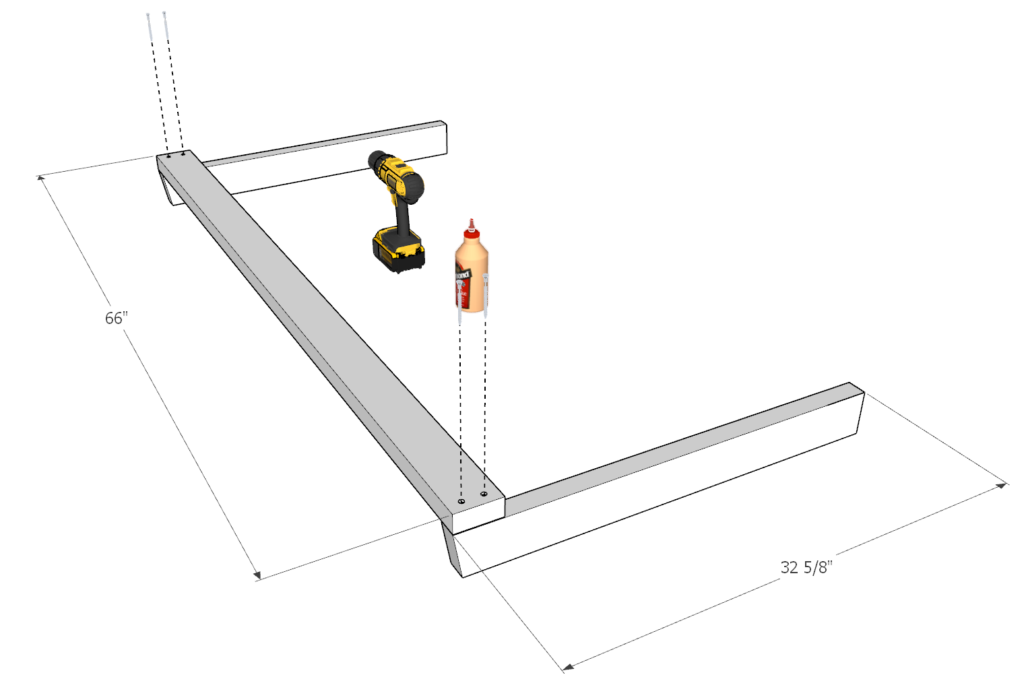
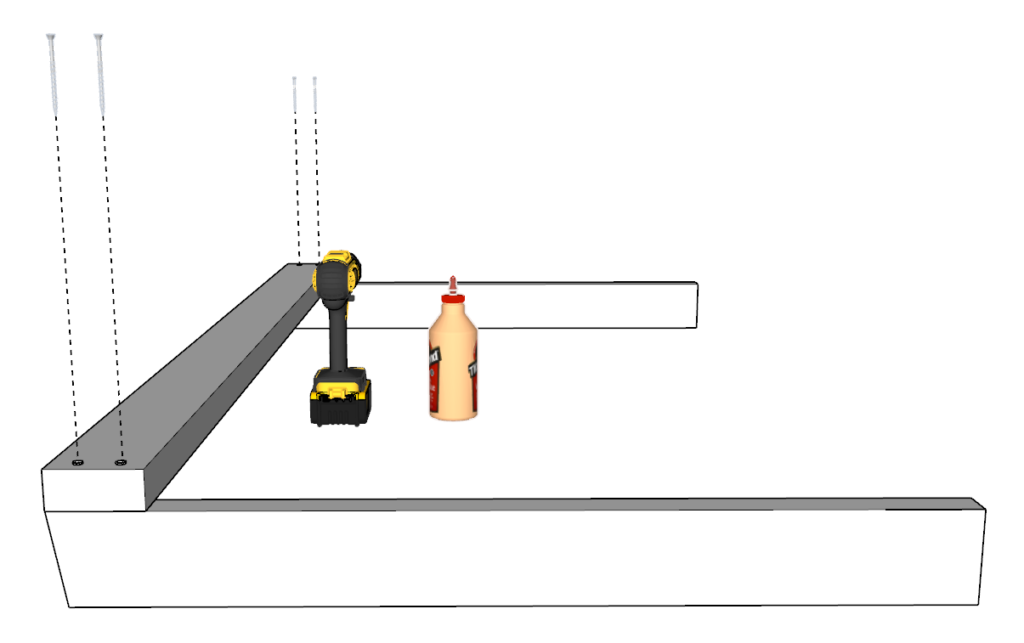
Next, arrange two of the 32 5/8-in pieces and the 66-in piece you cut previously as shown in the diagram.
Predrill, add glue, and add screws.
Step 10
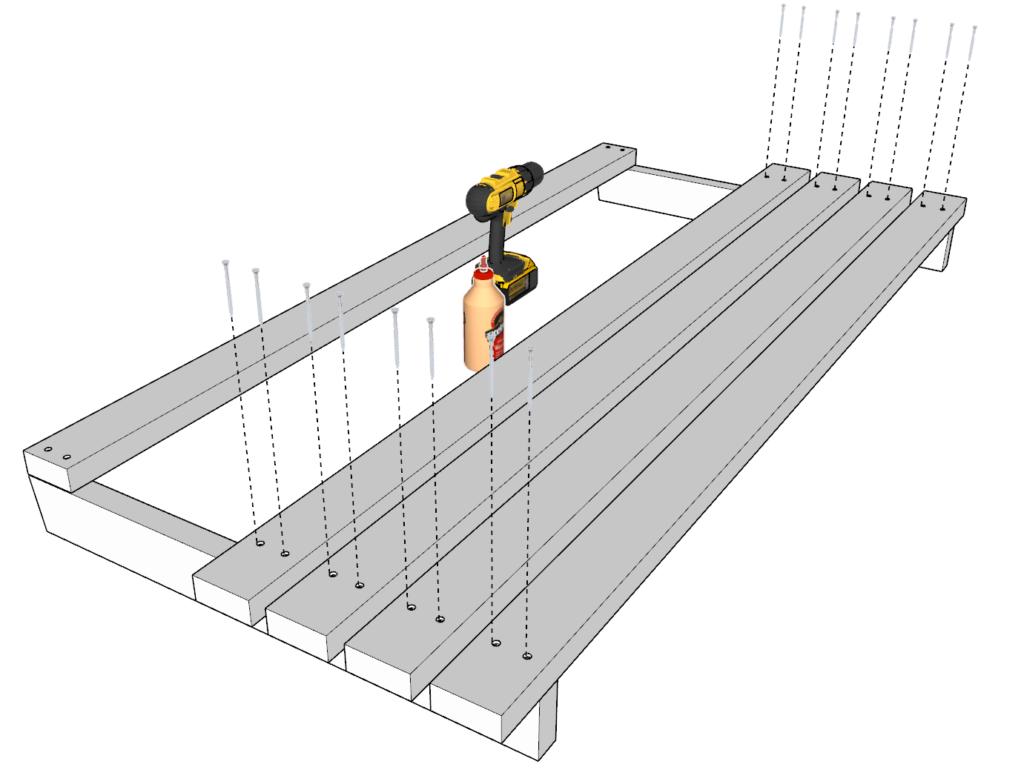
Next, add the 72-in backrest decking pieces.
Start by working from the opposite end from the previous step, spacing out the 72-in pieces 1 inch apart. Add a total of four 72 in pieces.
Predrill, add glue, and add screws.
Step 11
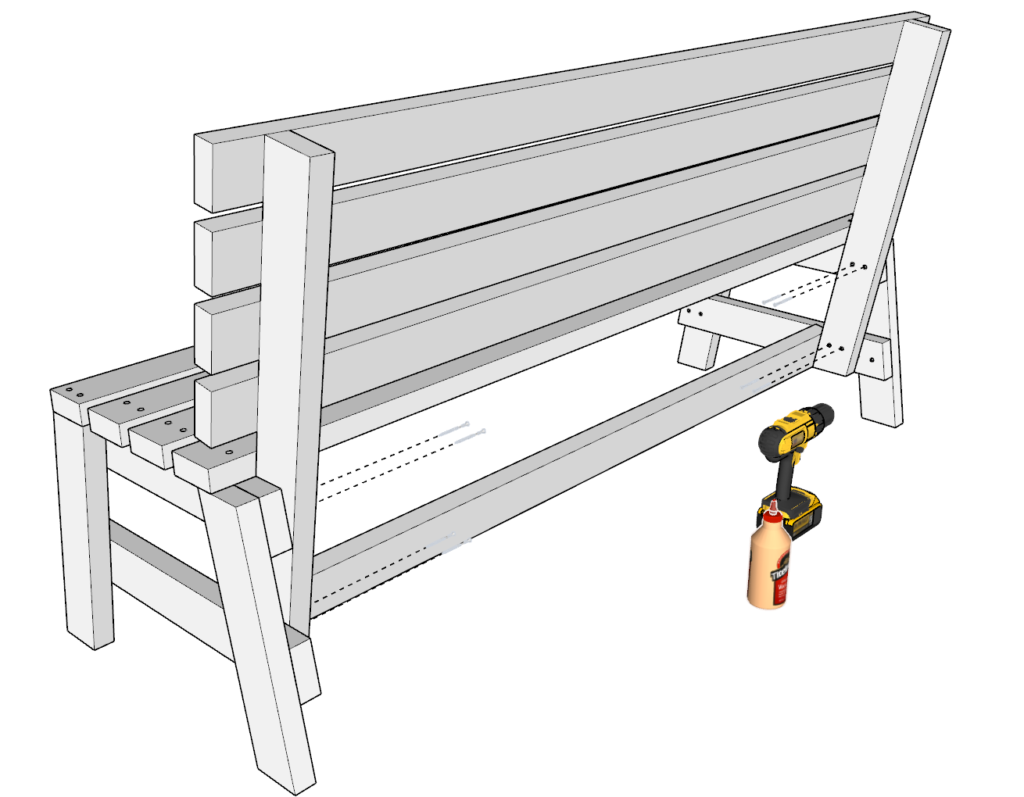
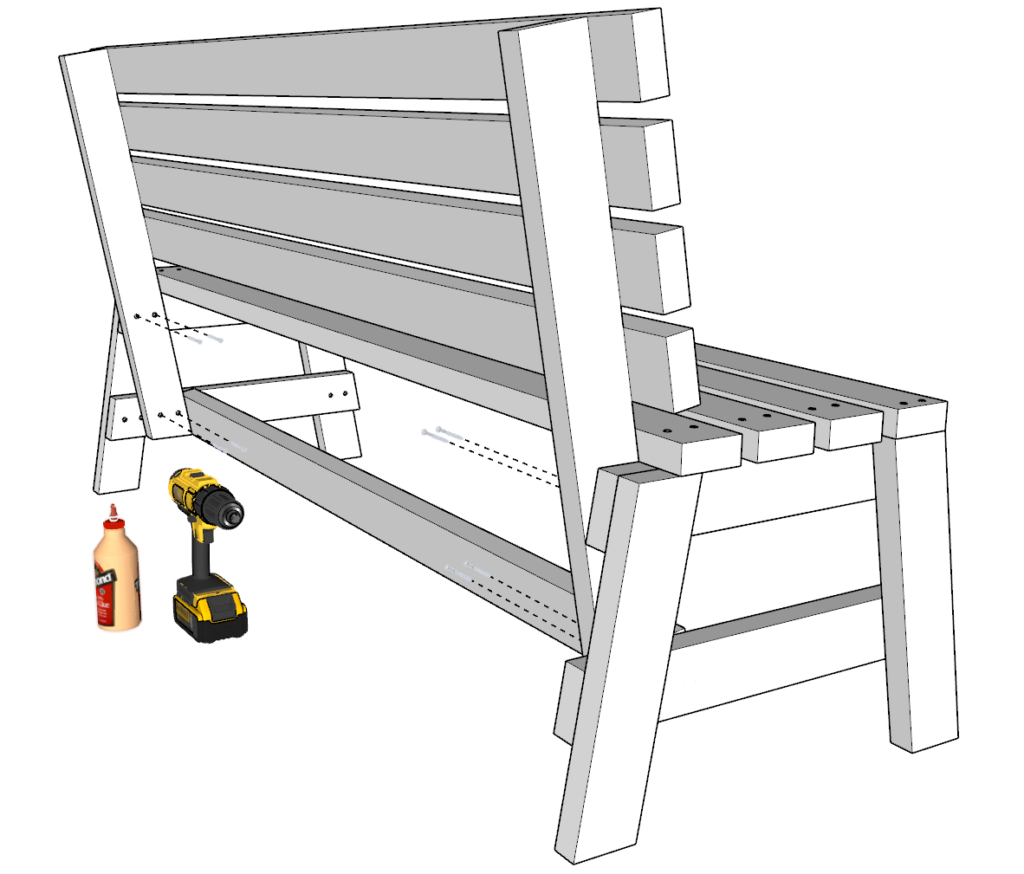
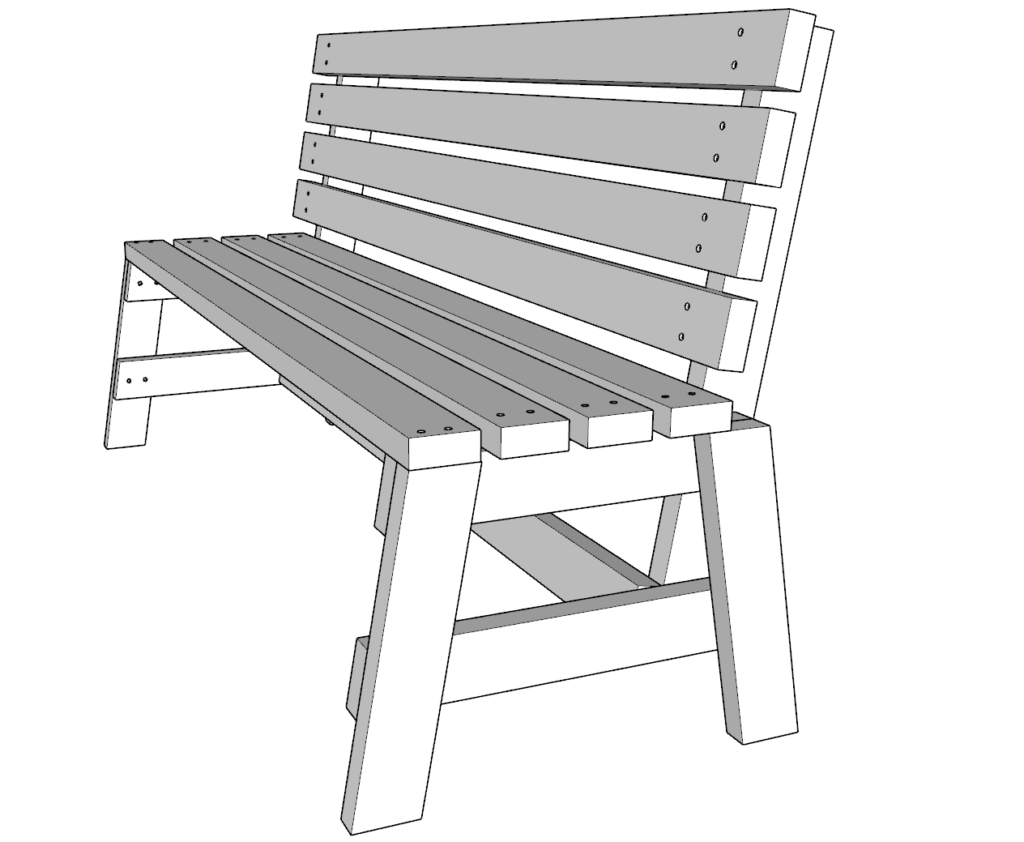
Next, insert the backrest in the appropriate position as shown in the diagram.
The edge of the 32 5/8-in pieces should be flush with the furthest back 72-in base decking piece. The bottom of the 32 5/8-in pieces that is cut at a 10 degree angle should also align appropriately at the bottom.
Predrill, add glue, and add screws as shown in the picture.
Step 12
At this point all the bench needs to be sanded down.
I use a 80 grit paper for my orbital sander to help take away all major imperfections and then I follow up with a fine grit 220+ afterwards.
If you did not choose to paint the wood pieces before you assembled it then pain the bench and seal it to protect it so it last a long time.
This is the last step of the plans for the 6ft long DIY Park Bench from 2×4 wood construction, Fast & Easy to build Step-By-Step instruction post.
