Introduction & Overview
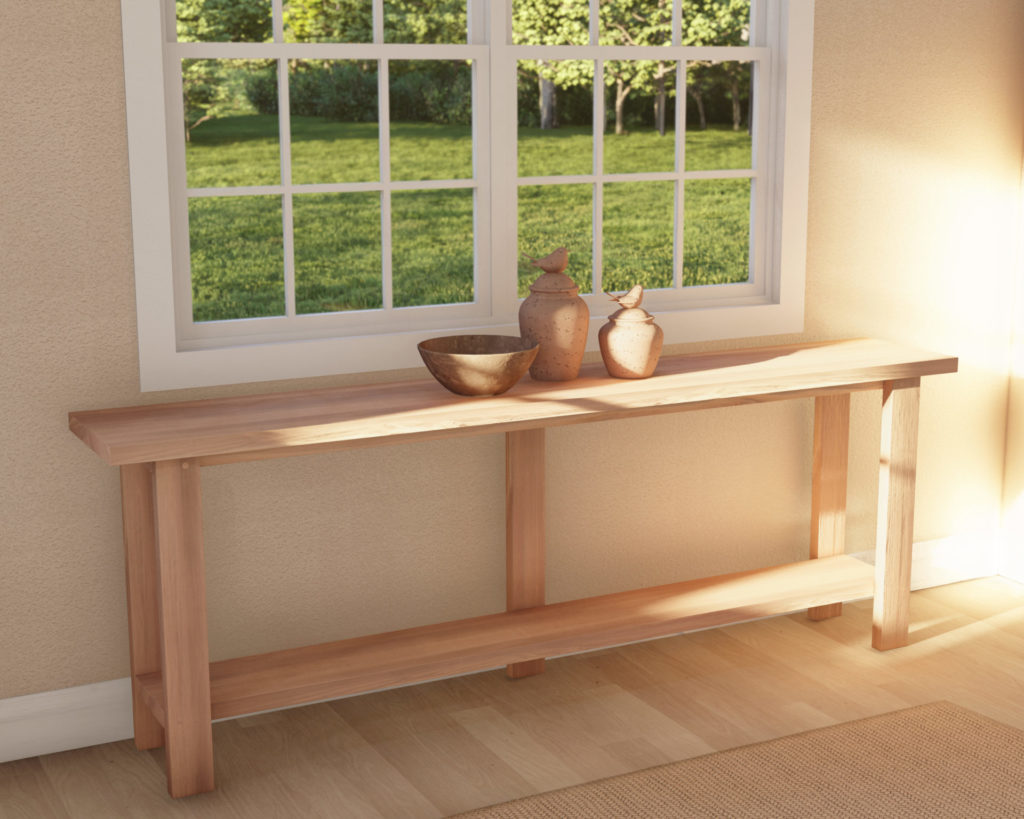
Why settle for off-the-shelf when you can build a piece that’s all you? Meet the Reed Grand Console Table, where minimalism meets your personal touch. This isn’t just about adding a piece of furniture to your room—it’s about making a statement, telling a story, and creating a functional piece that’s as unique as your playlist. Whether you’re filling an empty space or completing your carefully curated living area, this DIY console table is the project that reflects your vision and versatility.
Specifications & Customization
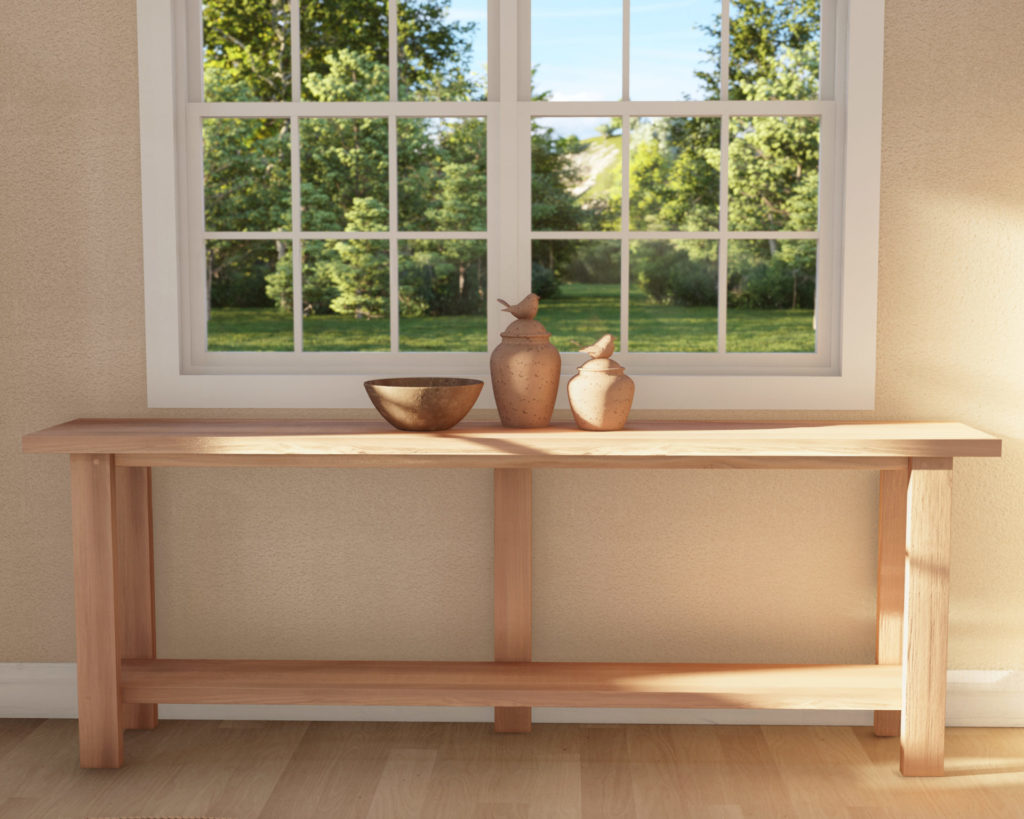
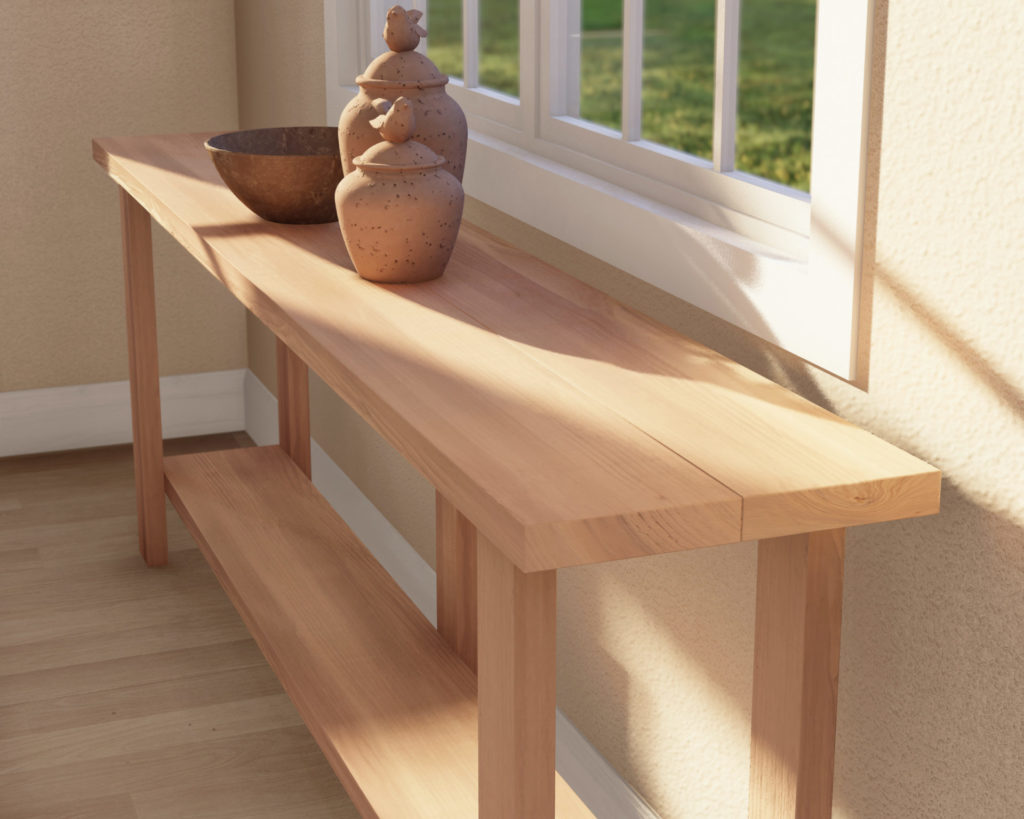
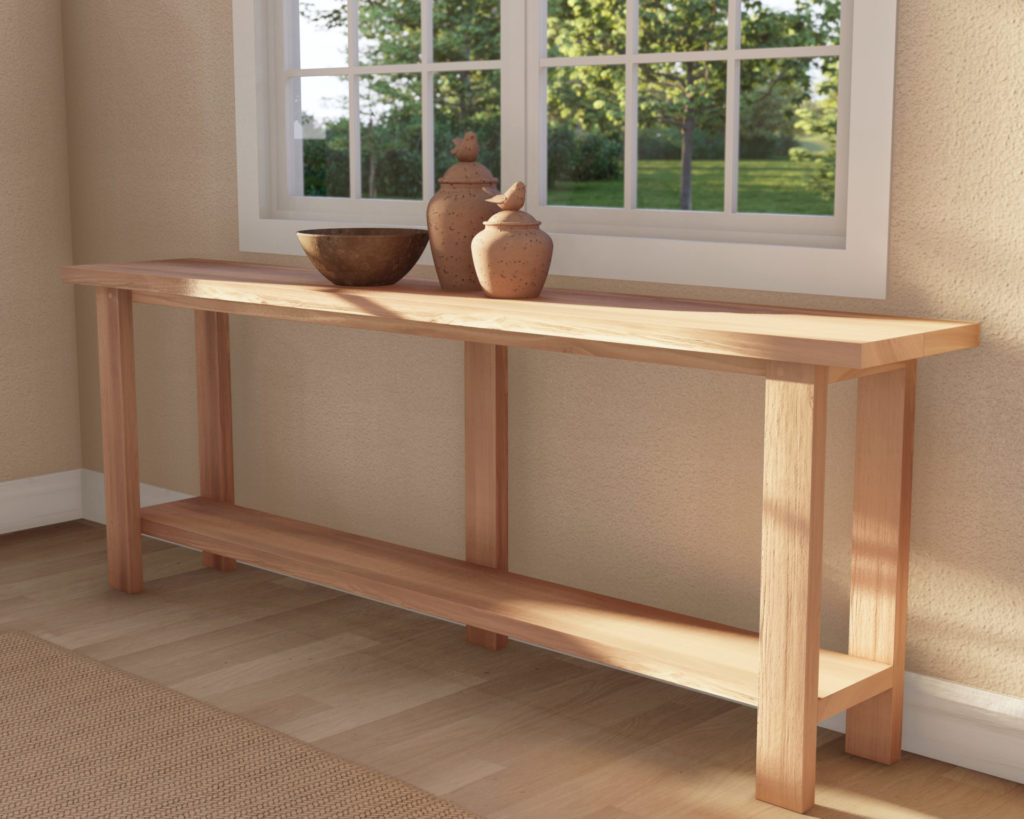
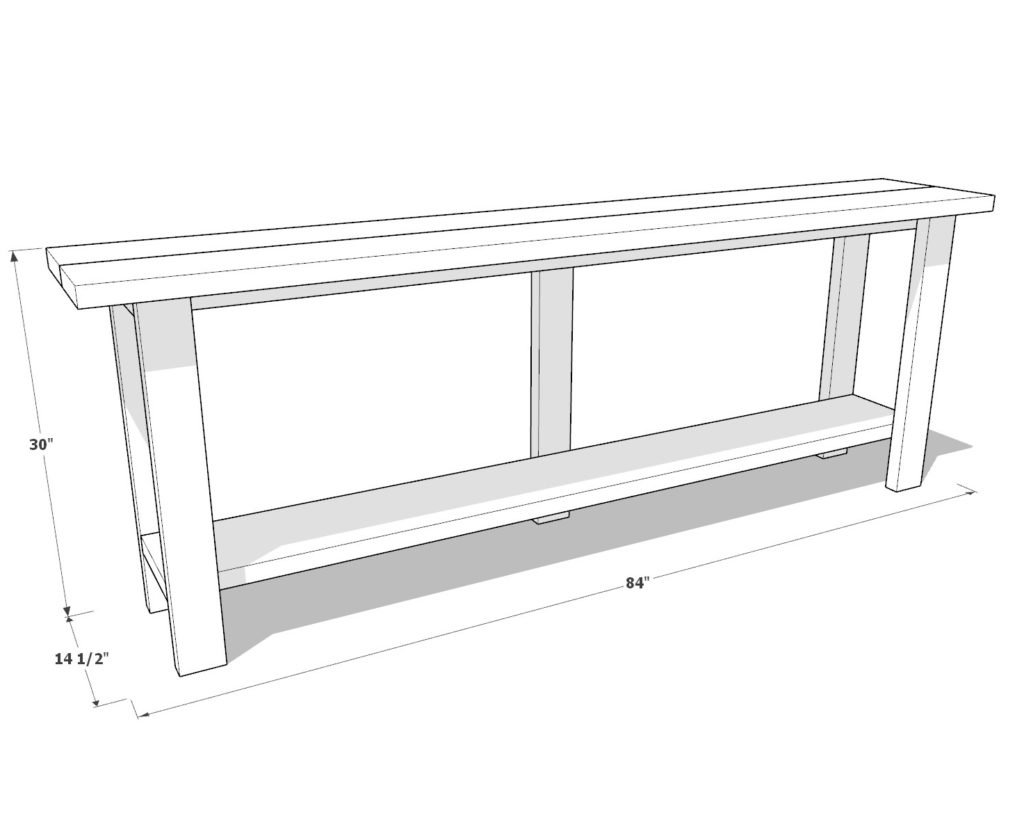
The Reed Grand Console Table measures 84″ in width, 14.5″ in depth, and 30″ in height, but the real beauty lies in the options. Choose from a variety of wood types to match your vibe, from the warm hues of pine to the rich grains of oak. Prefer a distressed look? Age your table to perfection. It’s your world, your space, and there are no rules here. Paint it, stain it, leave it raw—make it undeniably yours.
Styling Options
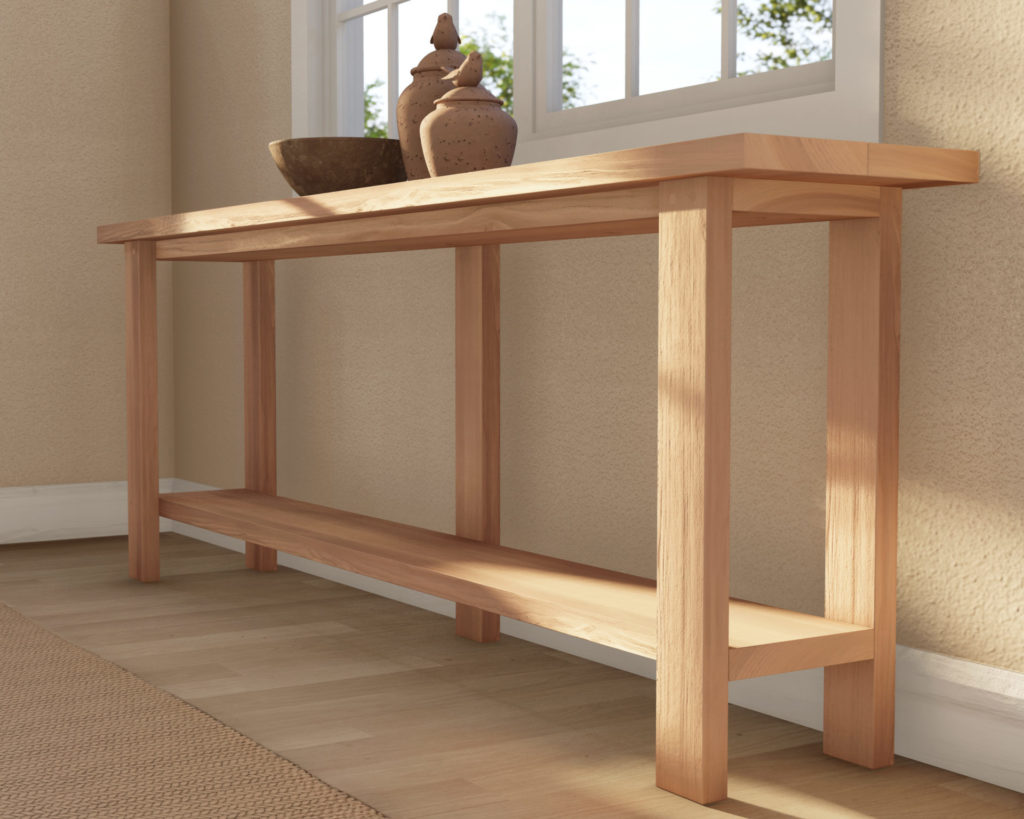
Accessorize it. Personalize it. Make it truly yours. The Reed Grand Console is the ultimate chameleon — throw on some woven baskets for a touch of boho chic or pair it with sleek metallic accents for a more modern twist. Your space, your rules.
Forge Your Path
Imagine this: You, unveiling a piece of furniture that started as an idea and became a masterpiece by your own hands. This isn’t just about following steps; it’s about forging your path in the DIY world. Why wait? Grab your Reed Grand Console Table plan today and begin the journey.
Conclusion
The Reed Grand Console Table isn’t just a project; it’s a milestone in your DIY journey. It’s a challenge, a joy, and a testament to your creativity. Let’s get started — your hands are capable, and the Reed Grand is waiting.
Time
4 hours (varies with experience)
Cost
$40 (Costs may vary based on location and supplier.)
Skill level required
Beginner
DIY Console Table PDF Plan
What is included in the PDF download?
- Easy to read step by step instructions
- Material list
- Tools needed
- Helpful links to materials and tools needed
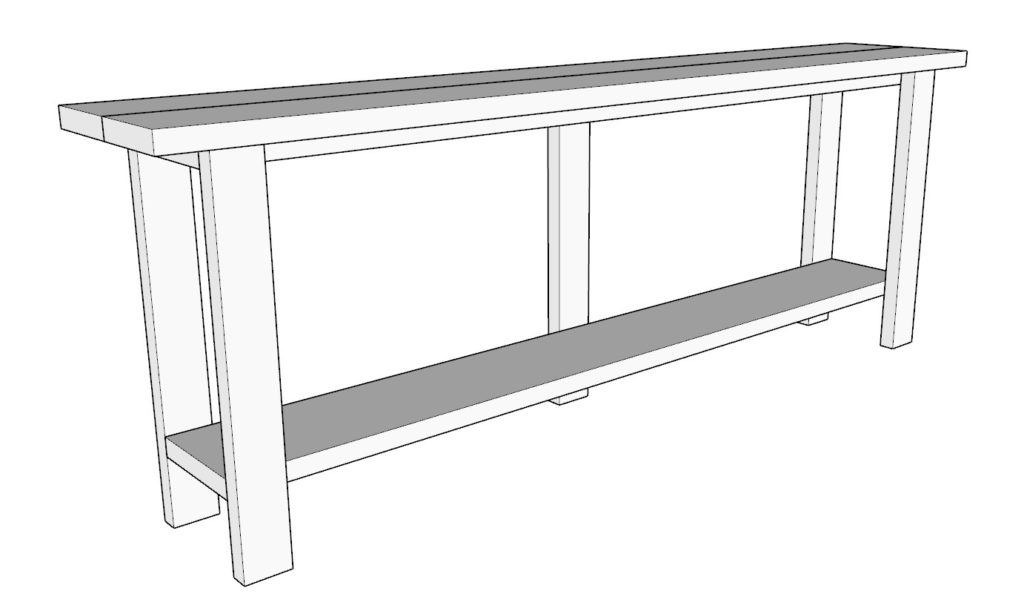
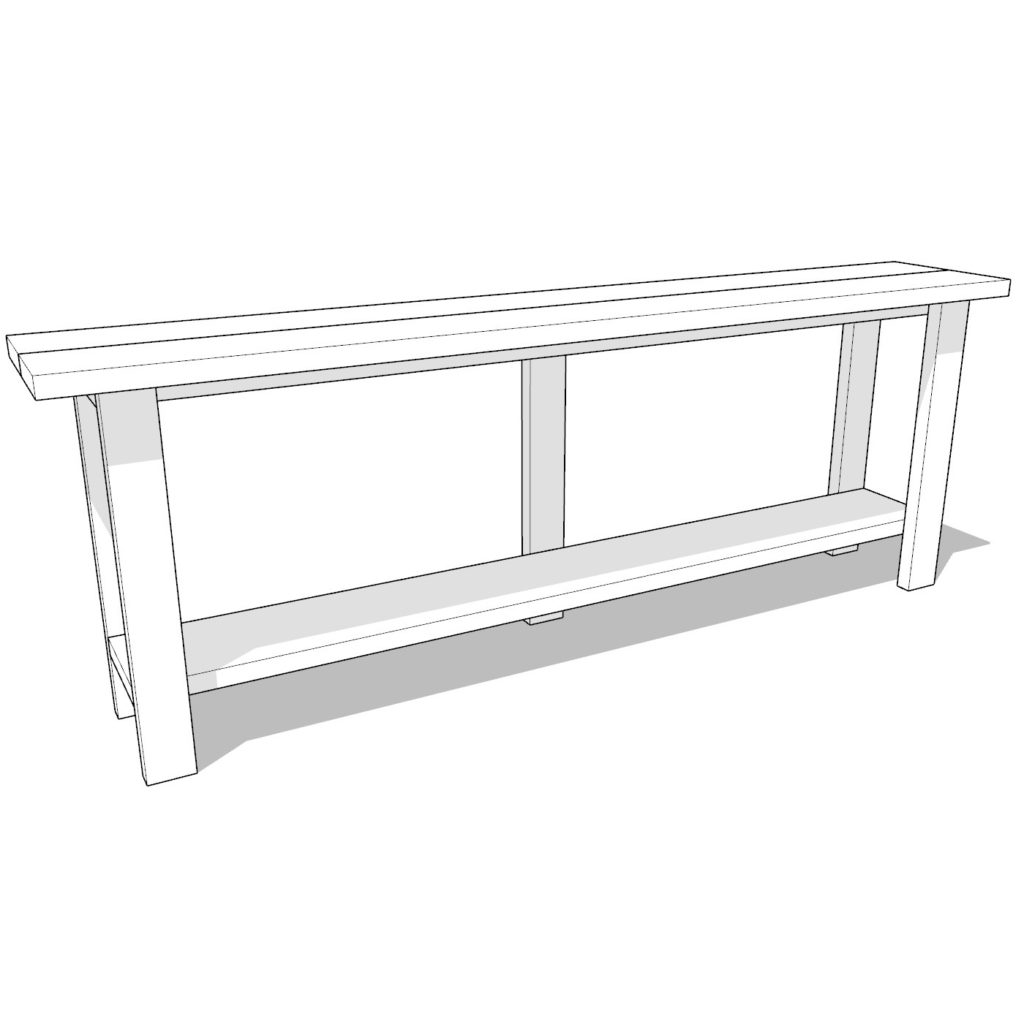
DIY Console Table Dimensions
Tools Needed for This Project:
Available with the purchase of the DIY plan PDF.
Lumber Shopping & Cut List
Available with the purchase of the DIY plan PDF.
Step 1: Constructing the Console Table
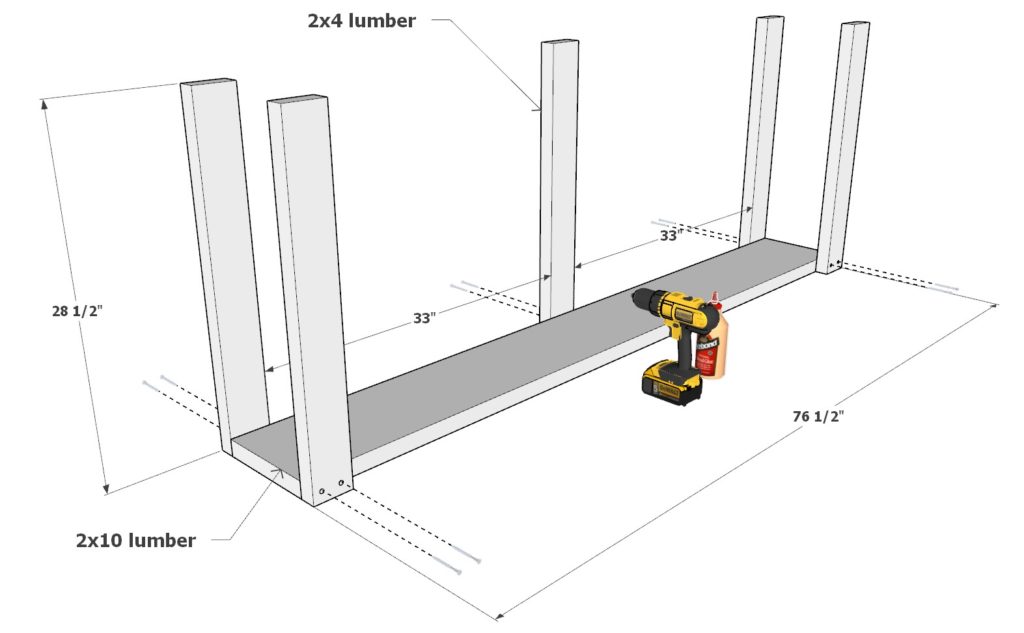
Start by building the foundation of your Reed Grand Console Table. Attach the five 28-1/2 inch 2×4 lumber pieces to the 76-1/2 inch 2×10 lumber piece to form the leg framework, aligning them as shown in the first image. Ensure each leg is perpendicular to the tabletop frame before securing them with 3.5-inch screws and wood glue for a sturdy assembly.
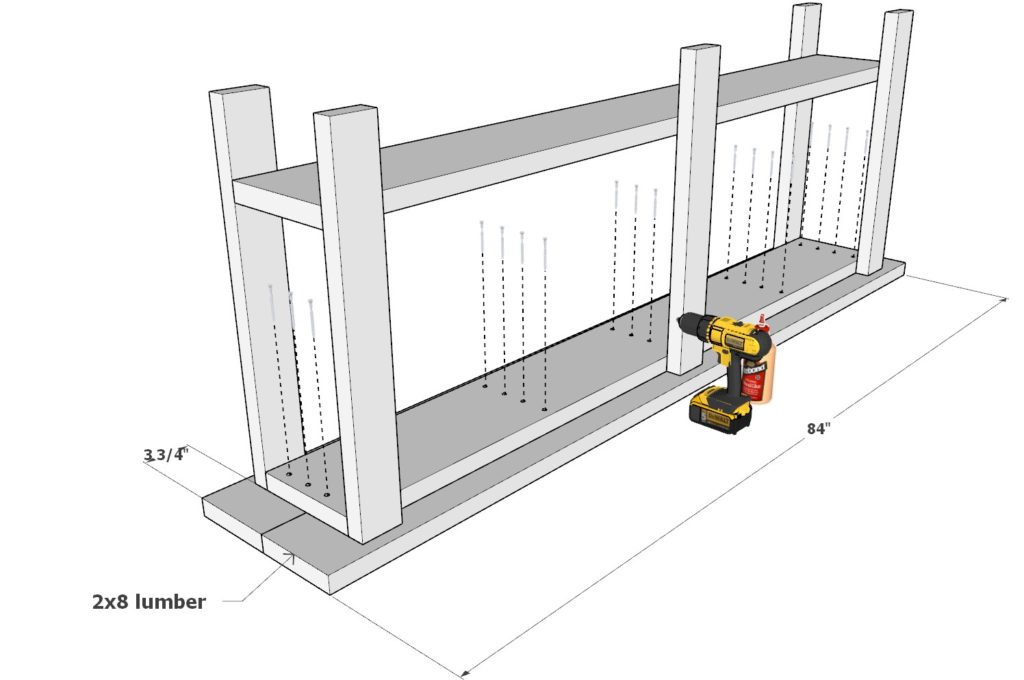
Once the legs are in place, it’s time to establish the lower shelf. Position another 76-1/2 inch 2×10 lumber piece parallel to the first, following the guidance of the second image. Attach it using 3.5-inch screws coupled with wood glue for added durability, checking that it’s level with the bottom of the frame.
The final step in constructing your console table is to lay down the top surface. Align two 84 inch 2×8 lumber pieces on the frame, as depicted in the third image. Use wood glue for a tight bond, then secure the boards with 2.5-inch screws for a seamless top.
Tips for a Professional Finish:
- To avoid wood splits, pre-drill holes slightly smaller than your screw thickness.
- For a cleaner look, countersink each screw and consider using dowels to conceal them. Match your countersink or drill bit size to the dowel size—for a 1/2″ dowel, use a 1/2″ drill bit.
- For an even more refined appearance, apply stain or paint to each component before assembly, especially if you aim for a distressed or aged look.

Step 2: Finishing and Aging Your Console Table
Prepping for Paint or Stain:
Before applying any finish, ensure your console table is sanded smoothly. Start with a medium-grit sandpaper to remove rough spots and work your way up to a fine-grit paper for a smooth-to-the-touch finish. Wipe down the table with a tack cloth to remove all dust particles. If painting, apply a primer suitable for the wood type to ensure an even and clean paint application.
Aging the Wood:
For an aged look, there are several techniques:
- Distressing: Use tools like hammers, chains, and screws to create dents and scratches before staining or painting. These marks will give the wood an authentically weathered appearance.
- Wood Glaze: After painting, apply a wood glaze and then wipe it off, leaving darker colors in the crevices to emphasize the distressed look.
- Dry Brushing: Lightly drag a barely-dipped paintbrush over the surface after a base coat has dried. This technique adds depth and texture.
- Sanding Edges: After painting, sand the edges and corners to expose the wood beneath, simulating natural wear.
Painting:
Choose a latex or acrylic paint. Apply with a brush or roller in long, even strokes. For best results, use multiple light coats rather than one heavy coat. Allow the paint to dry completely between layers.
Staining:
Select a stain color and apply it with a rag or brush, following the grain of the wood. Work in manageable sections, wiping off excess stain with a clean rag as you go to prevent uneven coloration. Allow the stain to dry completely, and apply additional coats if a darker finish is desired.
Maintenance Instructions:
To maintain the integrity of your console table:
- Dust regularly with a soft cloth.
- Use coasters or pads to protect the surface.
- Clean spills immediately with a dry cloth.
- Keep away from direct sunlight and extreme temperatures.
- Tighten any hardware that becomes loose over time.