A simple, elegant DIY patio bench for your outdoor space.
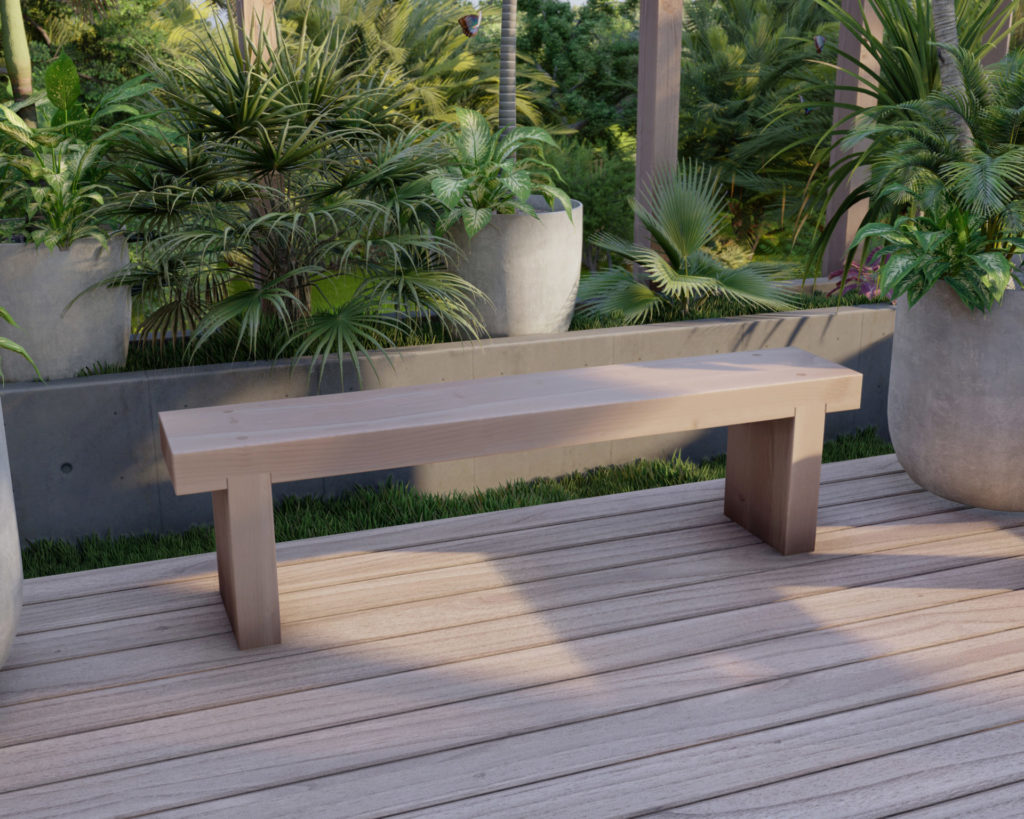
I am excited to share my DIY plans for this beautiful, easy to make, and inexpensive outdoor wooden bench! This bench is made from a single slab of wood that was cut into three parts. The patio bench can add not only additional seating to your yard or garden, but it can create an entertaining space where you, your family, and guests can enjoy and relax in the outdoors.
Who can build this DIY patio bench?
Building this patio bench is a great project for anyone who is new to woodworking. This easy to build bench can be made with just a few simple cuts and doesn‘t require any fancy joints.
Specifications of the patio bench
This bench is made with thick lumber and will be extremely sturdy, durable, and resistant to warping, bowing, or breaking. The thick lumber is also resistance to pests and rot. It will last for many years, always providing a comfortable place to take a seat and rest.


Time to build
1-2 hours
Total cost of build
About $70
Skill level required
Beginner
Download the PDF plans
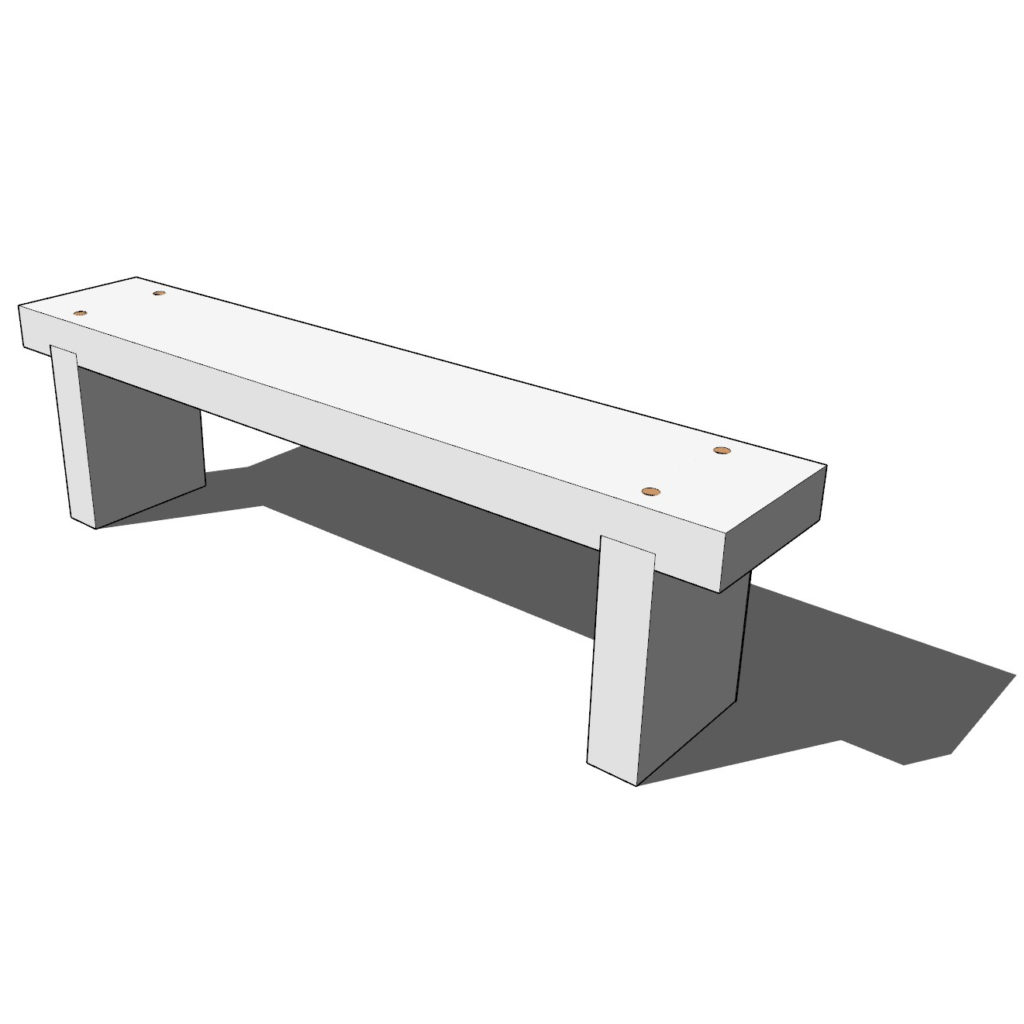
Plans for how to build the DIY patio bench
What is included in the PDF download?
- Easy to read step by step instructions
- Material list
- Cut list
- Tools needed
- 3D illustrations
- Helpful links to tools and materials needed for the project
Recommend tools for this project
- Miter saw with sliding feature.
- Drill
- Impact driver with bit for screws
- Sander
- wood countersink drill bit
- measuring tape
- (4) 6-8 inch screws
- 1 in. Forstner Bit
- 1 in Wood Dowel (at least 18 inches long)
- hammer
- Wood glue
- Sand paper
Wood purchase list and cut list
Available with purchase of PDF plans.
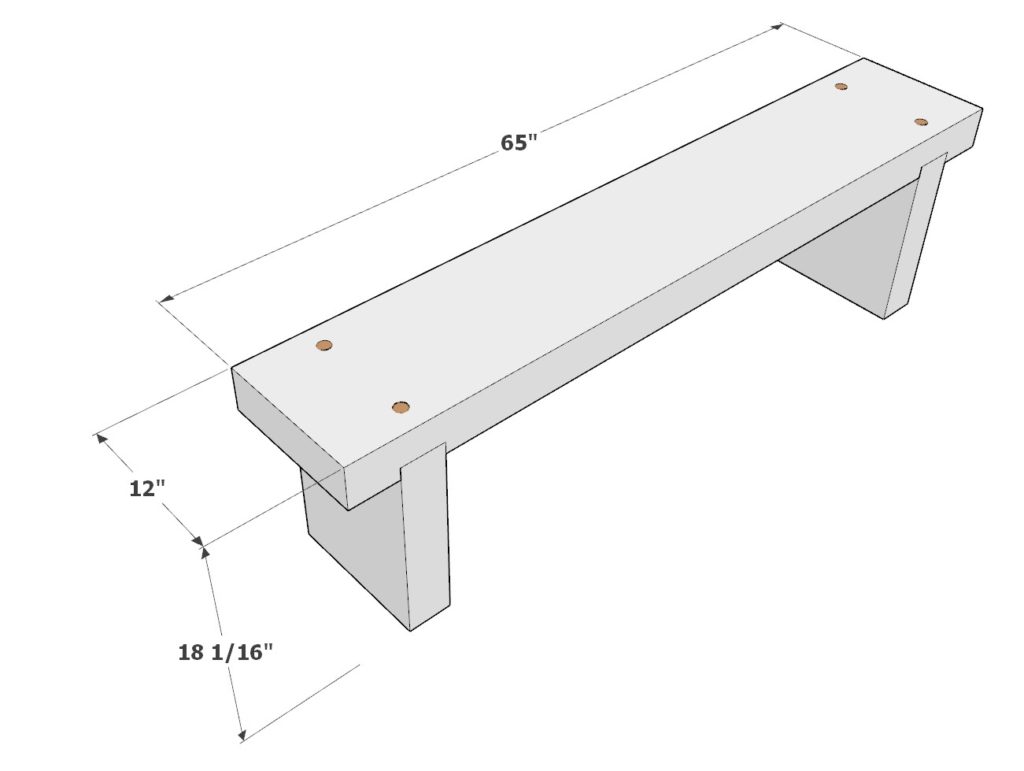
Step 1 (DIY bench)
First, cut the 8 foot lumber piece into two 15-1/2 inch pieces and one 65 inch piece.
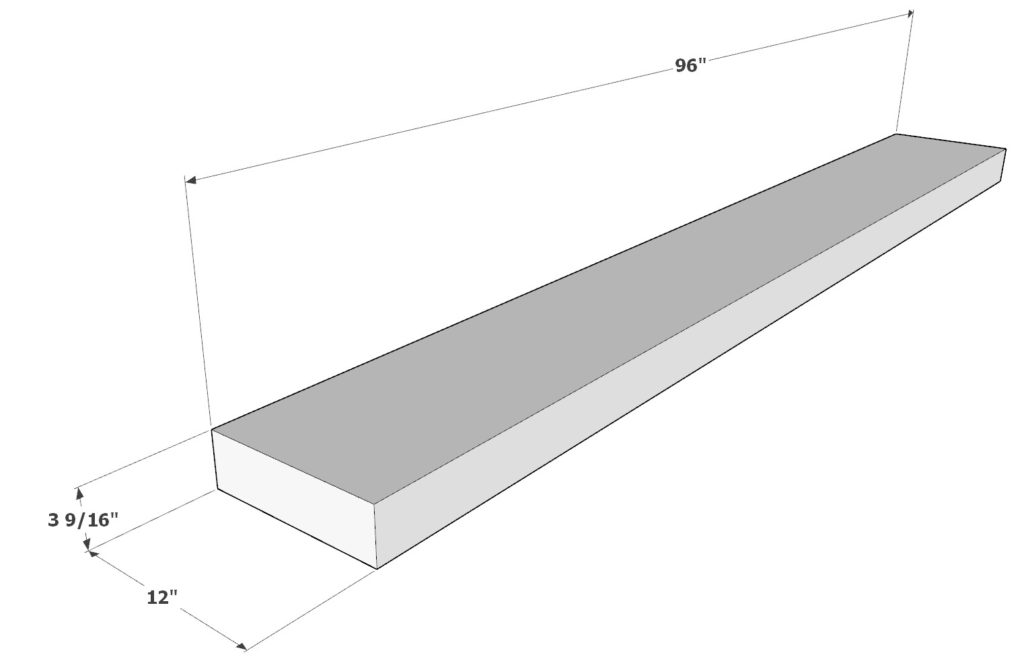
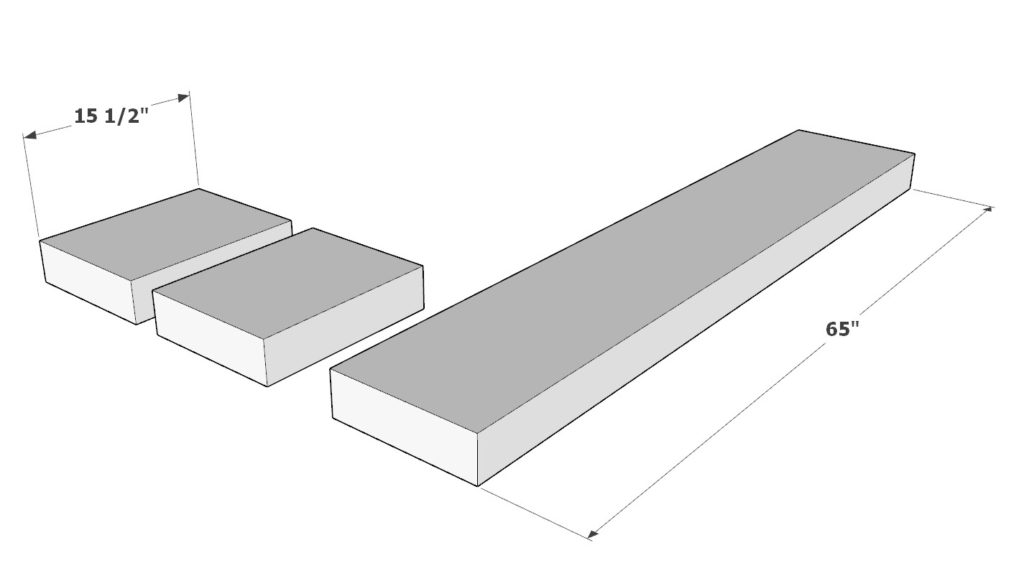
Step 2 (DIY bench)
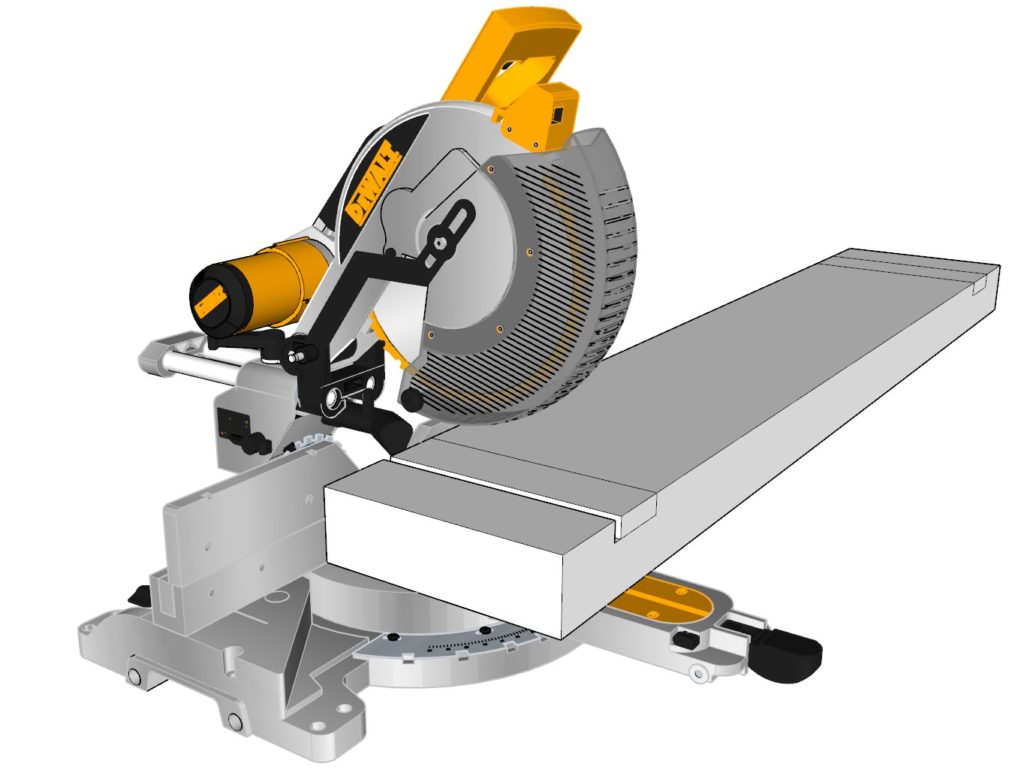
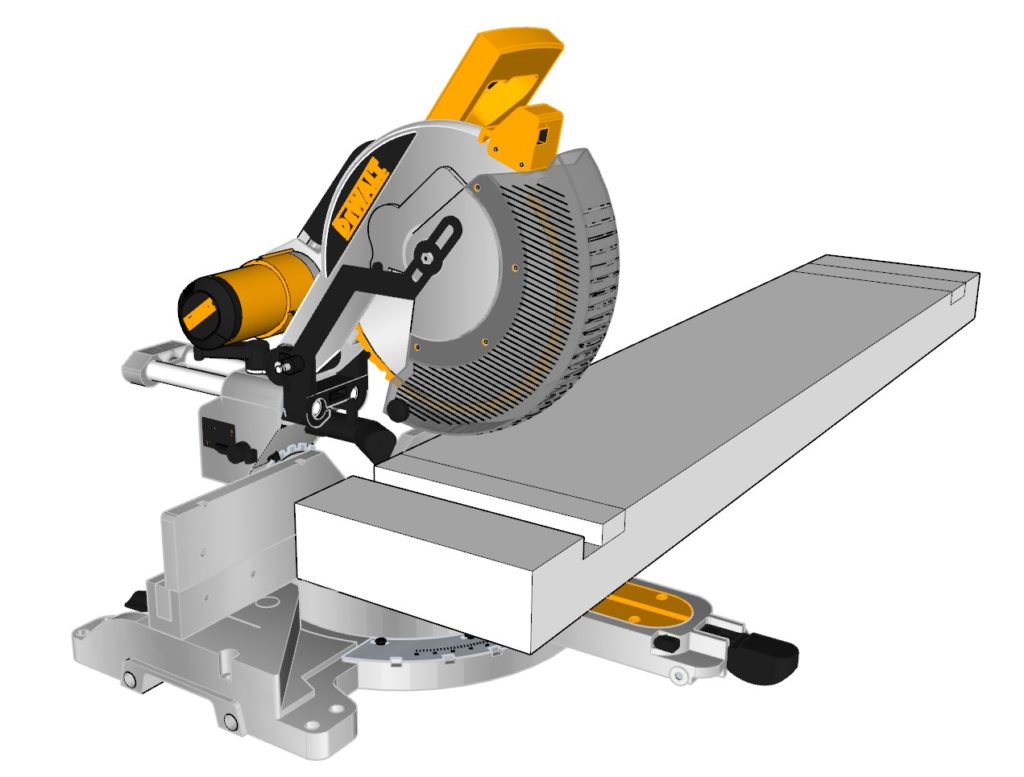
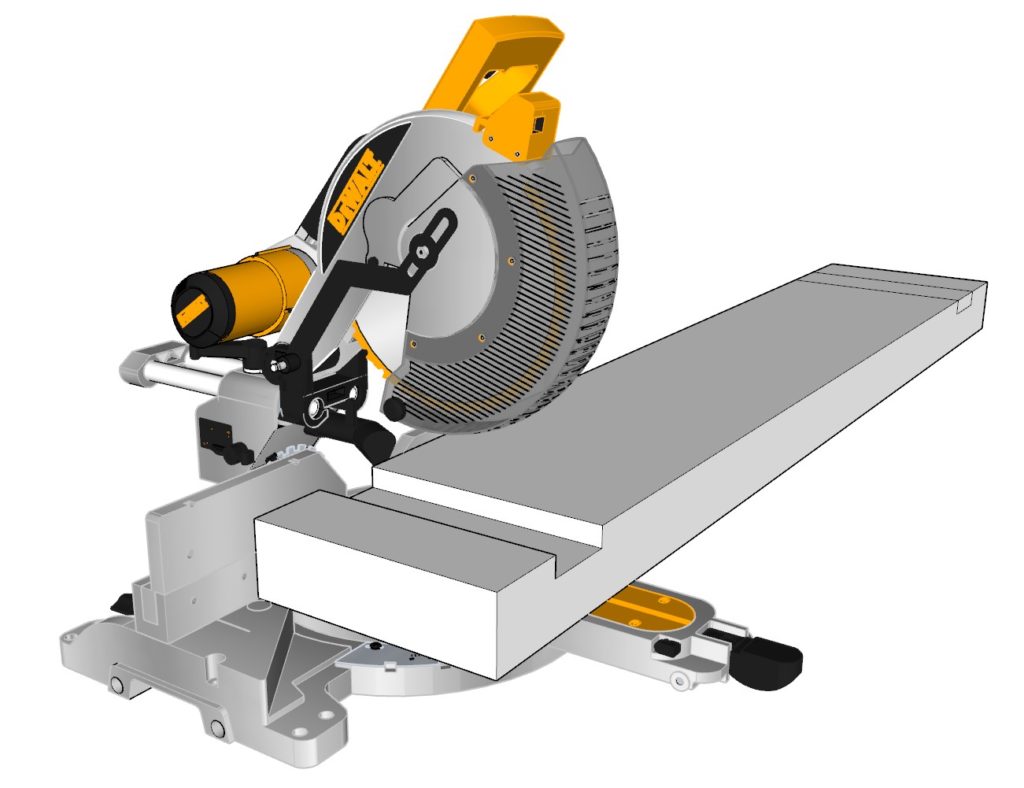
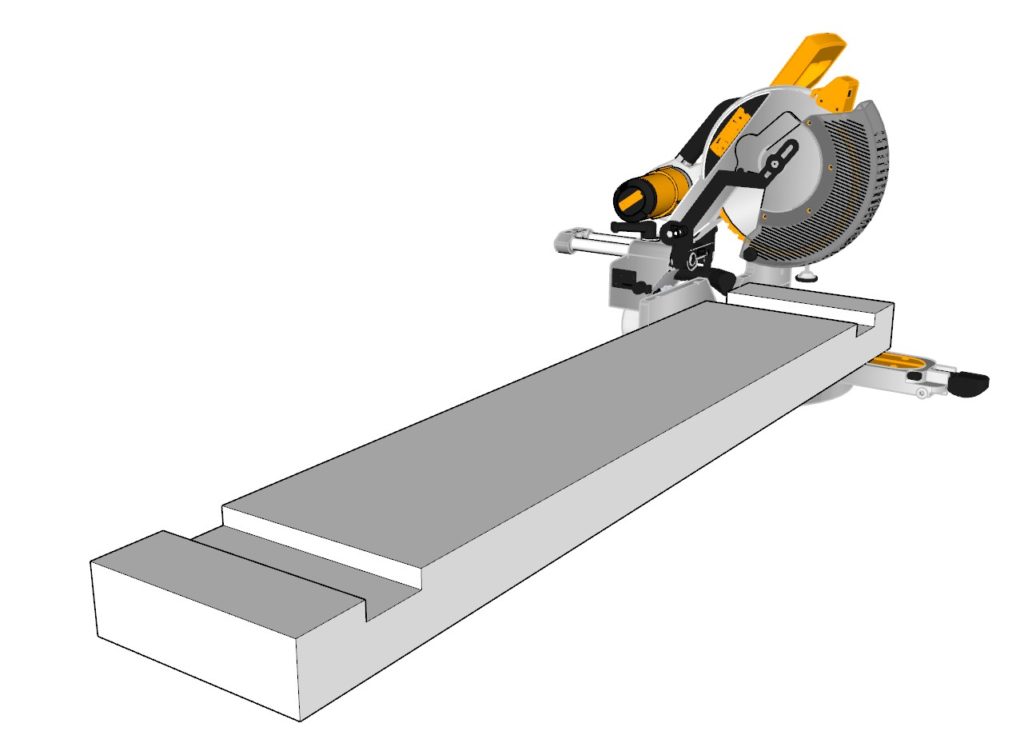
Next, You will need to cut the grooves for the legs in the 4×12 lumber seating platform.
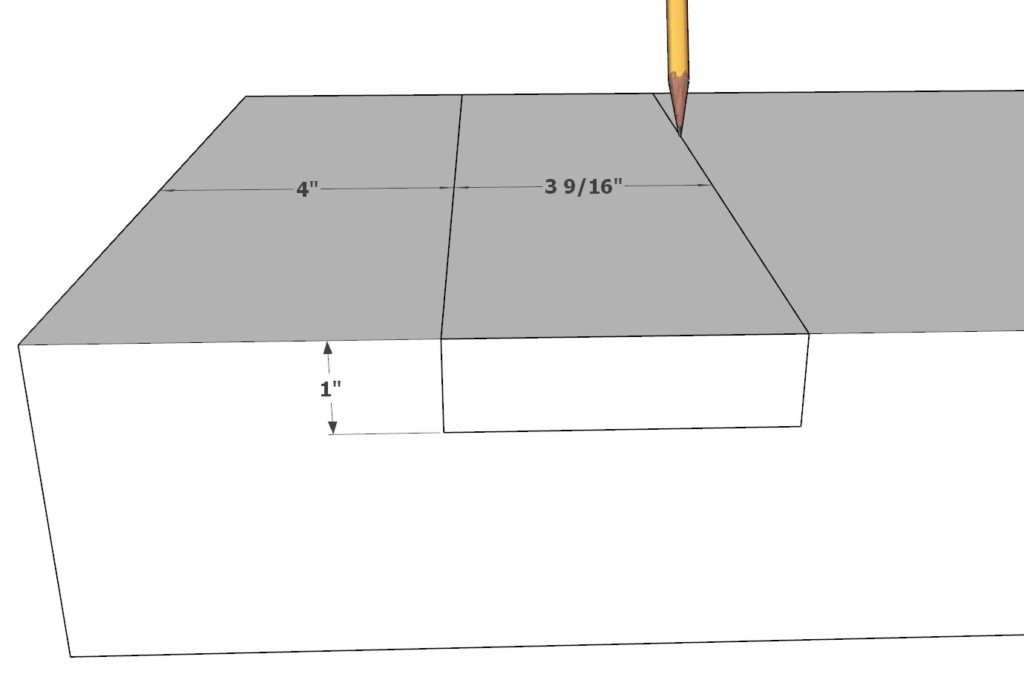
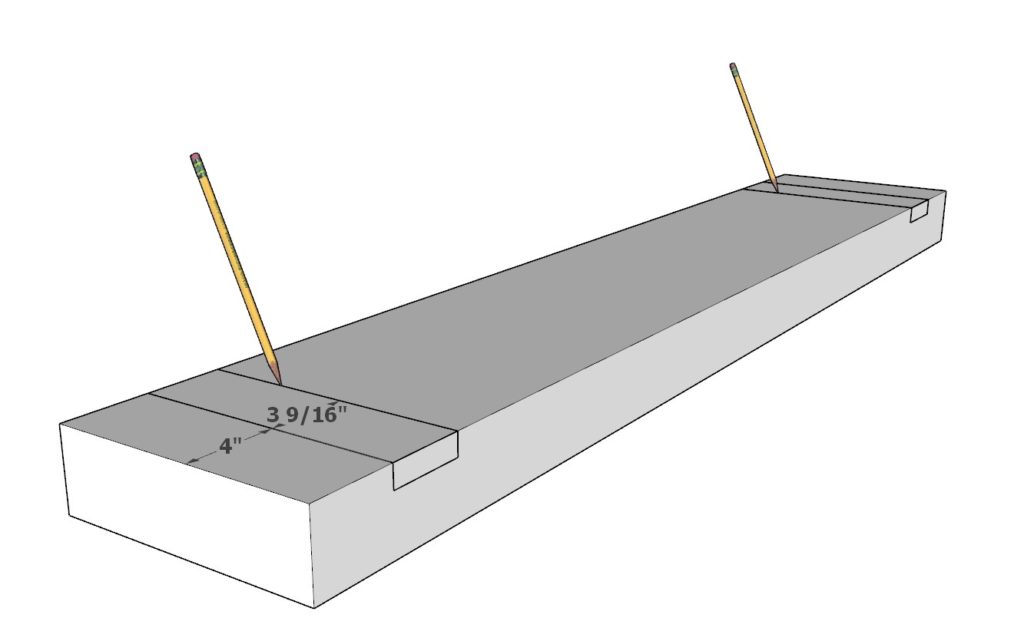
First, draw the area that will need to be cut out. Indent the cut by about 4 inches away from the edges of the seating platform. Measure out about 1 inch depth as well. Repeat this for both sides of the bench platform.
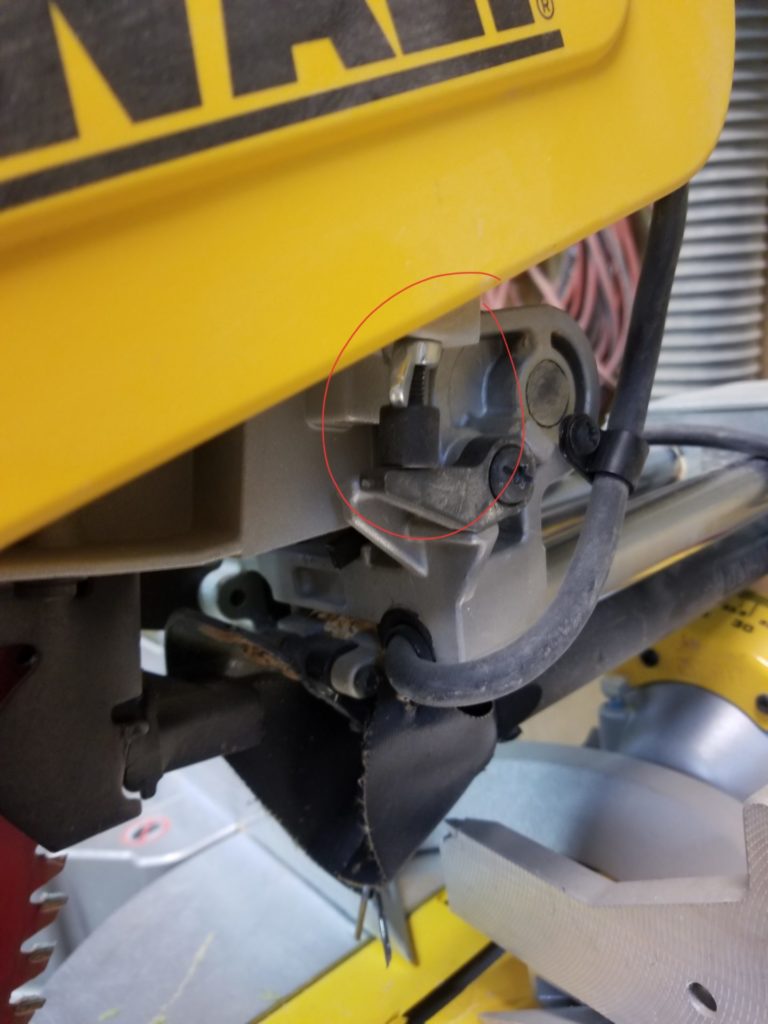
Next, use the “stopper” on the miter saw to cut 1 inch deep.
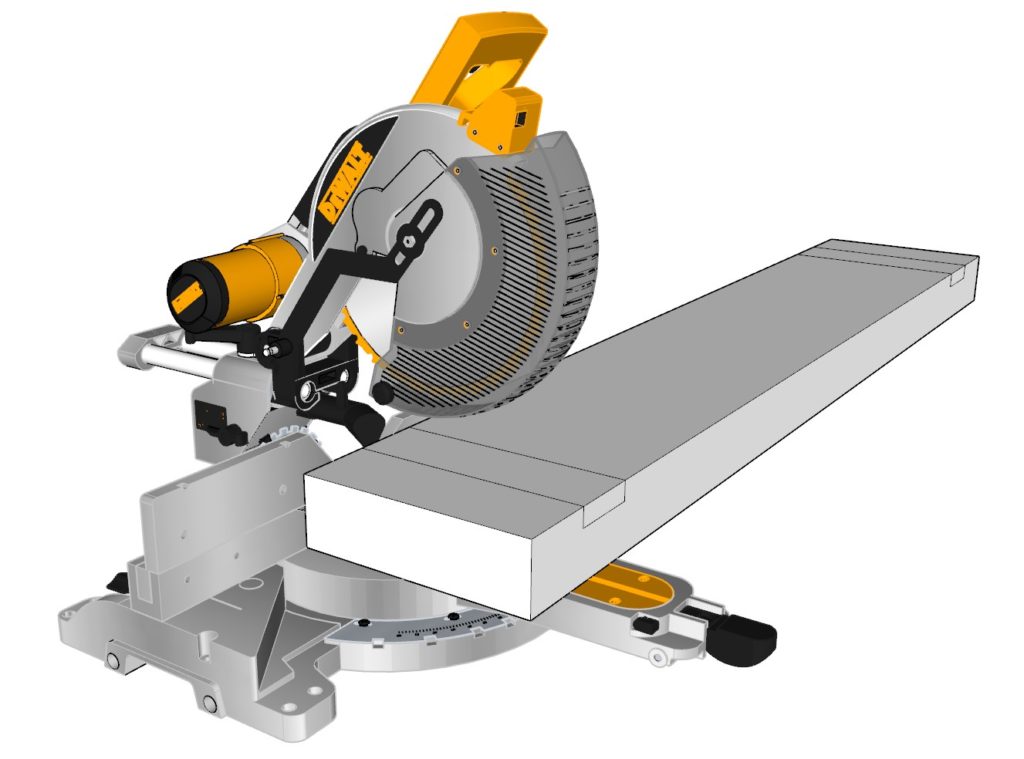
Next, use the sliding feature to side back and forth to cut out the grooves for the legs.
Repeat this on both sides of the platform as shown below.
Tip: if you miter saw doesn’t slide far out enough, you can rotate the 4×12 lumber piece to the other side and continue with the sliding feature. Use a wood chicle and sand paper to clear out the unwanted wood chips.
Step 3 (DIY bench)
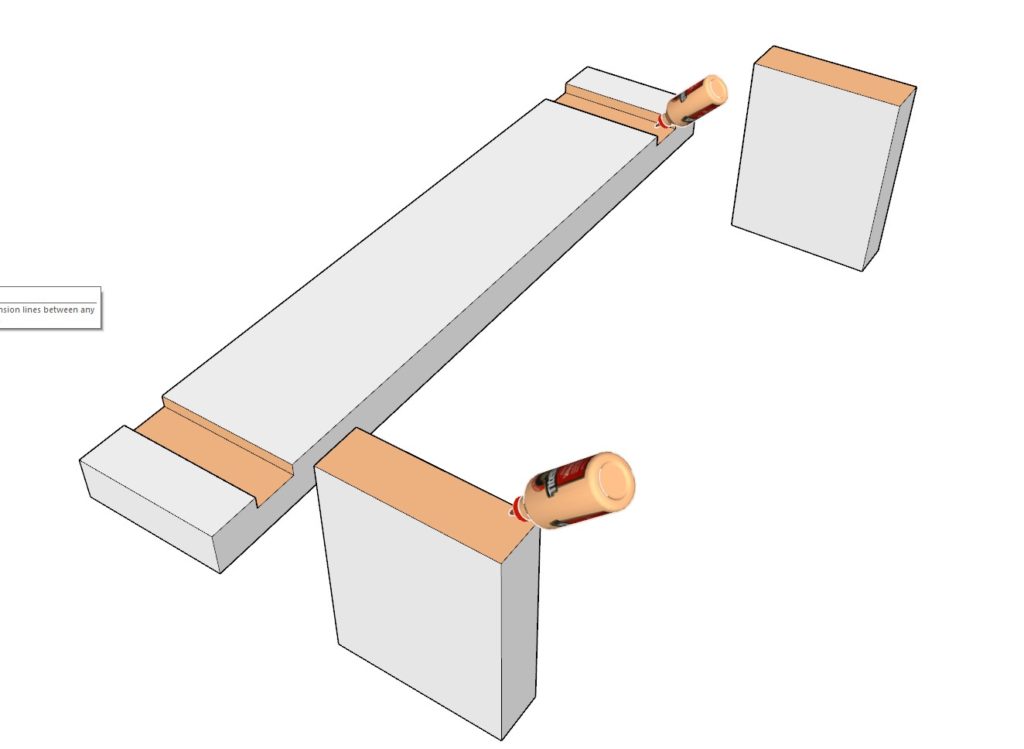
Next, add glue to all areas that will be joined together.
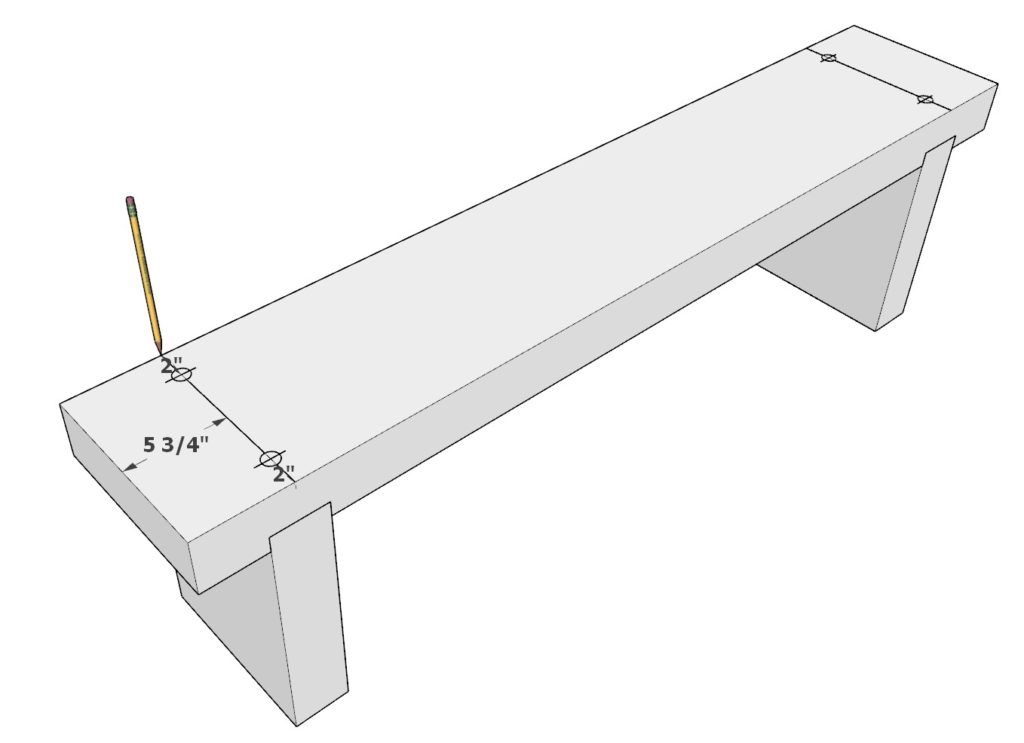
Next, place the seating platform on top of the legs and measure out the location of the placement of the screws as shown below.
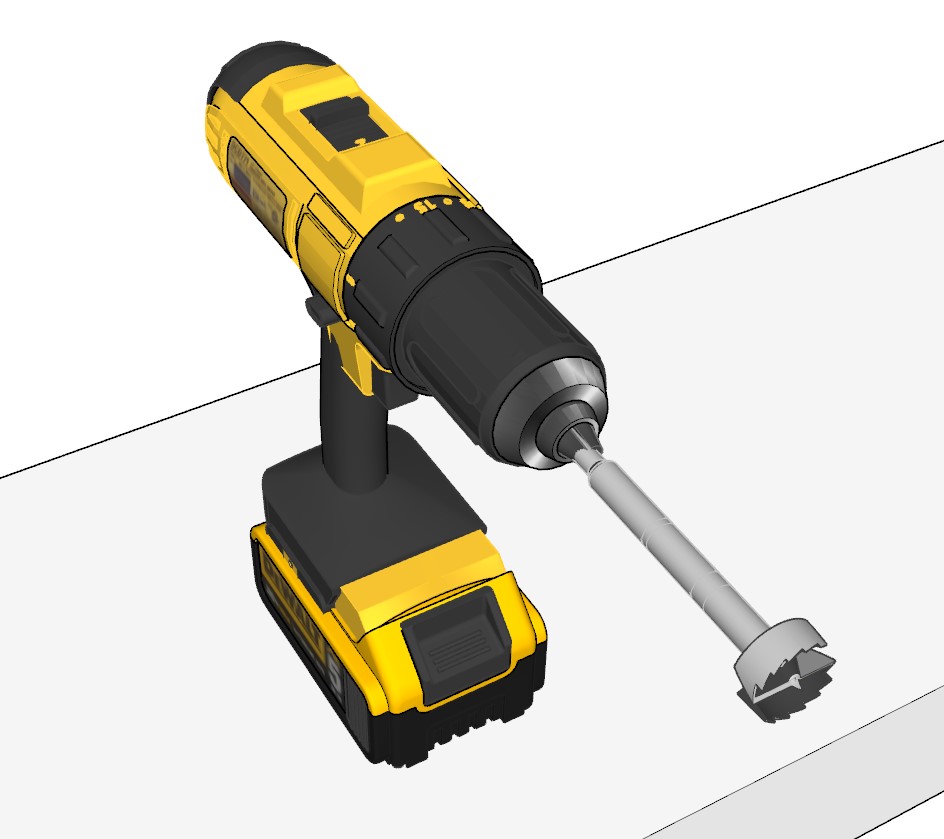
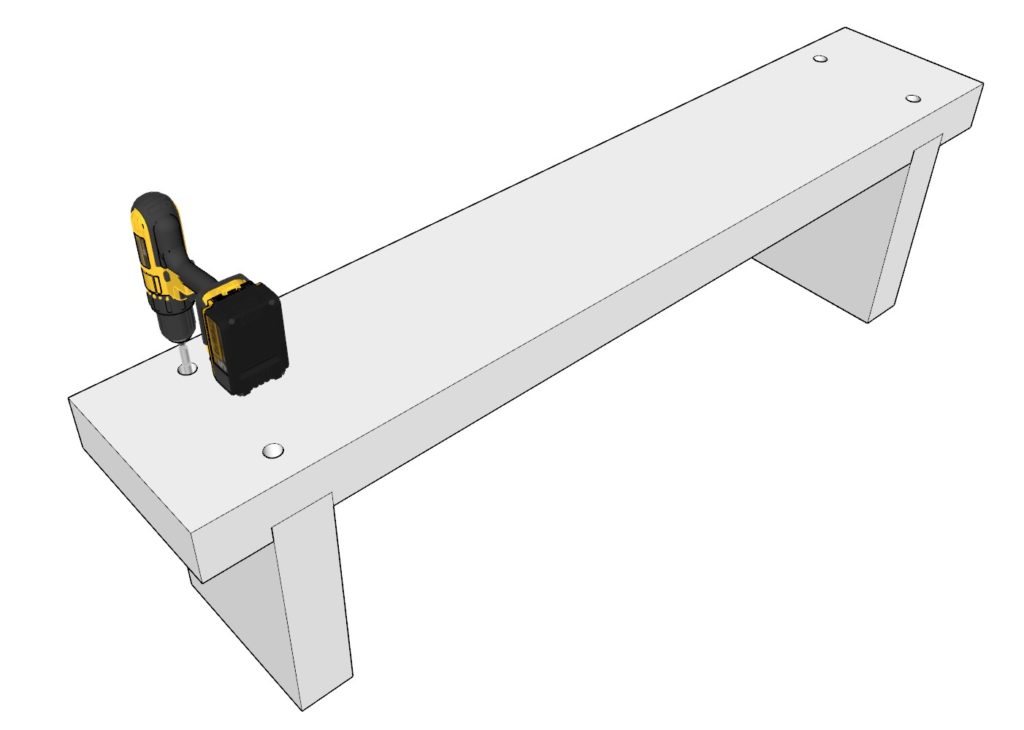
Next, drill four holes that about 1 inch deep using the forstner bit.
Lastly add the four screws in the center of the holes.

Step 4 (DIY bench)
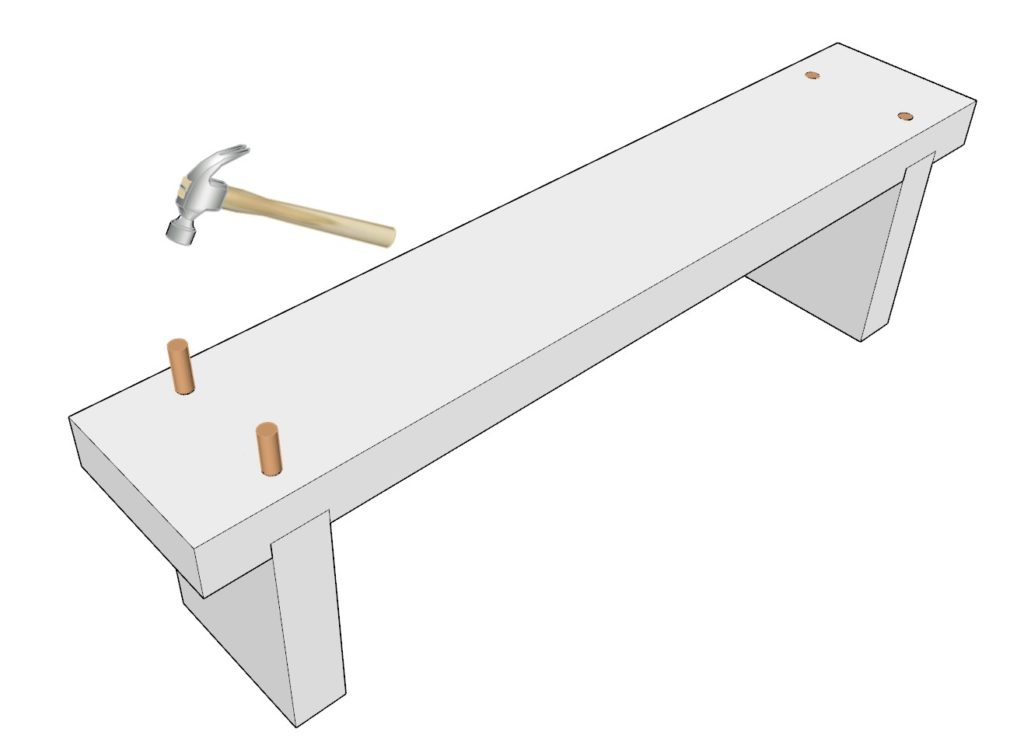
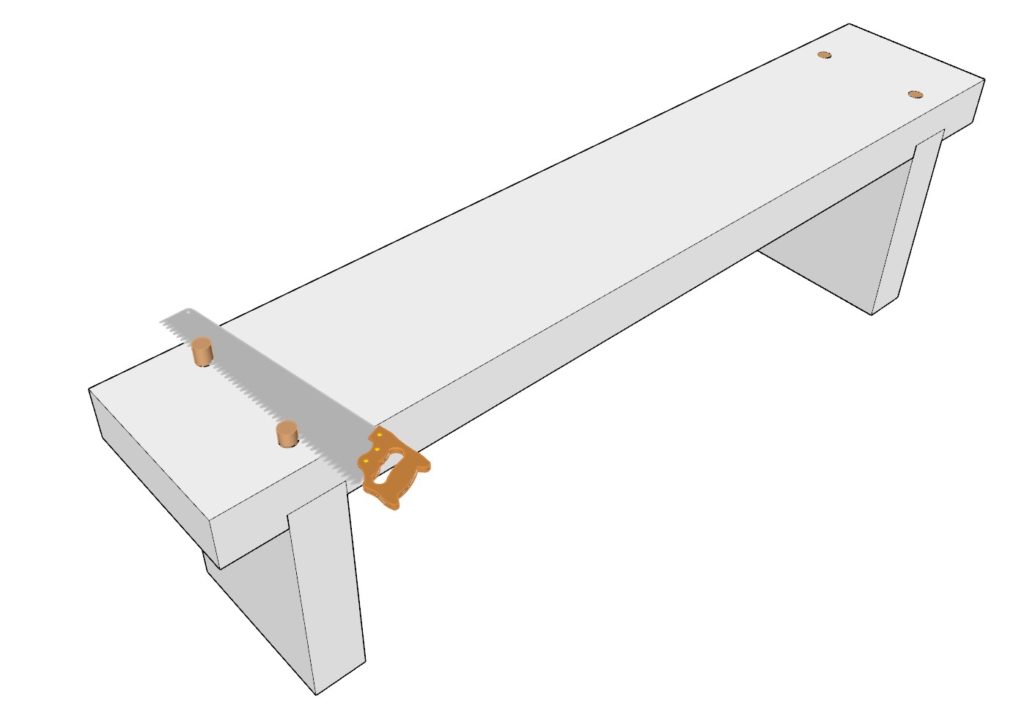
Next, “hammer” in the 1 inch dowels into the forstner bit holes. Cut off the extra with a saw.
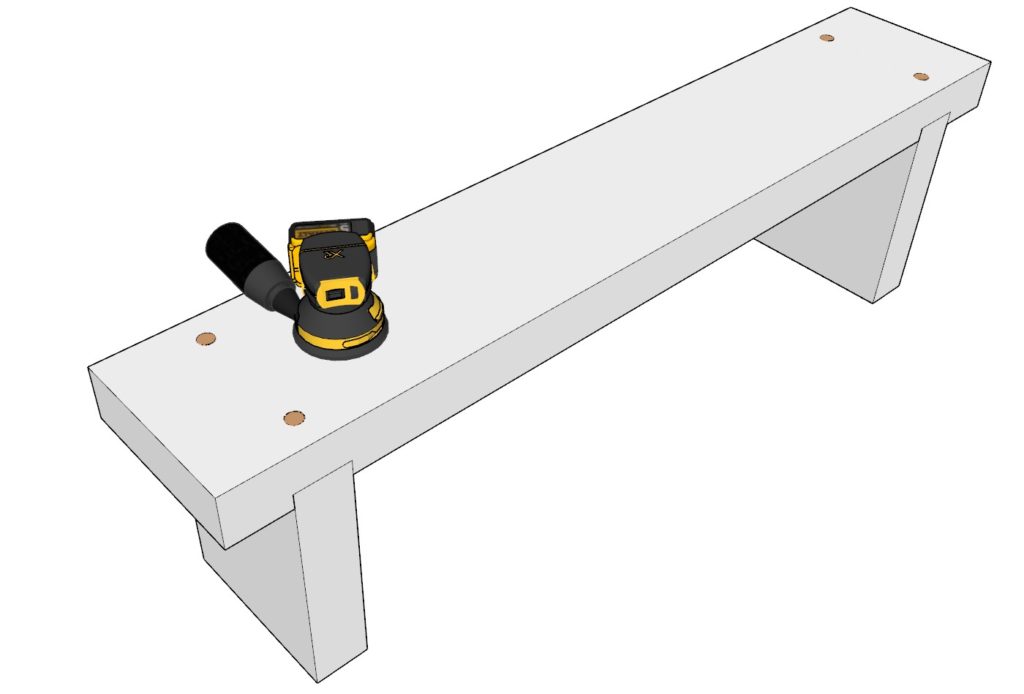
Lastly sand down the whole bench. I start with a 80-grit sand paper to take out all major imperfections, next I follow with a 220 grit sandpaper to ensure a smooth surface that is ready for staining or painting. I use an orbital sander to speed up the process of sanding.
Now its ready to be stained or painted!
