The perfect DIY photo board for your event
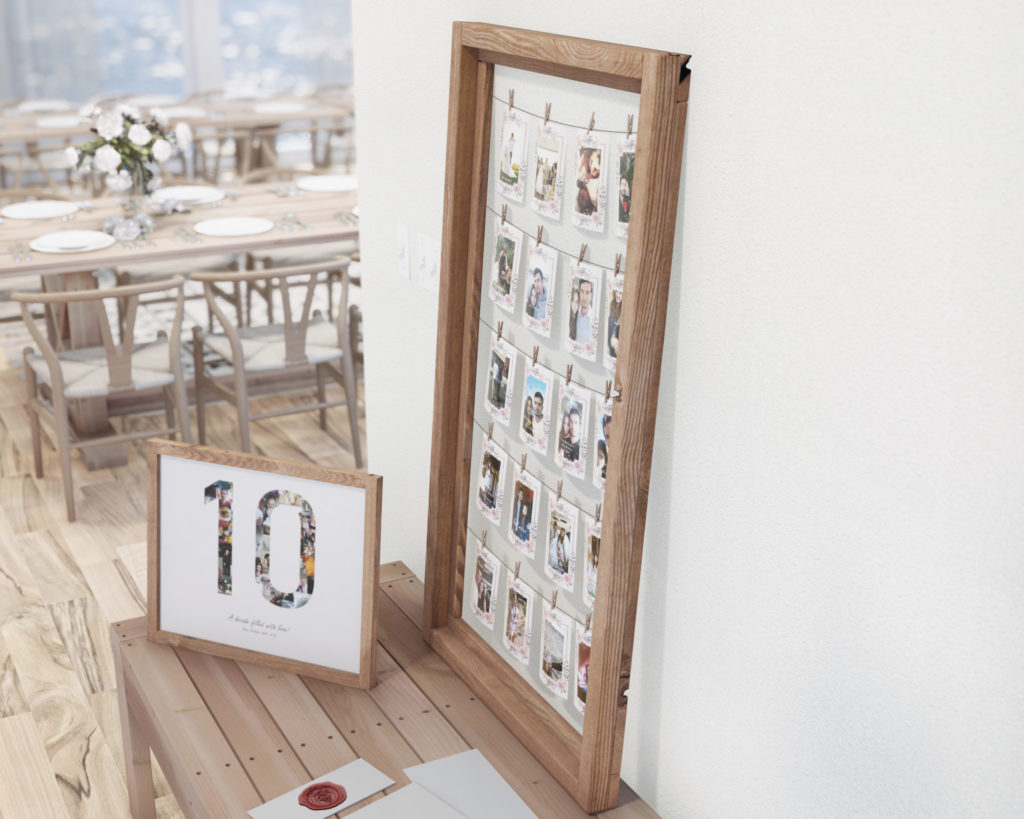
When you’re planning a wedding, anniversary, birthday, or graduation party, it’s important to choose the right décor to make the event special. The right décor can help set the tone for the event and make it more memorable for everyone involved.
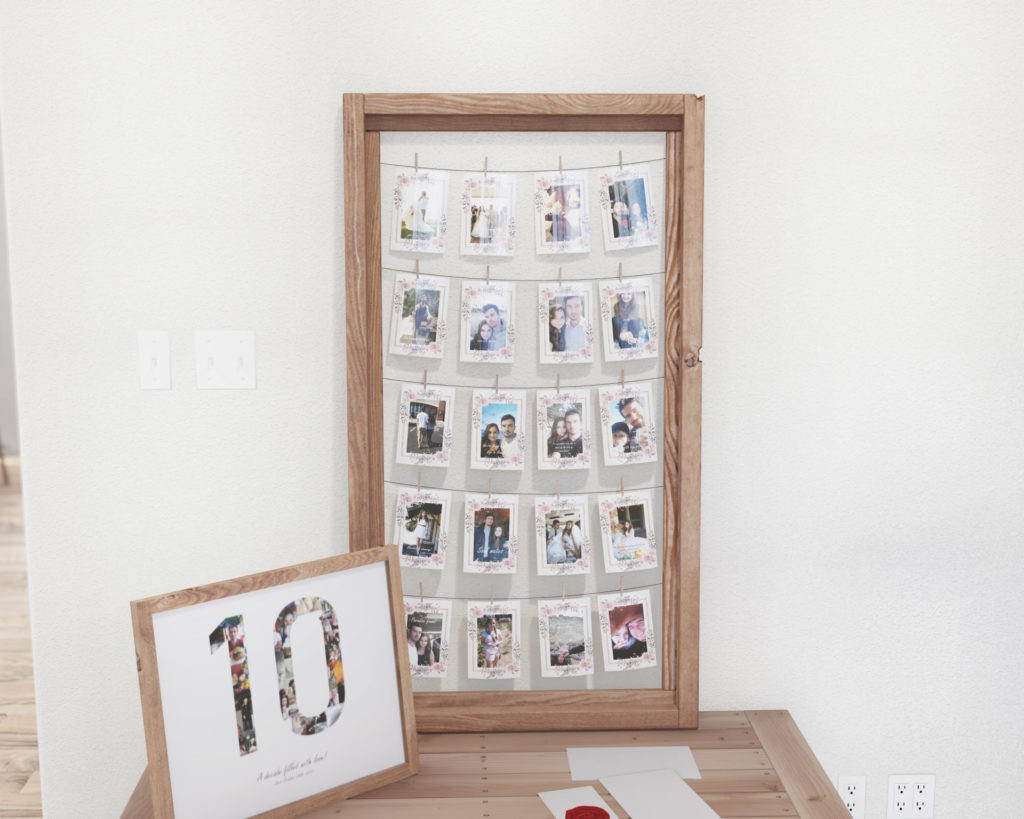
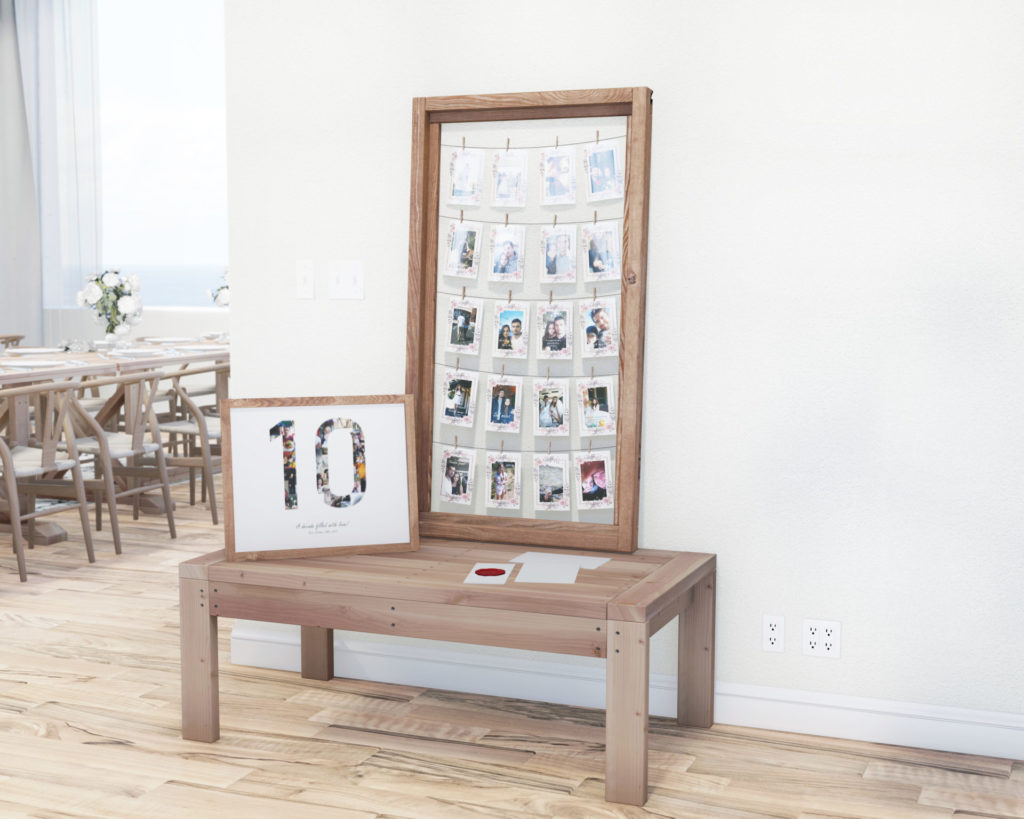
One important element of party décor is the photo board. A photo board is a great way to display photos related to the celebration/event. This picture board can be a place to honor the person, or couple being celebrated.
Benefits of this wooden display frame include:
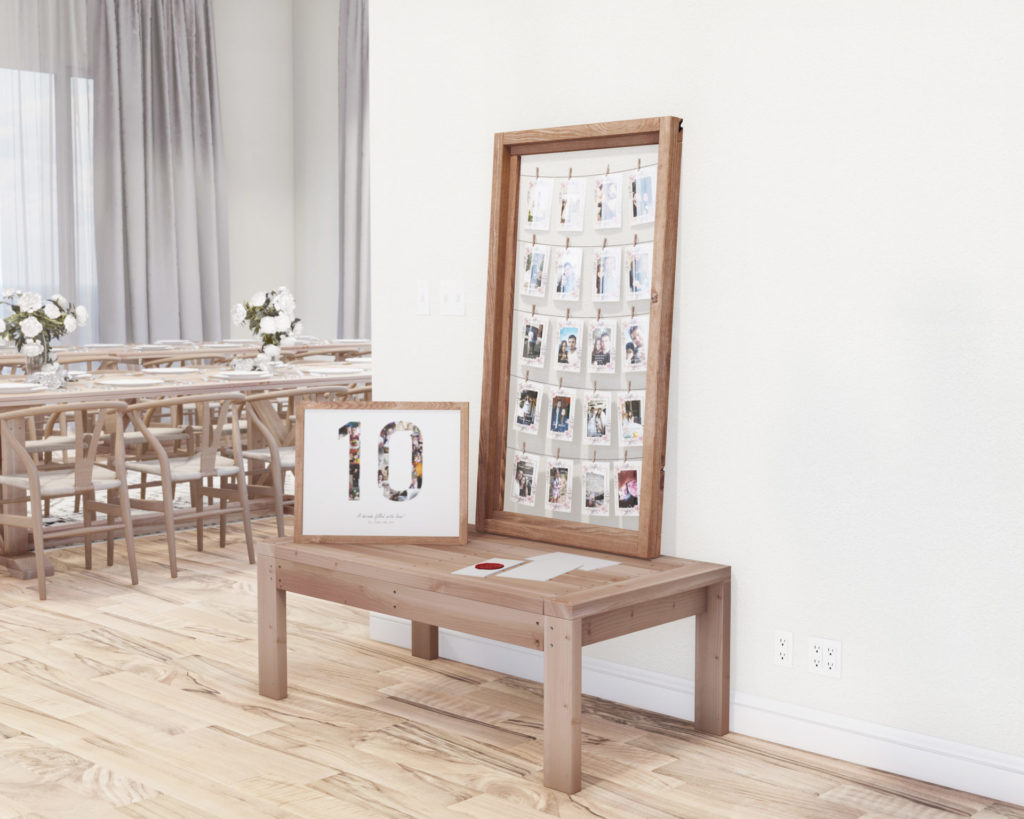
– The Picture holder is a great way to add a focal point to the event. It can help guests to remember the event years later.
– This memo board is a great way to add personality to the event. It’s a great way to show off the guest of honor’s personality or the theme of the event.
– Is a great conversation starter and is a great way to get people talking and it can help to break the ice.
– Is a great way to decorate to add a personal touch to the event.
Specifications of the DIY photo board
The wood framing pieces used to build the picture holder can be found in most hardware or craft stores. You could alternatively use reclaimed bard wood strips or old fence frame wood cut aways. If your goal is to build this without having to make any complicated or time-consuming cuts, then you can purchase 2×2 lumber and 2×3 lumber from the store.
I chose to work with redwood because I liked how the grain of the wood stood out and really added character to the overall look of the frame. I purposefully chose lumber pieces that had defects, holes, and missing areas. These in my opinion make the overall look more rustic and aged (would like to mention you can always ask for a discount on wood when buying damaged or broken wood pieces from a store).
The wood pieces are joined using a small mailer and glue.
Recommended photo print size and attaching the photos.
I use 4 in x 6in prints in my display. These are attached by small clothes pins to the string.
It’s a simple project that can be done in under an hour, and you can customize the string of photos to be as long or short as you want. Plus, it’s a great way to show off Polaroids or other small photos.
Old Wood: The Beauty of Age and why aged wood is in style
When you look at a piece of old wood, it tells a story. The wood may be from a barn that was built in the 1800s, or a tree that was cut down and made into a piece of furniture. Whatever the story is, looking at old wood can take you back in time.
There is something about the patina of old wood that is very appealing. The way the wood has aged and the way the grain has changed over time is beautiful. Old wood has a lot of character and personality.
People are also drawn to old wood because it is unique. You can find old wood in a lot of different places, but it is not always easy to find. When you do find it, you know that it is special and you want to keep it.
Old wood is also very durable. It has been through a lot in its lifetime and it has been tested by time. This makes it a great material to use for furniture or other pieces in your home.
How do I make new wood look old?
If you don’t have access to or don’t have time to get beautiful, aged wood then There are a few ways to make new wood look rustic. One way is to distress the wood using a variety of tools. You can use a hammer, screwdriver, chisel, or anything else that will create dents and scratches in the wood.
Additionally, you can then stain the wood with a dark stain, such as a walnut or mahogany stain. Wipe the stain off the wood with a rag. The stain should stay in the dents adding a worn look to the wood. You can also paint the wood with a dark paint, such as black or brown, and then distress it once it dries.
Time to build
1 Hour
Total cost of build
About $15 per panel
Skill level required
Beginner
Download the PDF plans

Portable Wooden Photo Board DIY Plan PDF
What is included in the PDF download?
- Easy to read step by step instructions
- Material list
- Tools needed
- Helpful links to materials and tools needed
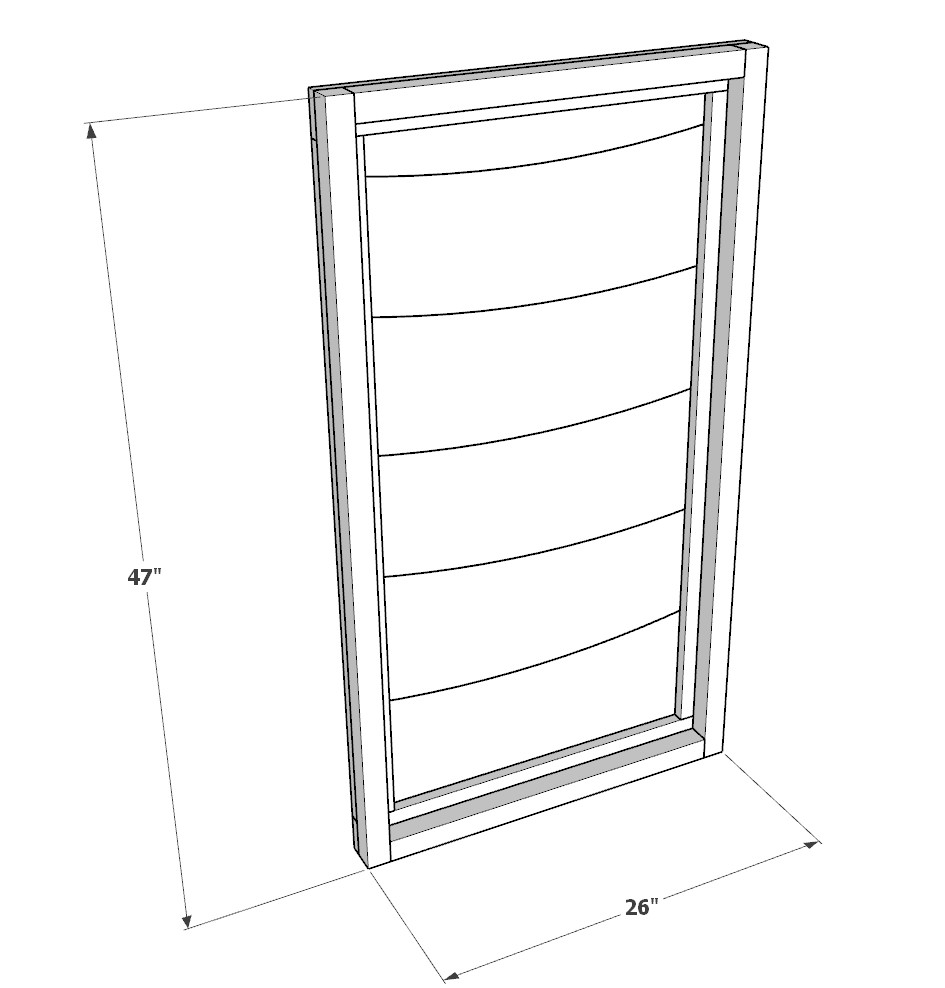
DIY wooden photo and memo board dimensions
Recommend tools and materials
- Saw
- Sander or sand paper
- Stain (optional)
- Wood glue
- Nail gun and small pack of 1″ nails and a small pack of 2″ nails.
- Staple gun or tacks
- string
- Miniature cloths pins
- (20) 4in x 6in picture prints.
Lumber shopping and cut list
Available with purchase of the DIY PDF. Thank you for your support and making this website possible!
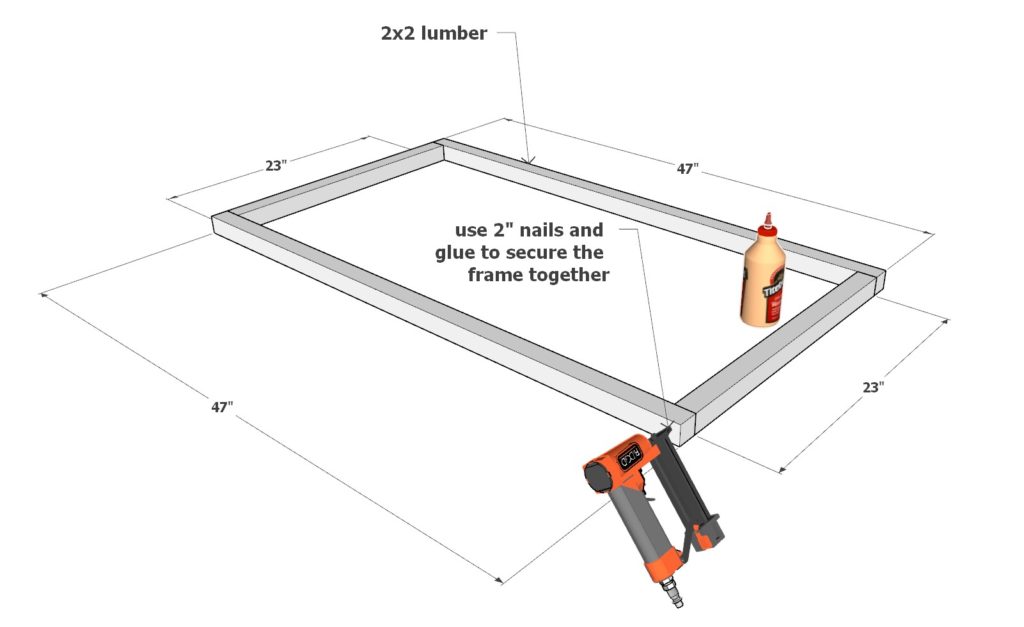
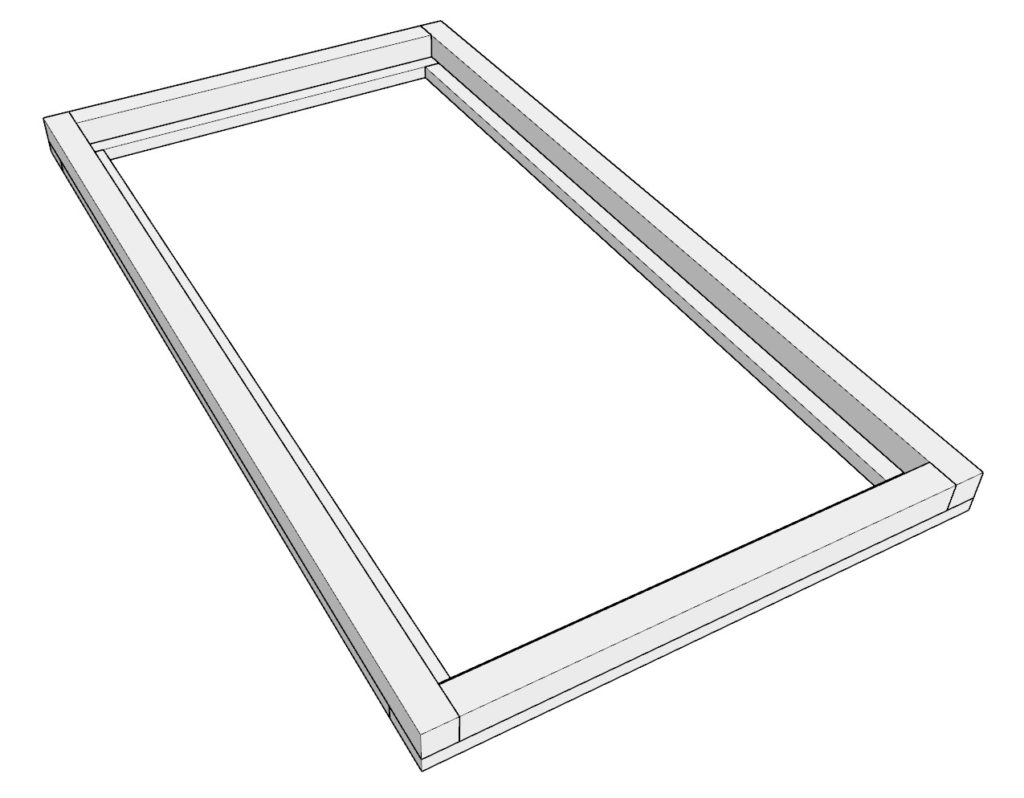
Step 1 (Build the primary frame of the DIY wood photo holder)
First, build the main frame of the photograph holder. Take two 47 inch 2×2 lumber pieces and two 23 inch 2×2 lumber pieces. Arrange them as shown below. Join the lumber pieces by adding glue and 2″ nails.
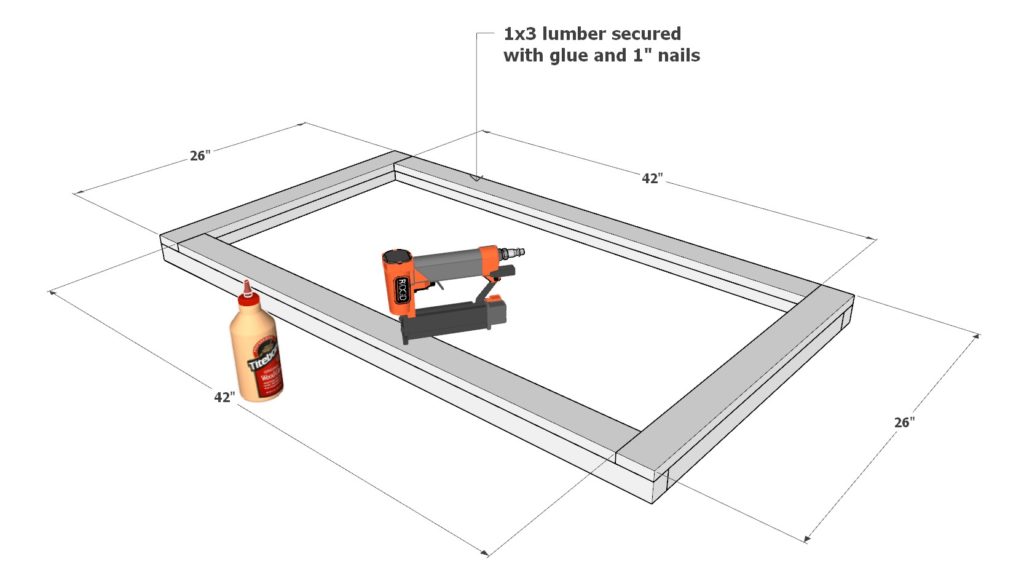
Step 2 (Adding the secondary frame to the DIY photo board)
Next, add the secondary frame that goes directly on top of the first frame.
Take two 42 inch 1×3 lumber pieces and two 26 inch 1×3 lumber pieces and arrange them as shown below. Attach these using glue and 1 inch nails.
Allow for the frame to dry.
If your thinking about staining, distressing, or painting the frame then do so prior to moving on to the next step.
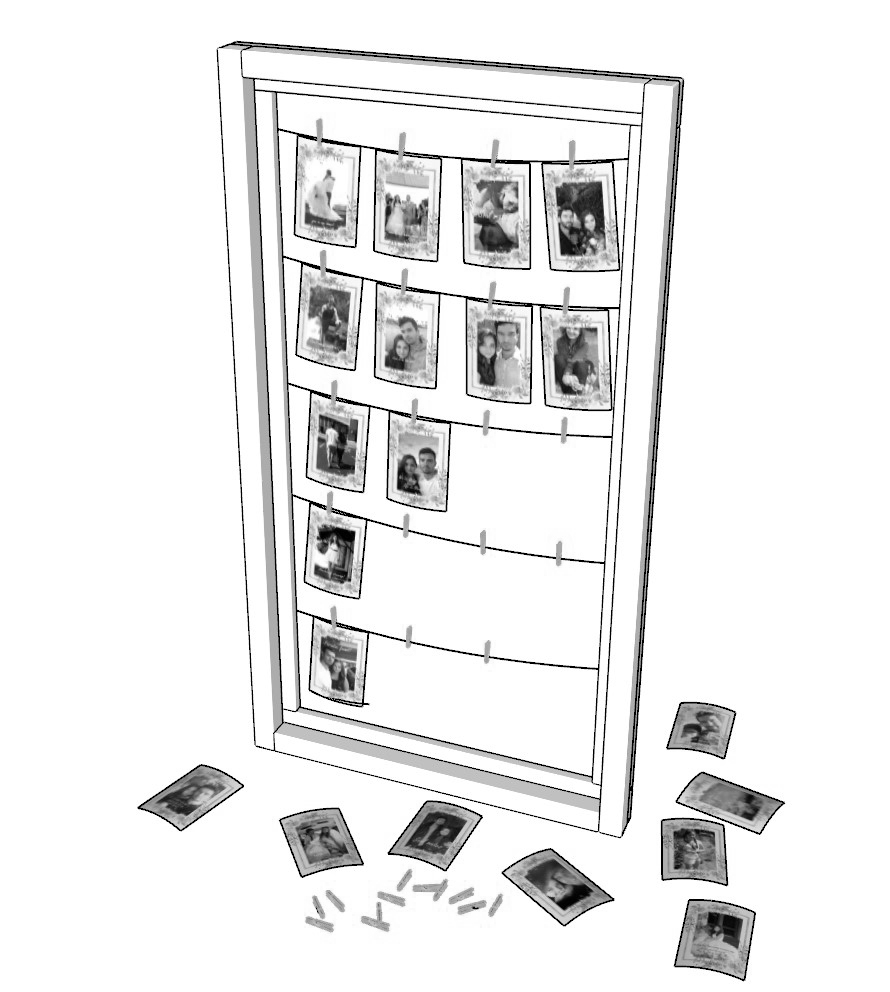
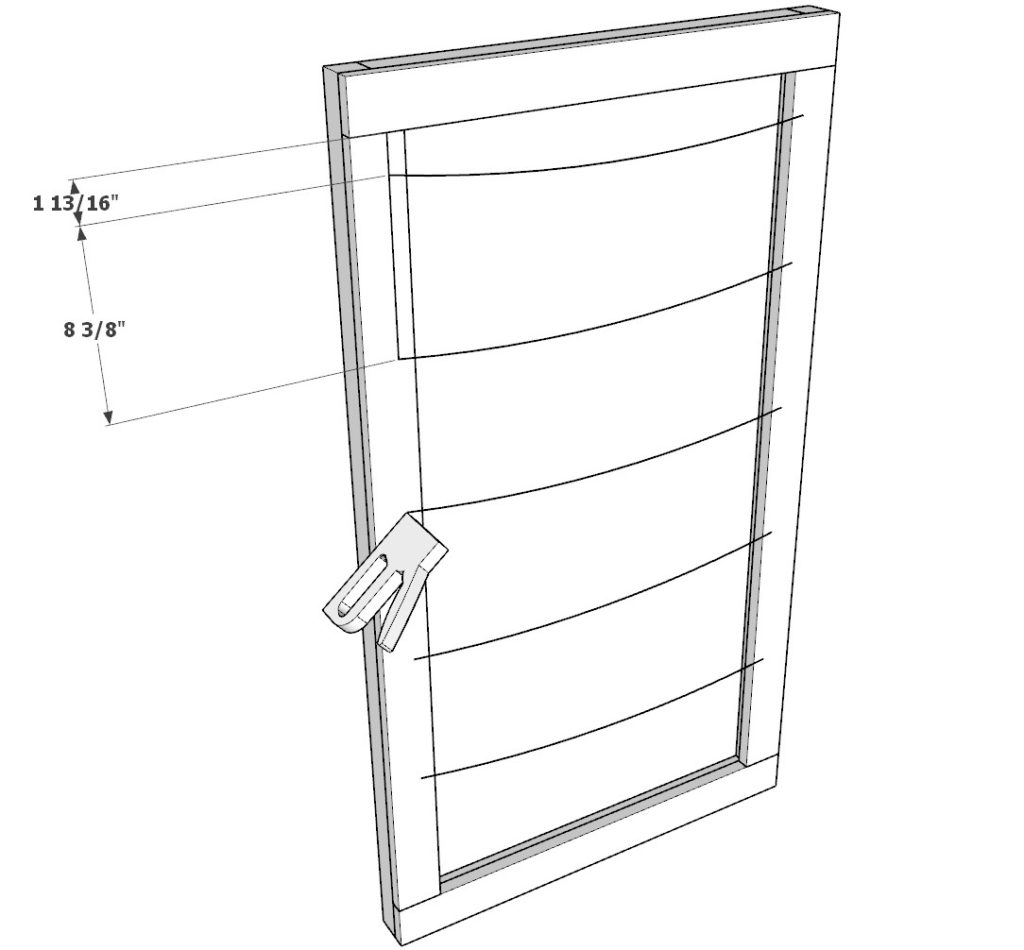
Step 3 (Adding string to the DIY wooden picture display frame)
Next, add string to the picture frame. You can alternatively use twine, cords, yarn, thick thread, thin rope, lines, cables, or wires depending on the style of décor you are going for.
Space out the string lines about 8-3/8 inches apart for 4in x 6in photo prints. Indent the first space by about 1-13/16 inches.
Secure the line using a nail gun, small nails, thumbtacks, hot glue, or push pins.
Step 4 (Attaching the photos to the wooden photo frame display board)
Next attach the picture to the wooden display frame. Use miniature cloths pins and add the photos to the line.