DIY outdoor bar overview:
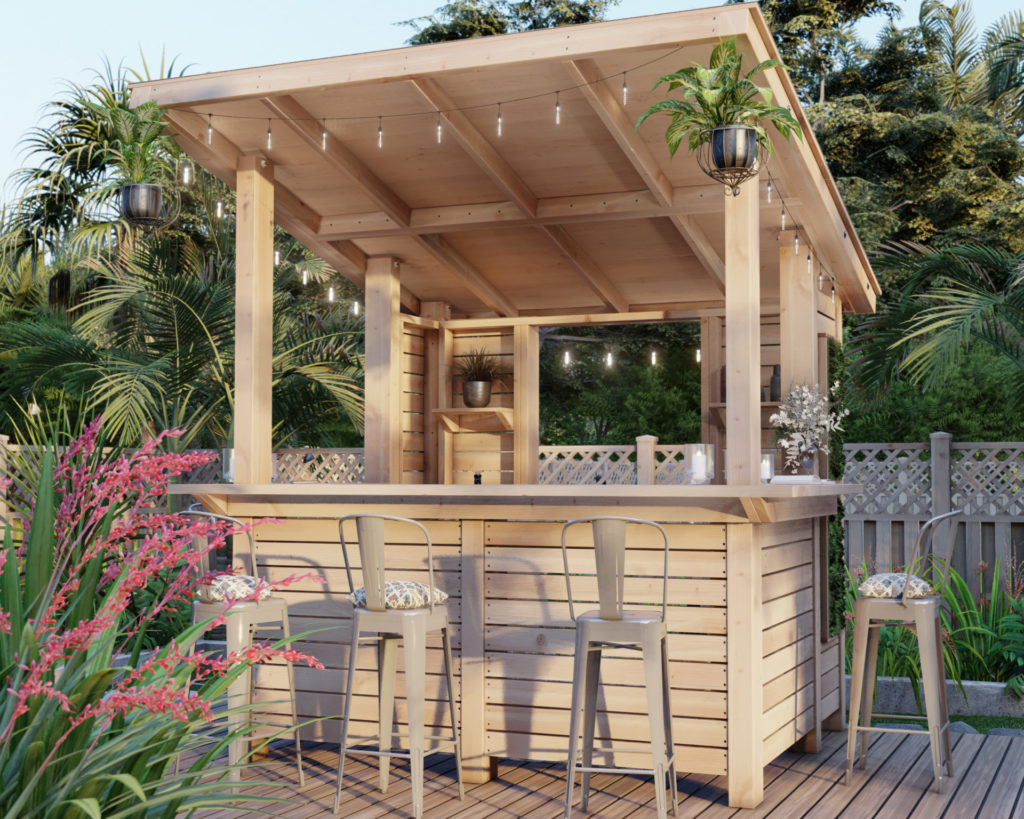
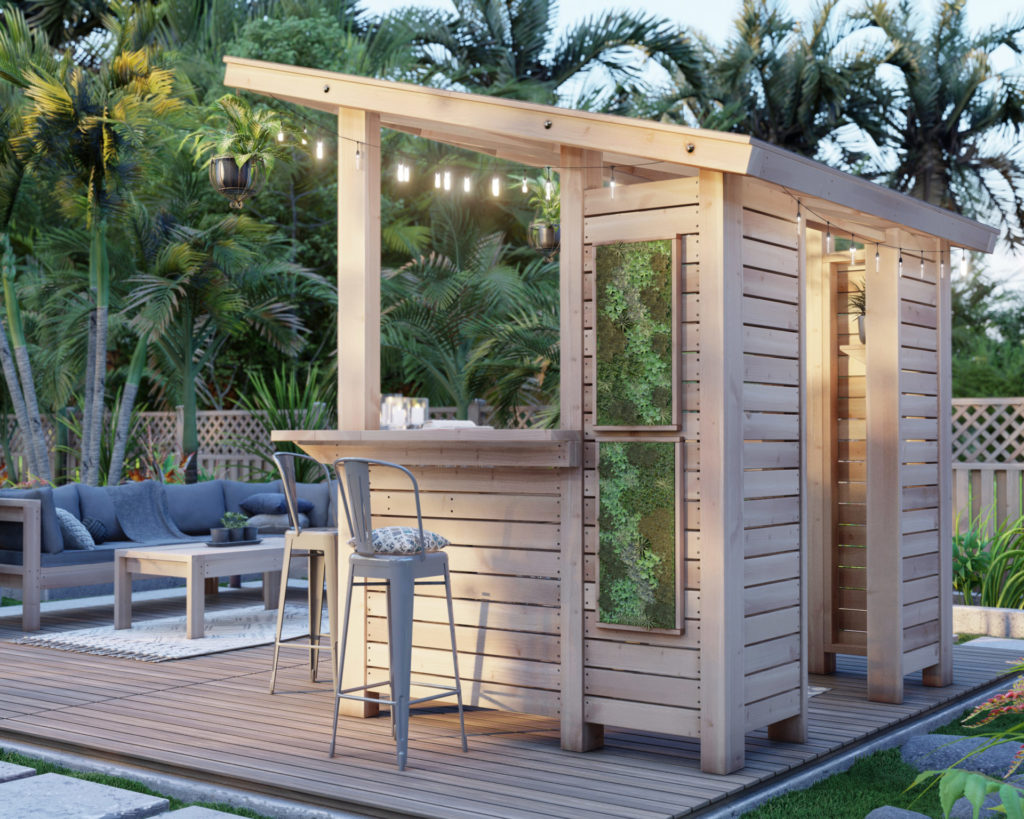
Enjoying time at a DIY bar can be a great way to spend a summer evening or weekend afternoon. This fantastic DIY outdoor bar oasis can be used for a variety of purposes, such as a place to entertain guests, a spot to relax and enjoy the outdoors, or a place to simply store and serve drinks.
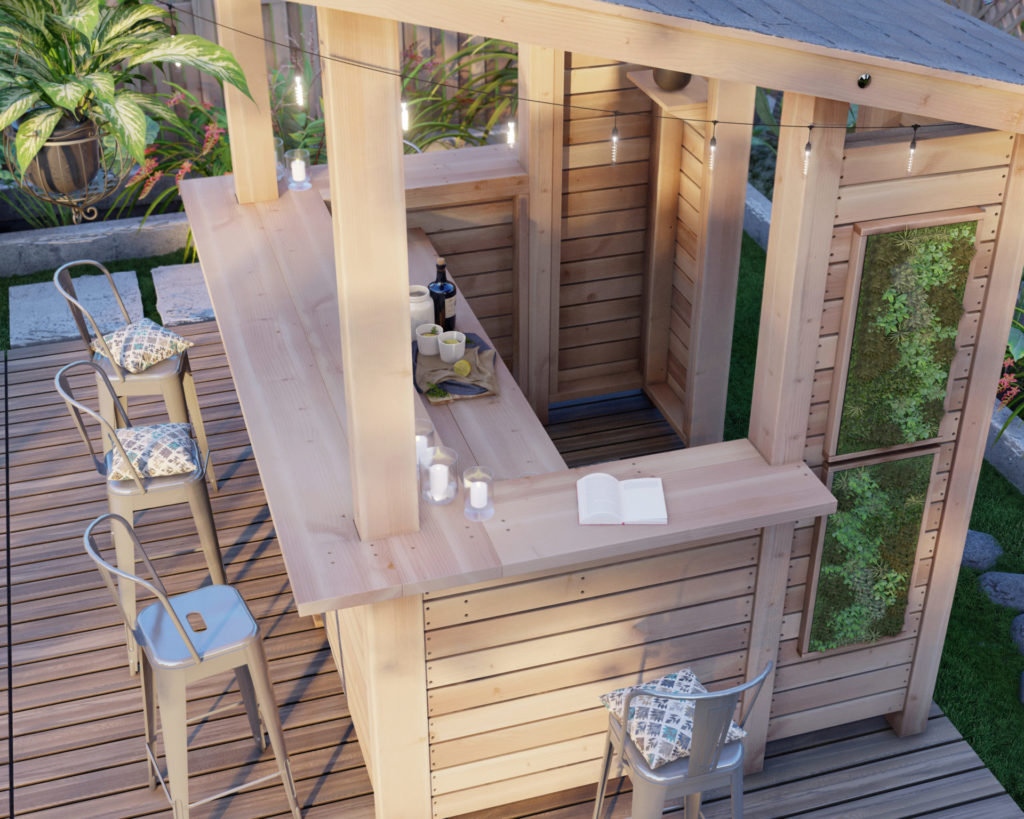
One of the most important features of the outdoor deck bar is spacious seating under an open roof. The bar top that is can comfortably seat 5 people so that your guests can enjoy their food and drinks without feeling crammed for your next cookout.
The roof helps protect you and your guests from the sun and rain. You can utilize the roof to adding personal touches to customize the look and feel of your bar to match your personal style. One way is to add string lights around the perimeter of the roof or by adding hanging plants or flowers. You could also add a sign or banner to the roof.
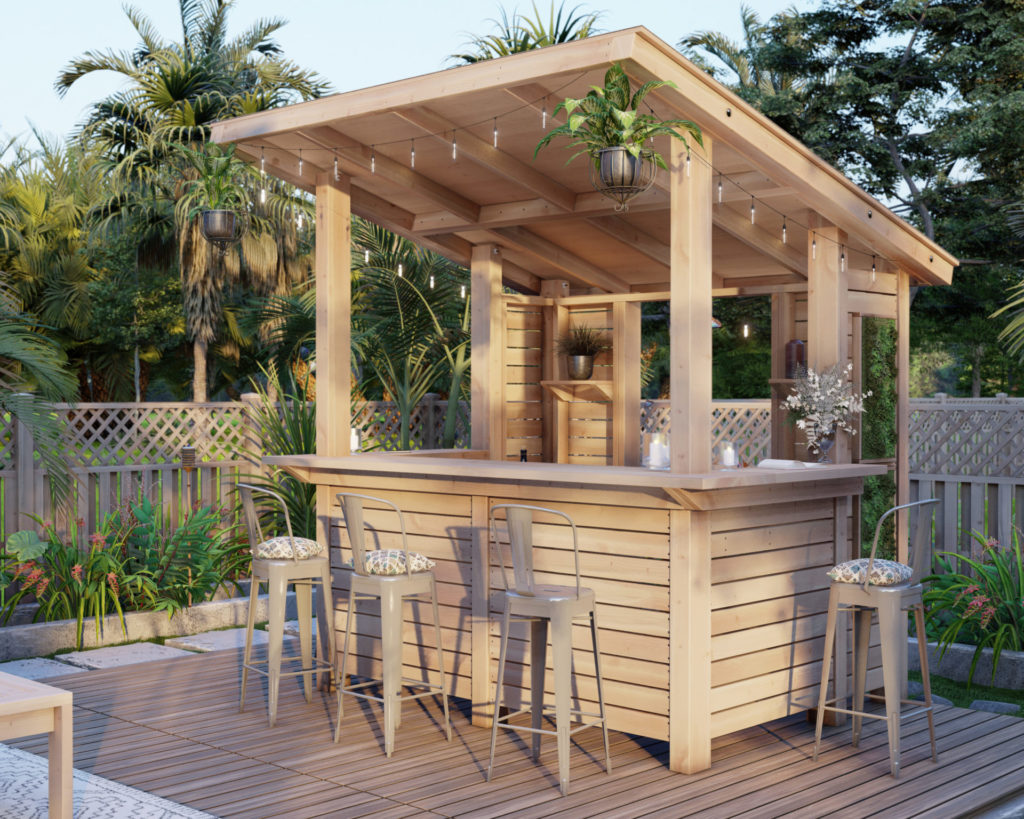
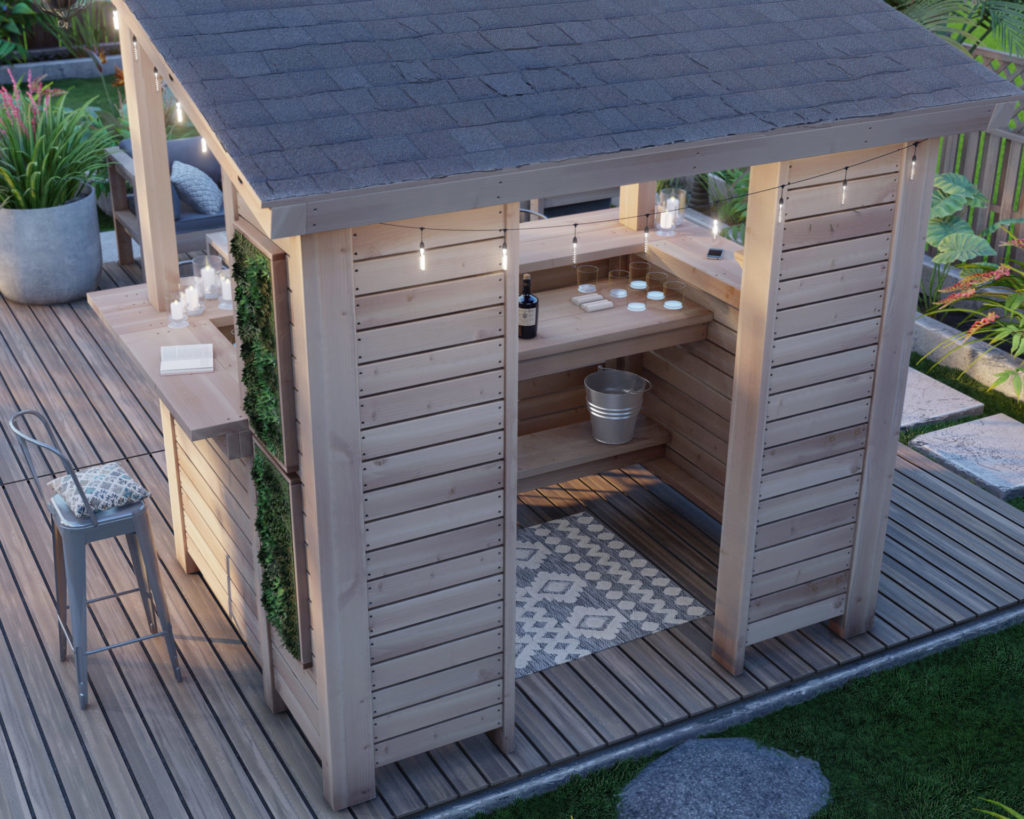
This DIY outdoor bar is more than just seating, it provides a space that enables you to host and service the guests and family in a more organized and professional way. The two arms of the DIY bar provide an area where a mini refrigerator, kegerator, ice maker, or wine cooler can be set up.
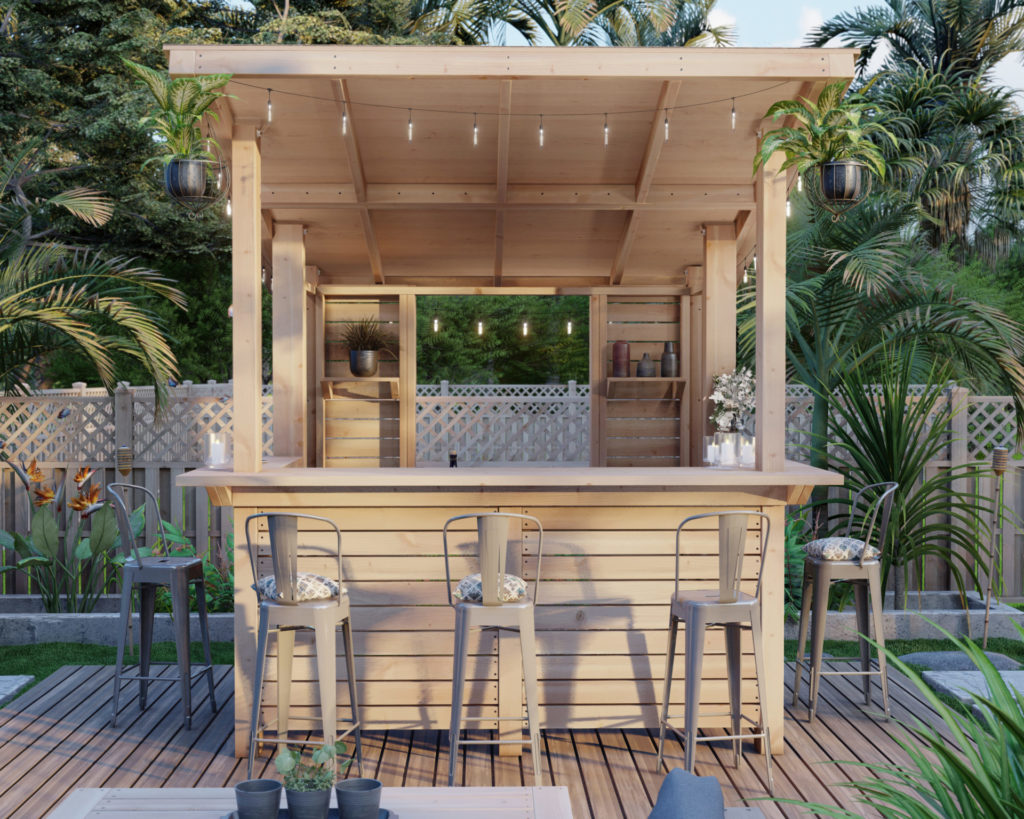
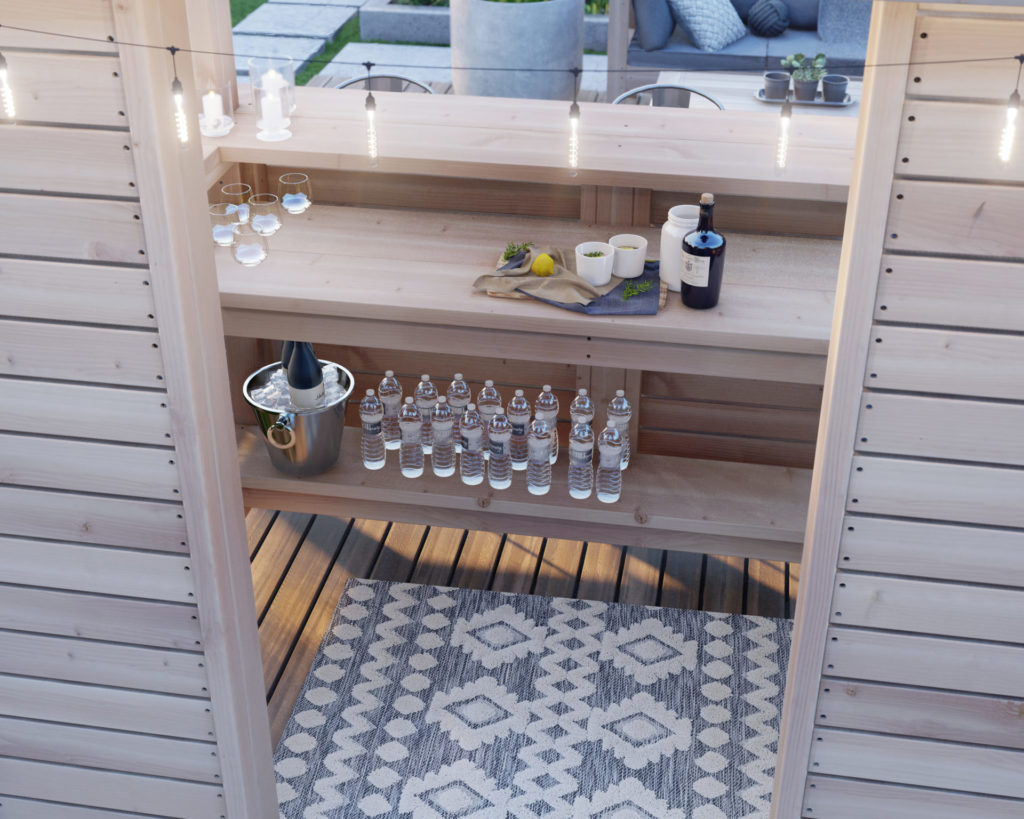
You can also use this bar center as a DIY outdoor buffet stand, taco bar, beverage stand, and area for dispensing food for guests to take to their seats. You can place ice bins and coolers to keep drinks cold for the duration of a backyard, deck, or patio event.
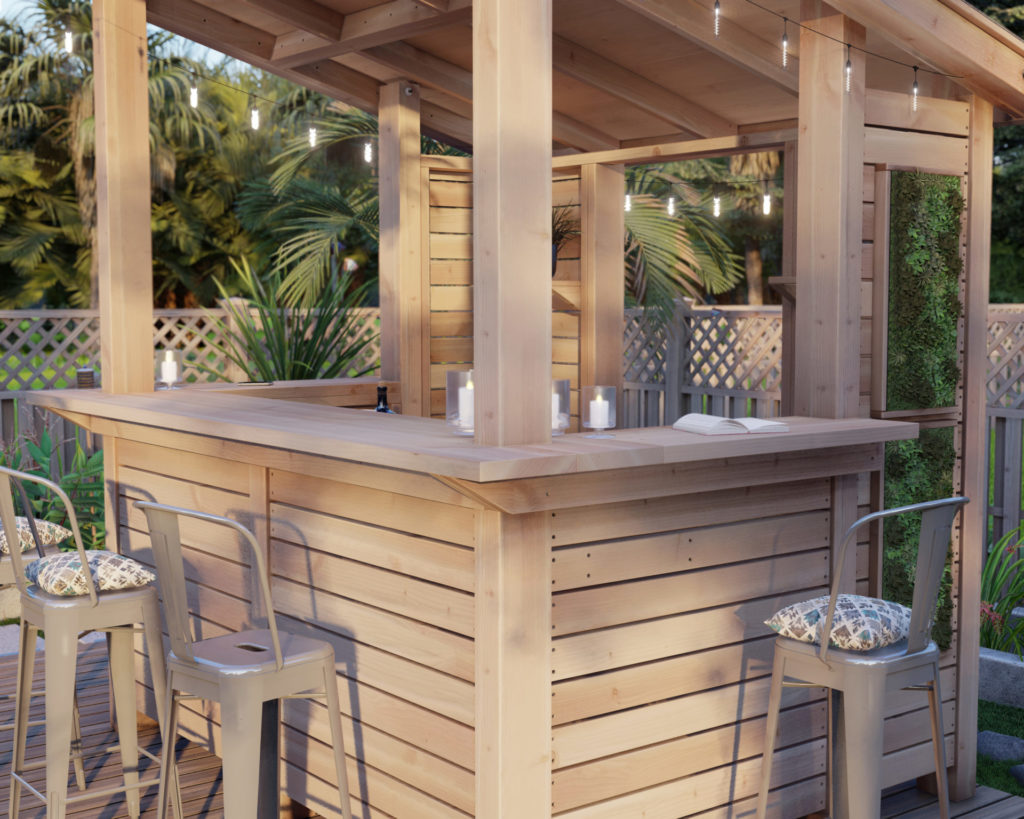
This bar is good for storage because it not only provides a spacious working space but also a shelf underneath that can be used to store a variety of items. It can be used to store glasses, bottles, and other barware, glassware, napkins, as well as bar tools and accessories.
When you do it yourself and build the home bar, you can save you a lot of money. If you were to buy a pre-made outdoor bar, it would likely cost you hundreds, if not thousands, of dollars. With a DIY outdoor bar, you can easily spend a fraction of that amount.
DIY outdoor bar features:
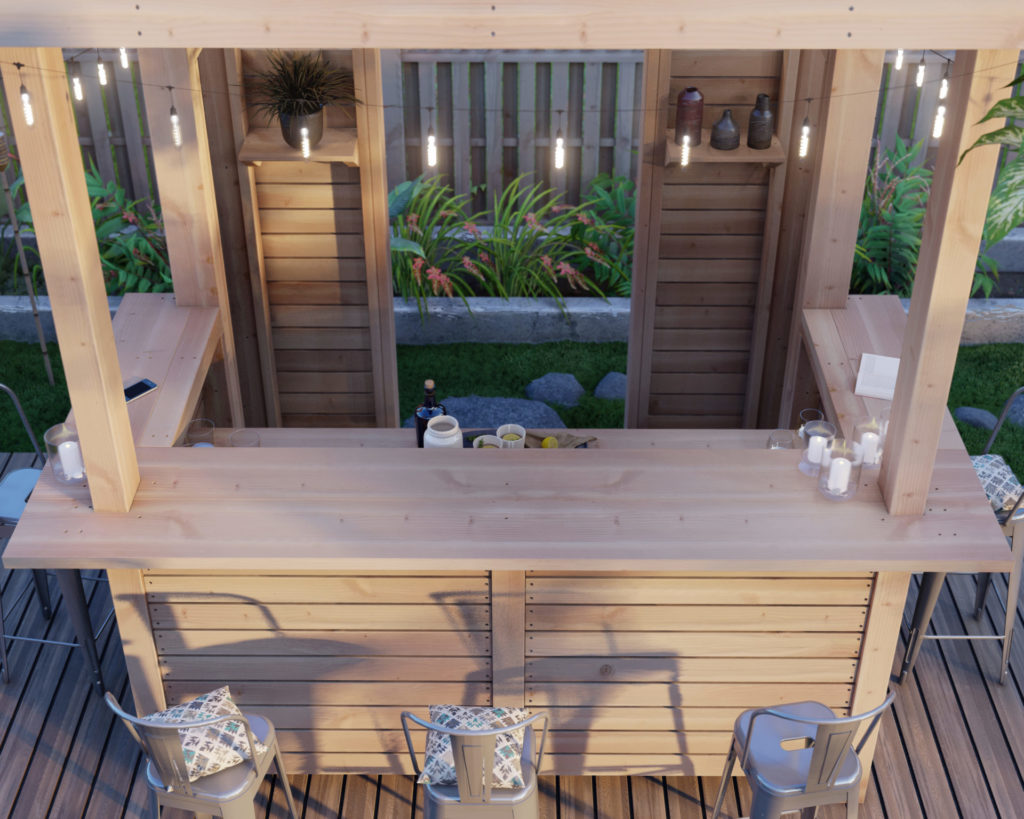
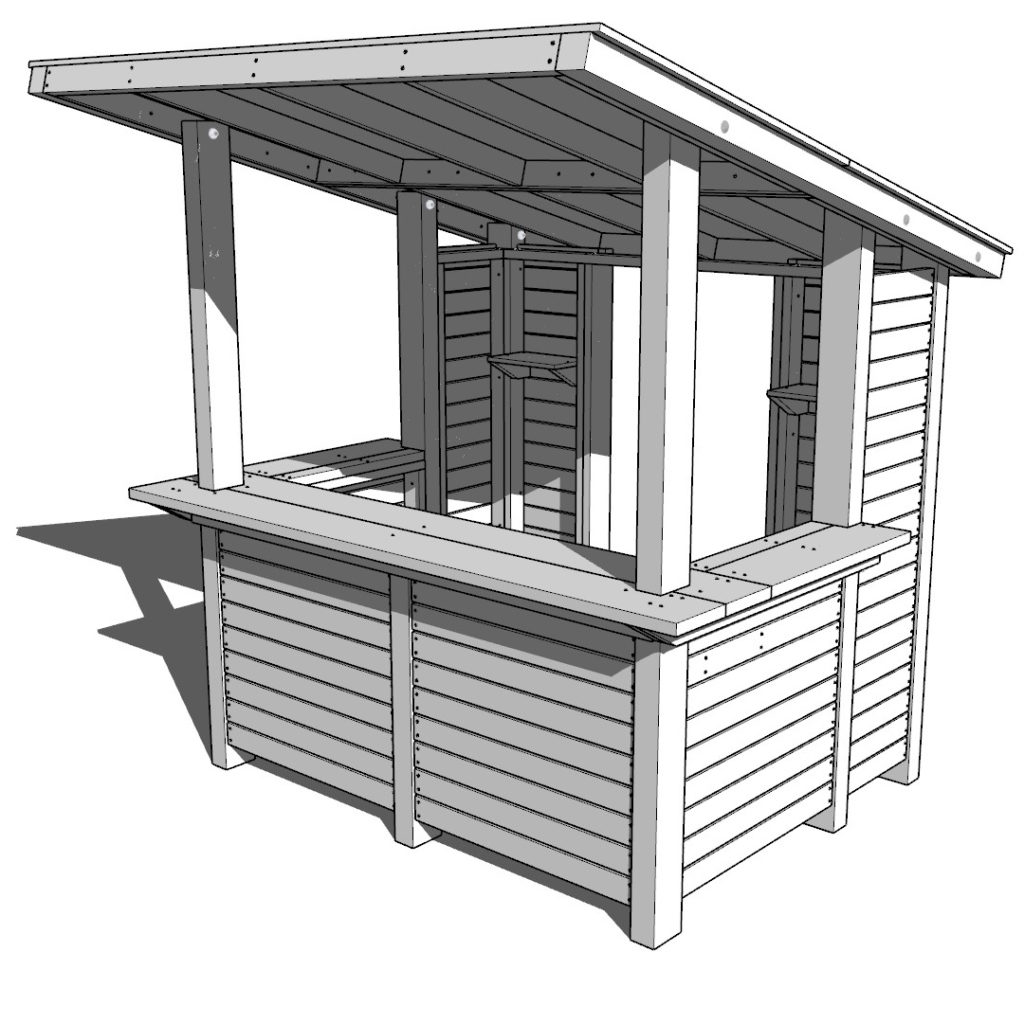
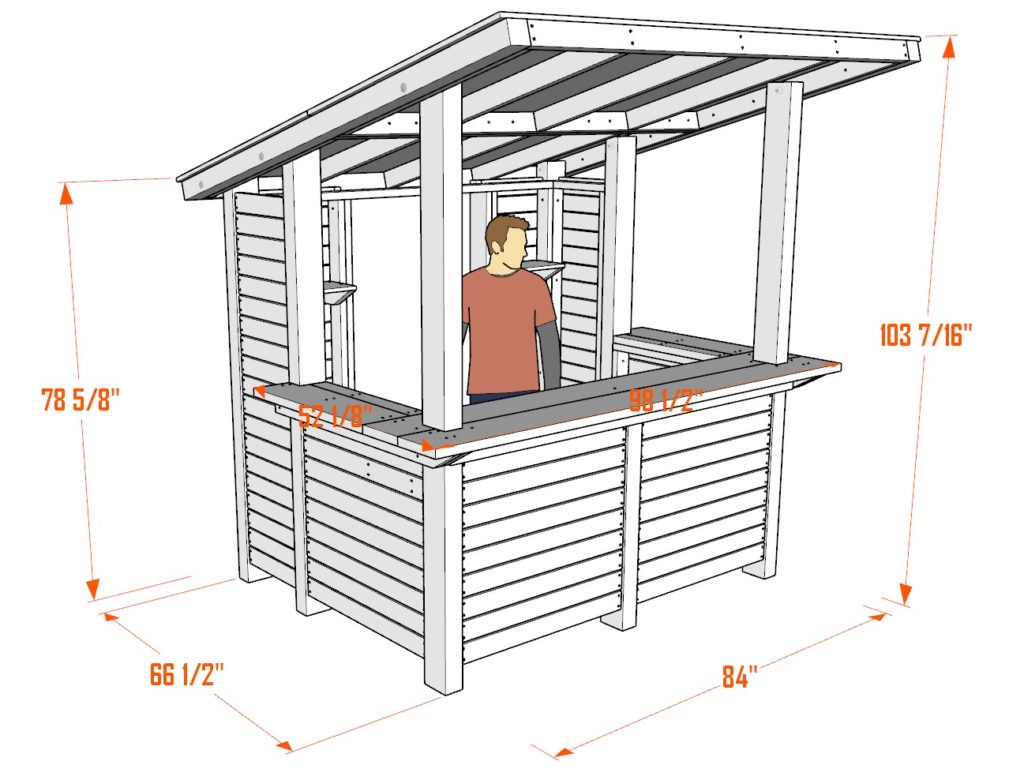
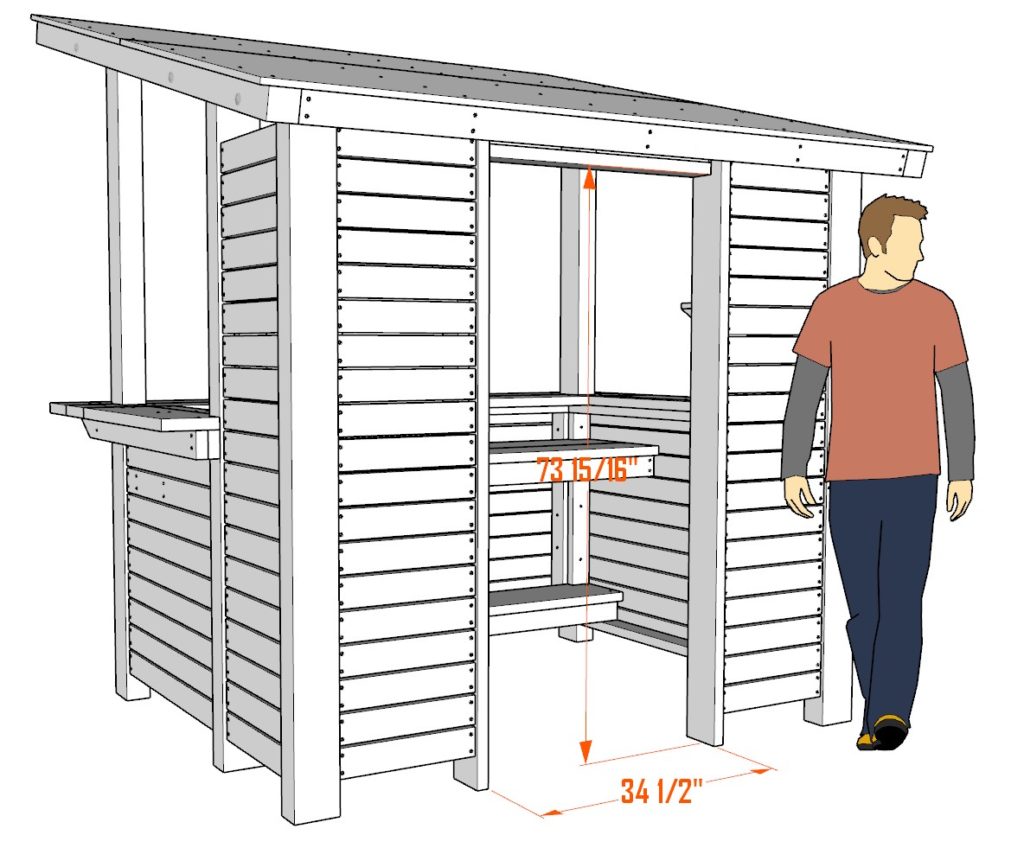
This outdoor bar features plenty of bar top space and is constructed from common lumber found in most hardware stores. The 4x6 posts support the roof that is attached by bolts to the pillars. The back wall of the bar provides a more intimate space, provides privacy, and looks more professional. The back wall shelves can be adjusted in height and can store glasses, bottles, and other barware.
Bar roof options.
There are a few different roofing options for a DIY wooden bar. A thatched roof is a traditional option that looks very rustic and can be made from straw, reeds, or palm fronds. A thatched roof is very affordable and easy to construct, but it will need to be replaced more often than other roofing options. A metal roof is a more durable option that will last longer, but it will be more expensive. A tiled roof is another option that is durable and looks more polished, but it can be expensive and difficult to install. Shingles roofs are a popular choice for DIY wooden bars because they are relatively easy to install and are very affordable.
So easy, even a beginner can do it!
I think this bar would be a great project for anyone who is new to woodworking. You will need at least two people in some of the building step, so get a friend to help! The joints and cuts are simple and beginner friendly. If you follow the step-by-step instructions, you will be able to avoid mistakes, waste material, and in the end create the bar table without much hassle or worry.
What about the other furniture pieces I see in the pictures?
Time to build
About 10 hours
Total cost of build
About $850
Skill level required
Beginner
Download the PDF plans
Outdoor bar center PDF plans
What is included in the PDF download?
- Easy to read step by step instructions
- Material list
- Tools needed
- Helpful links to materials and tools needed
Step-by-step instruction on building the DIY outdoor bar
Recommend tools/materials
- Saw (miter saw recommended for precision cuts)
- Drill
- Impact driver with bit for screws
- Sander
- wood countersink drill bit
- measuring tape
- pencil
- Wood glue
- Sand paper
- Pencil
- 20lbs of 3.5 in long screws
- 10 lbs of 2.5 inch screws.
(4) minimal length of 10-1/2 inch Stainless Steel Hex Head Screws Bolts, Nuts, Flat & Lock Washers (see roof assembly steps for bolt details)
- (2) minimal length of 8-1/2 inch Stainless Steel Hex Head Screws Bolts, Nuts, Flat & Lock Washers (see roof assembly steps for bolt details)
- A long drill bit that is able to drill through a minimal depth of 5.5 inches with a diameter to accommodate the large bolts described in the two bullet points above. (see roof assembly drill bit details)
Lumber purchase list
Available with purchase of DIY PDF plans. Thank you for making this website possible with your support!