Why build a DIY Montessori step stool?
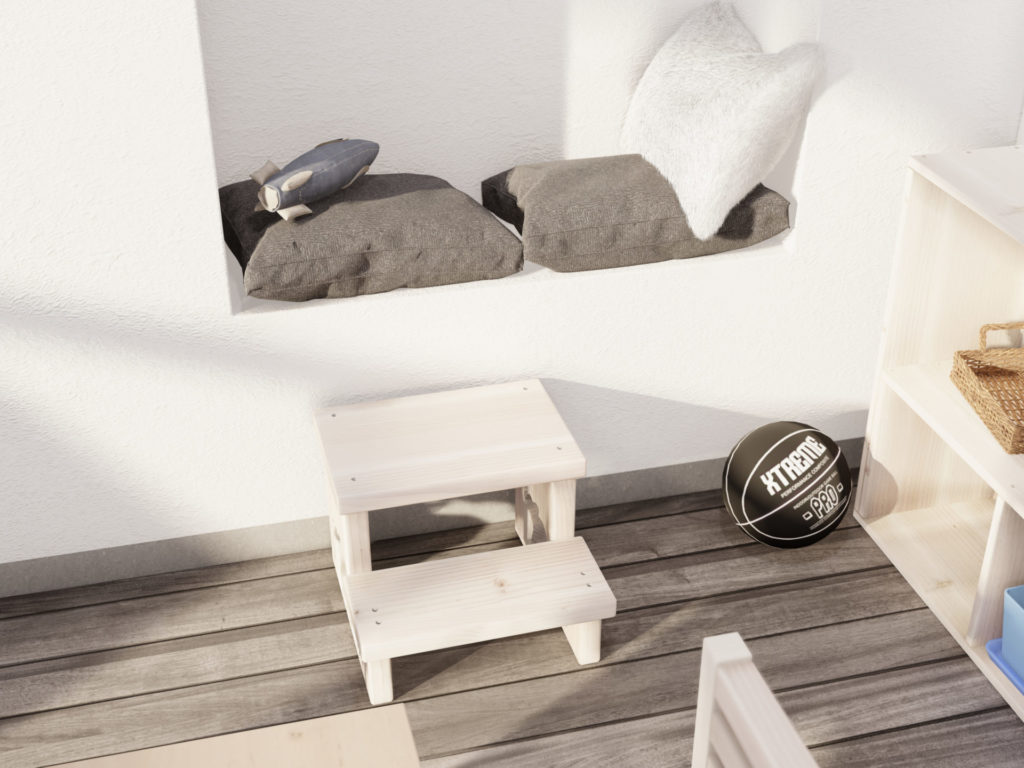
A step stool is a perfect tool to help the children access the hard-to-reach places. The step stool with its beautiful, simple, and cheap design can give kids a boost whenever needed
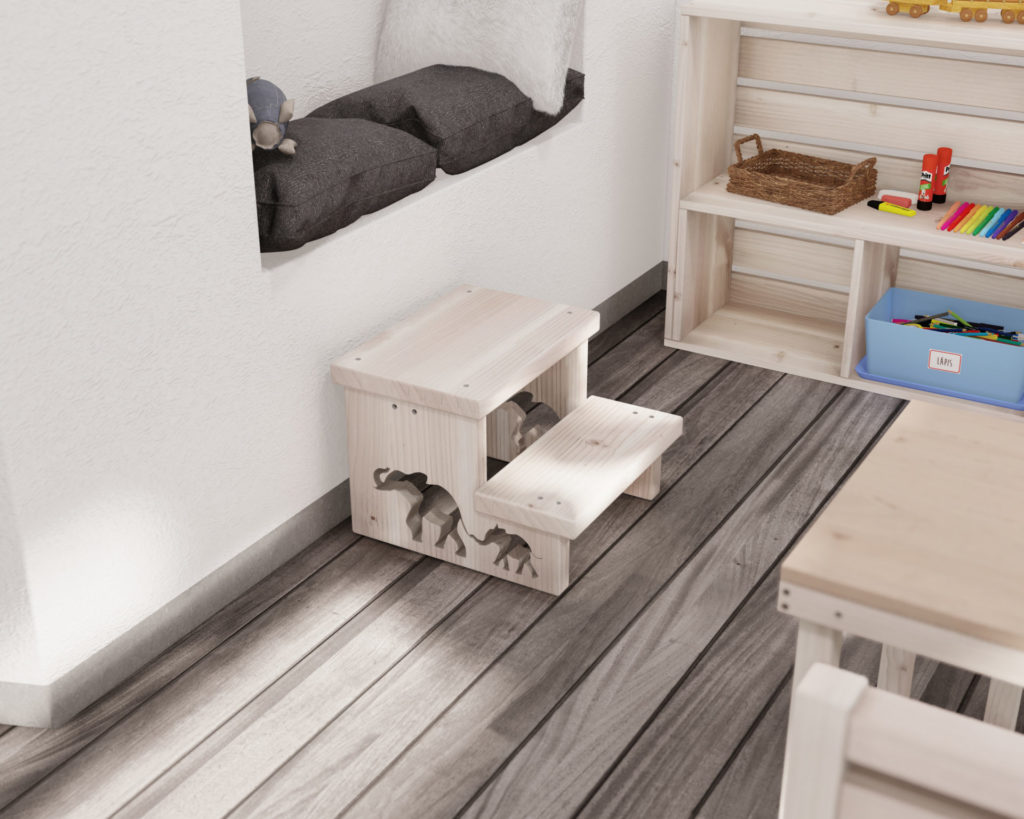
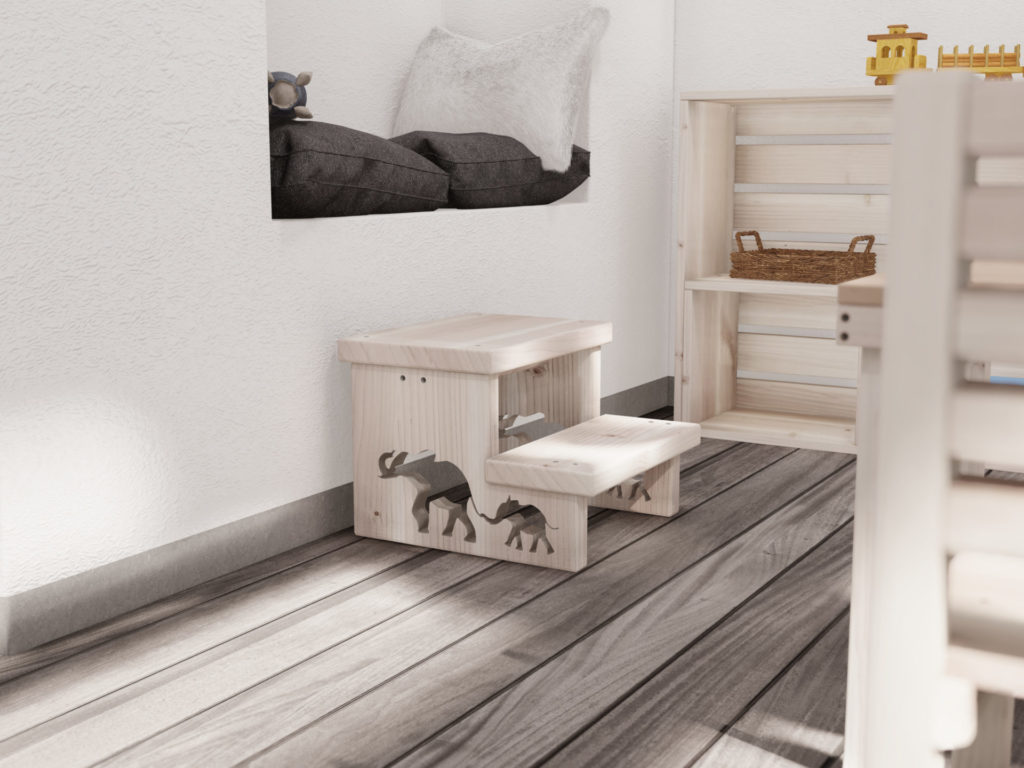
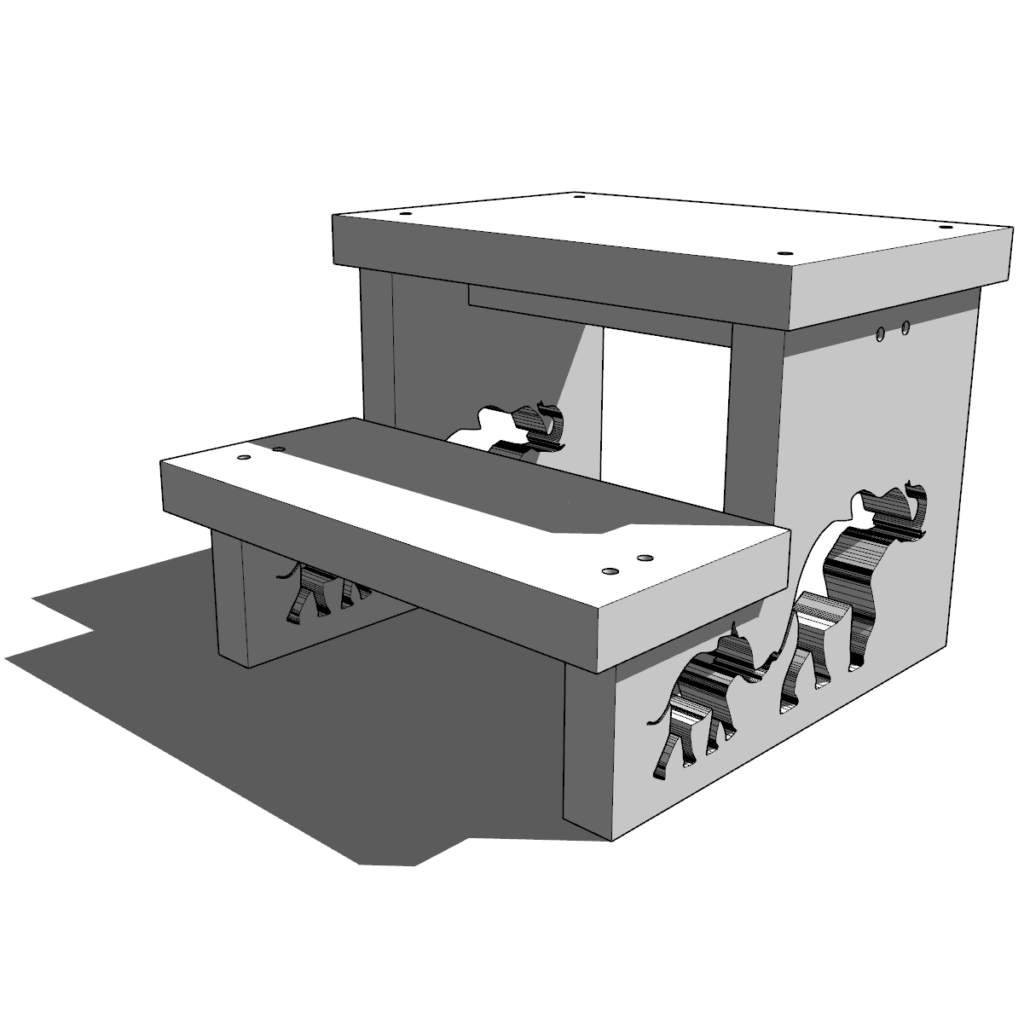
The “mom elephant leads baby elephant to new heights” step stool design is symbolic. Elephants are highly intelligent creatures known to have tight social bonds and strong emotional attachment to their young. I think that the cut-out image of the elephants captures the heart of mothers. This kitchen stool can help foster an environment of learning and growth in their toddlers and young children as they learn basics of cooking, baking, cleaning, etc. by observation and participation.
By enabling your child to reach higher and giving access to things that normally only adults can reach, it fosters independence, assertiveness, and confidence.
What are the specs of this DIY Montessori step stool design?
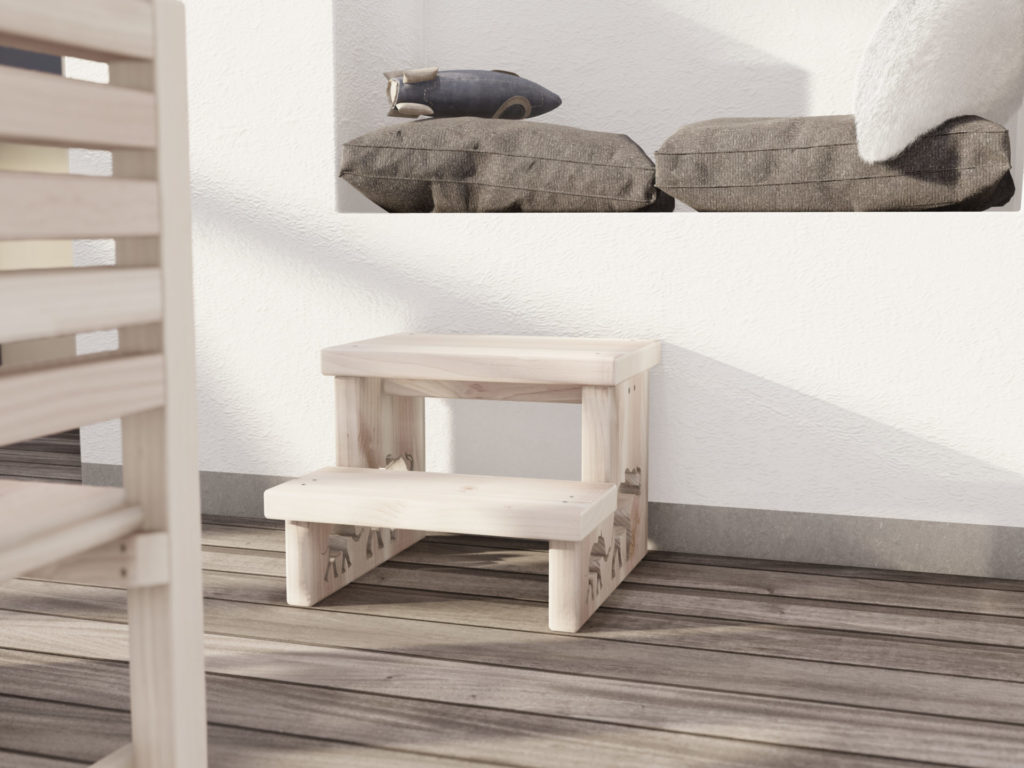
This step stool design is durable and stable. It is made from sold wood pieces that can be found in most hardware stores.
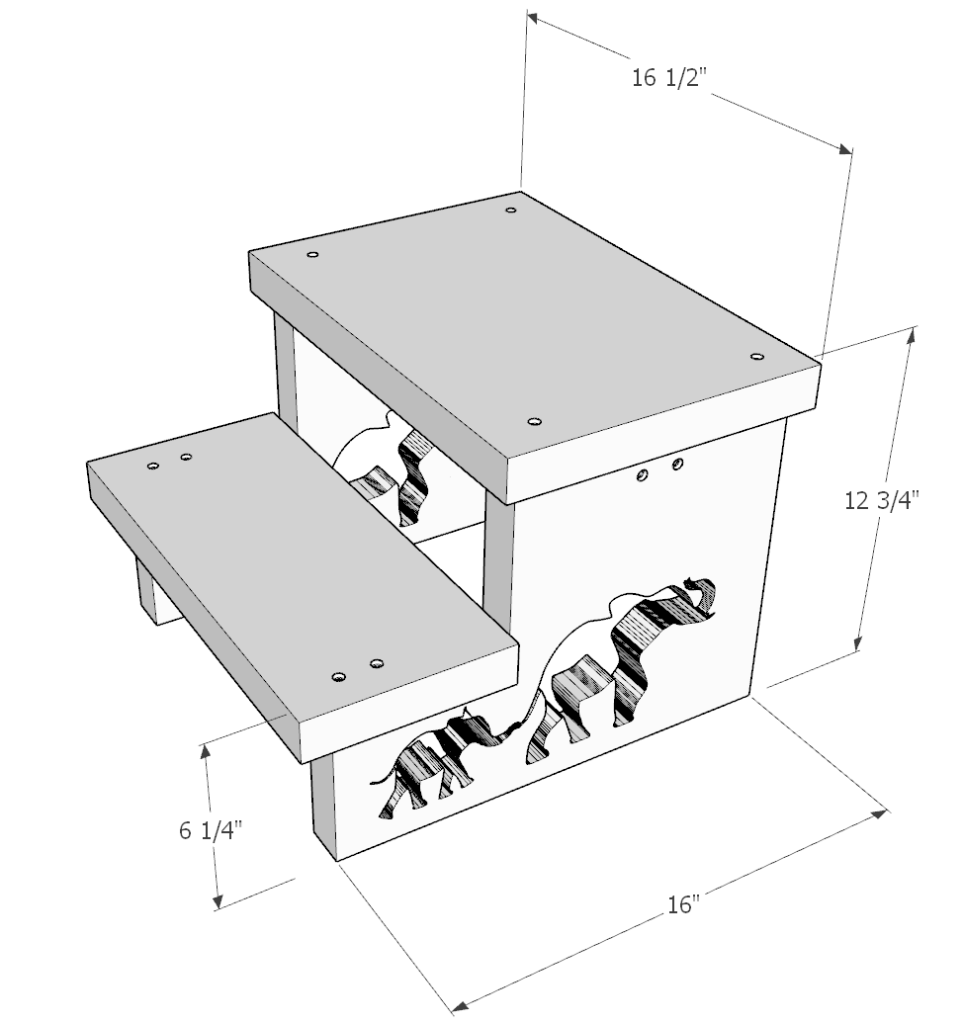
The toddler helper step stool design is only 16 inches wide x 16 inches long x 12 inches tall. This means that this one small step stool can be used in many ways while taking up a small space.
Unlike a plastic stool, the wood step stool can be stained to match your cabinets and kitchen so that it can fit well in the surrounding environment.
This build is simple, cheap, and easy to do for any level of woodworking. The design is great for beginners who are new to woodworking as well.
This design is not only beautiful and amazing but also very functional if you or your children need an extra boost.
What other Montessori room pieces are a part of this room set-up?
Lego play and storage system plans can be found here.
Floor shelf plans can be found here.
Wall shelf plans can be found here.
Step stool plans can be found here.
Chair plans can be found here.
Activity and weaning table plans can be found here.
Twin size floor bed plans can be found here.
Children’s wardrobe plans can be found here.
Storage and activity shelf plans can be found here.

Time to build
1.5 hours
Total cost of build
$15
Skill level required
Beginner
Download the PDF plans
Plans for how to build your own DIY step stool
What is included in the PDF download?
- Easy to read step by step instructions
- Material list
- Cut list
- Tools needed
- 3D illustrations
- Helpful links to tools and materials needed for the project
Recommend tools for this project
- Saw (miter saw recommended for precision cuts)
- Drill
- Impact driver with bit for screws
- Sander
- wood countersink drill bit
- Scroll saw
- Scroll saw blade
- Sandpaper
- Carbon transfer paper (optional)
- will need 1.5 in screws. (highly recommend T25 Star Drive screws)
- Wood glue
Cut list and material list
Available with purchase of PDF plans.
Step 1: (DIY Montessori step stool)
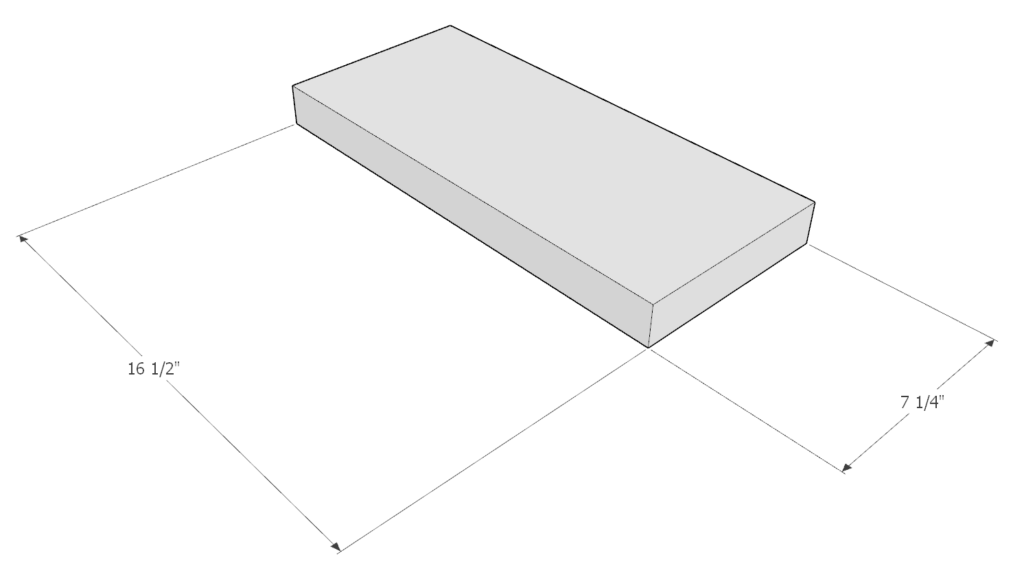
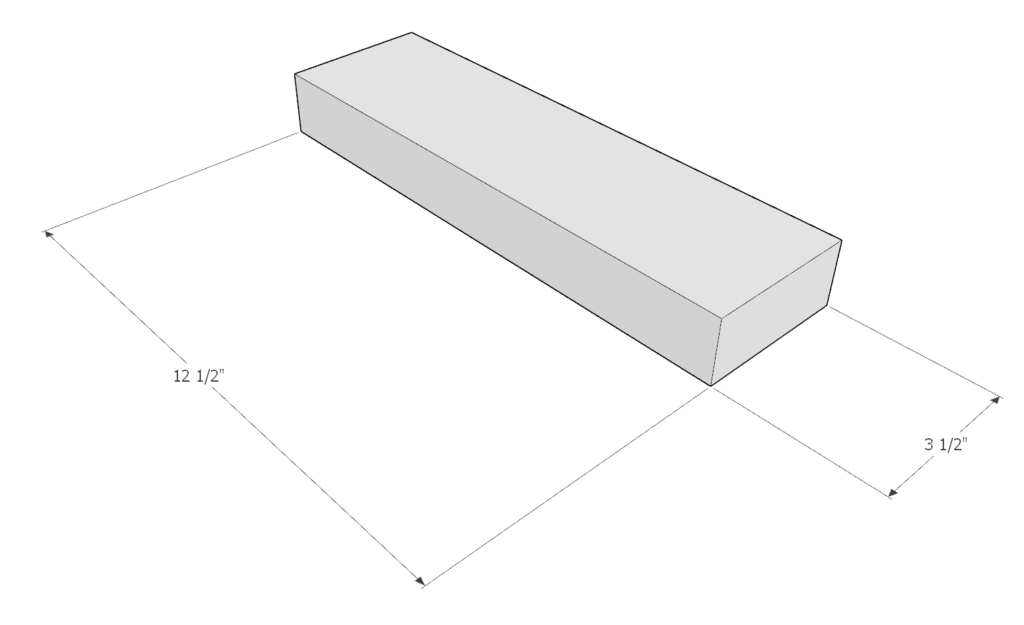
First you will need to precut all the pieces that will be used to make this DIY step stool.
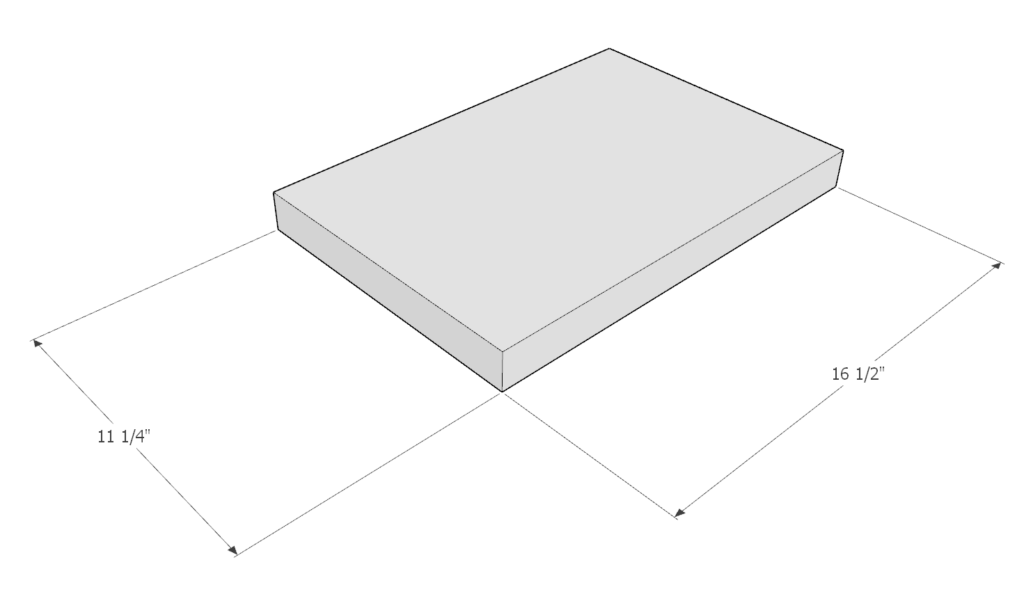
This easy design only needs two 16 inch pieces from 2×12 lumber, one 16.5 inch piece from 2×12 lumber, one 16.5 inch piece from 2×8 lumber, and one 12.5 inch piece from 2×4 lumber.
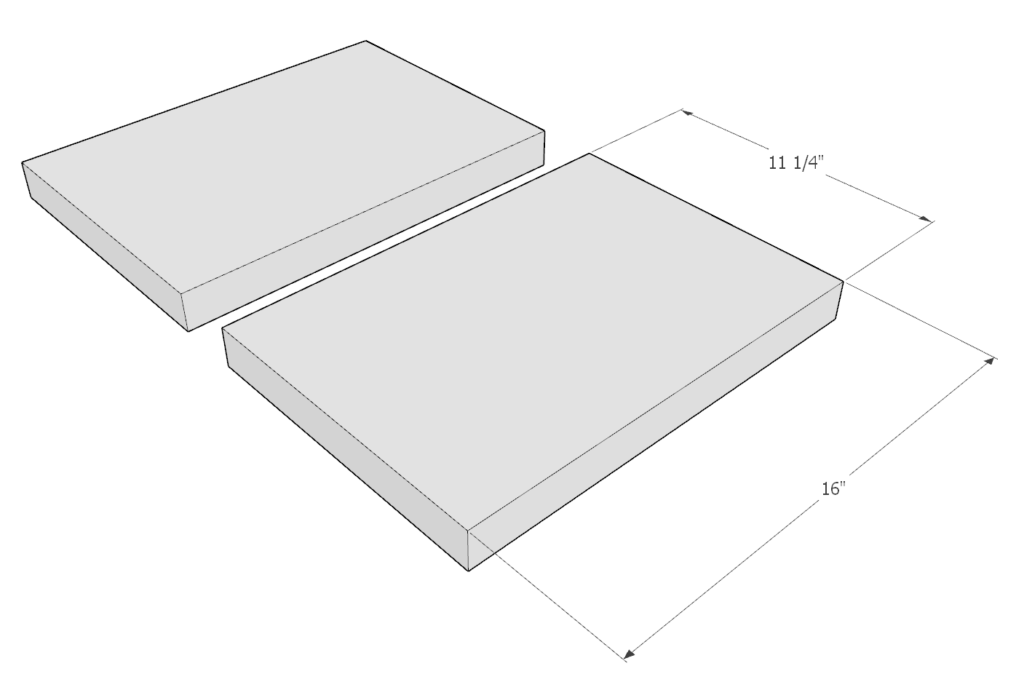
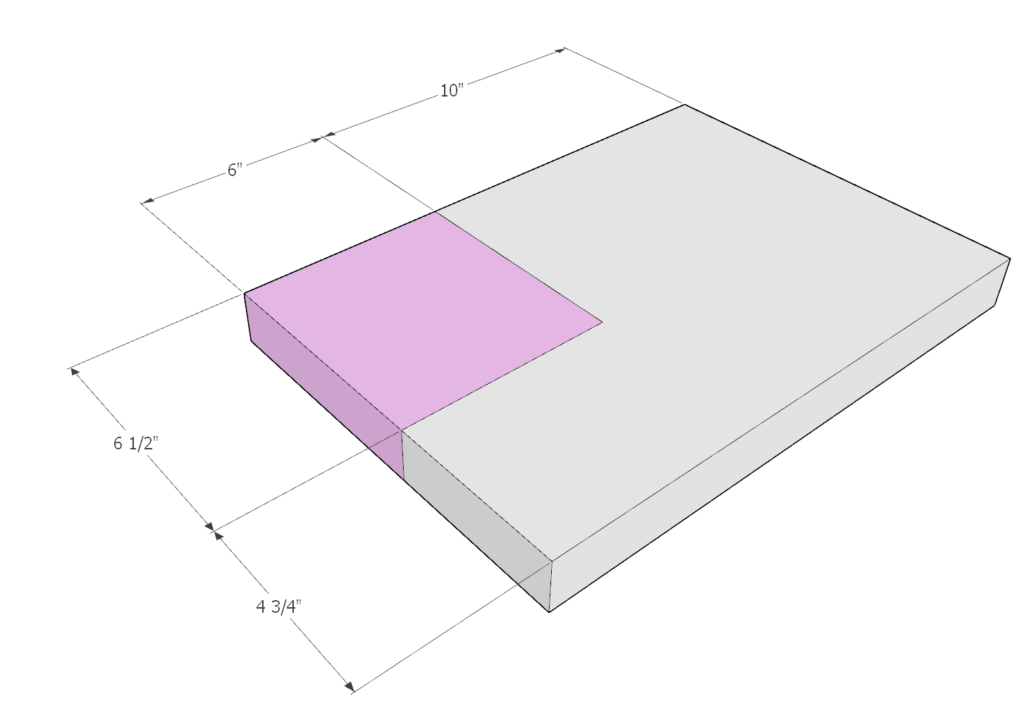
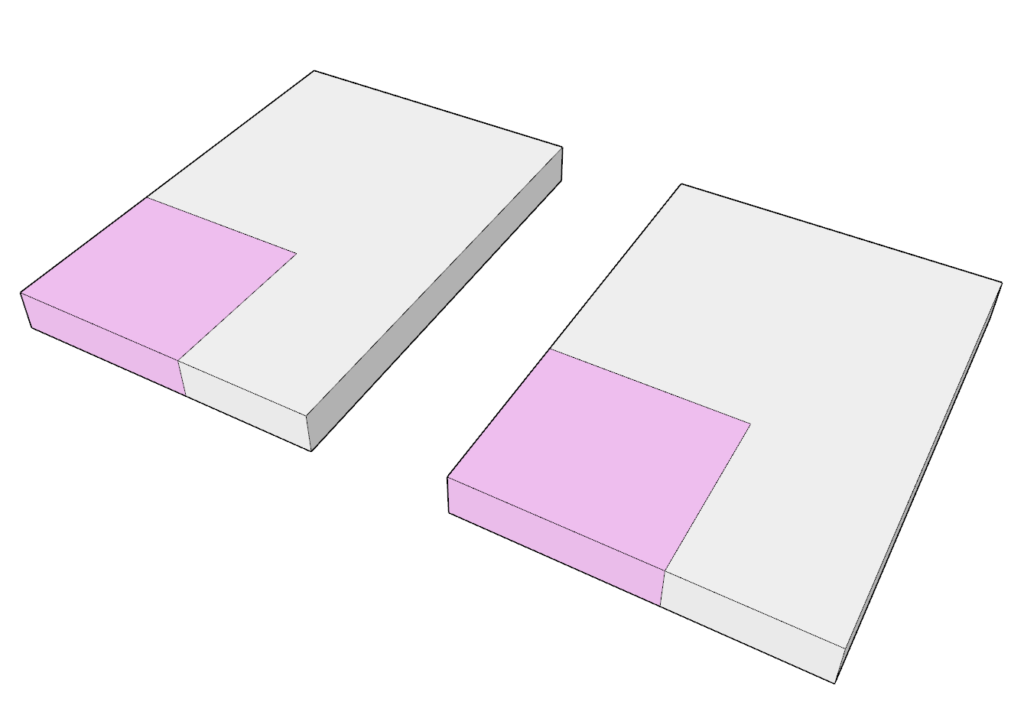
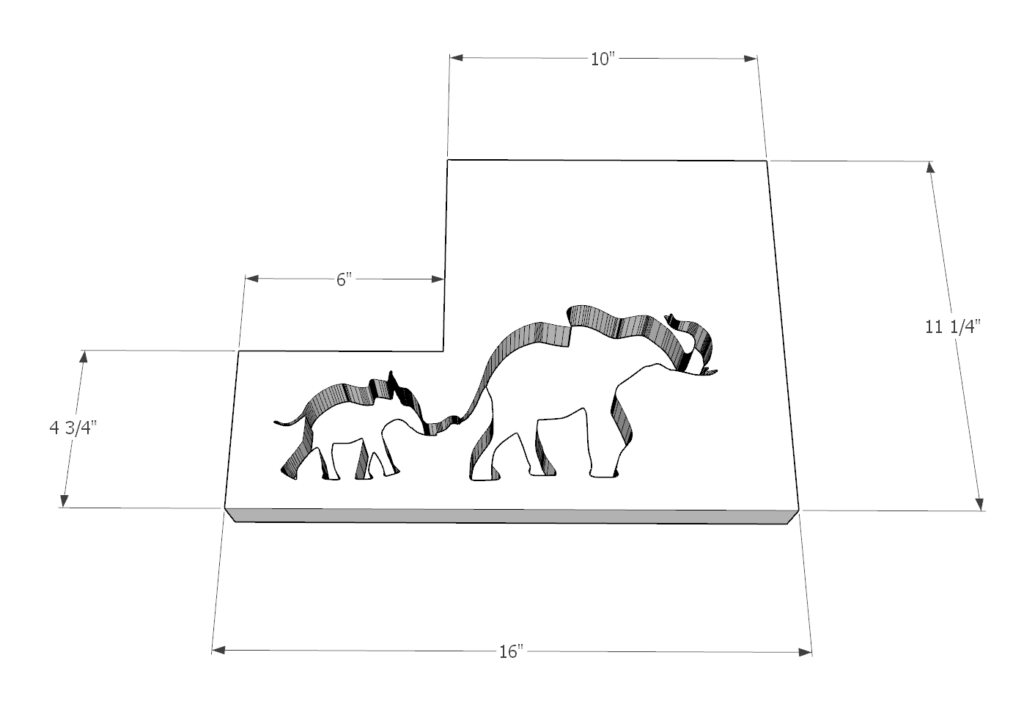
Step 2: (DIY Montessori step stool)
Next, take the 16 inch pieces from 2×12 lumber and cut away the area marked in pink.
This can be cut away with a miter saw or a handheld saw.
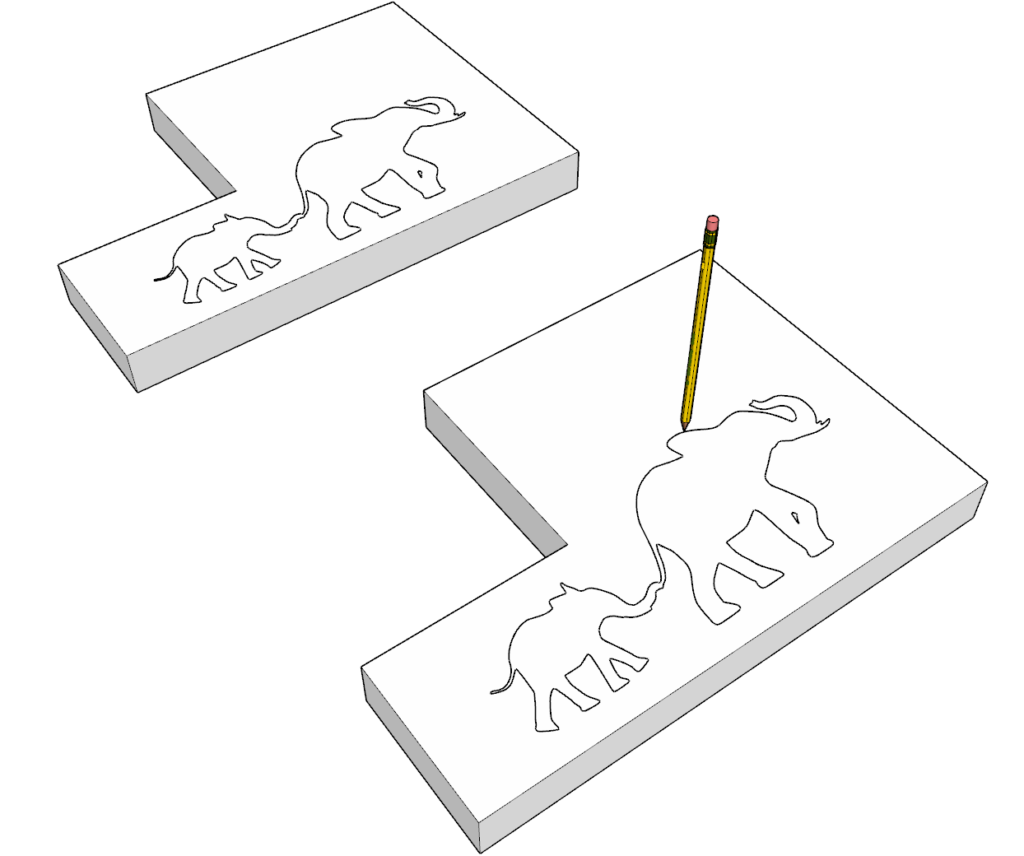
Step 3: (DIY Montessori step stool)
Next, Trace the elephant design onto the wood pieces from the previous step.
The elephant design can be obtained from the image in this step.
I print the image in the desired size, I use Carbon transfer paper and transfer the image onto the wood.
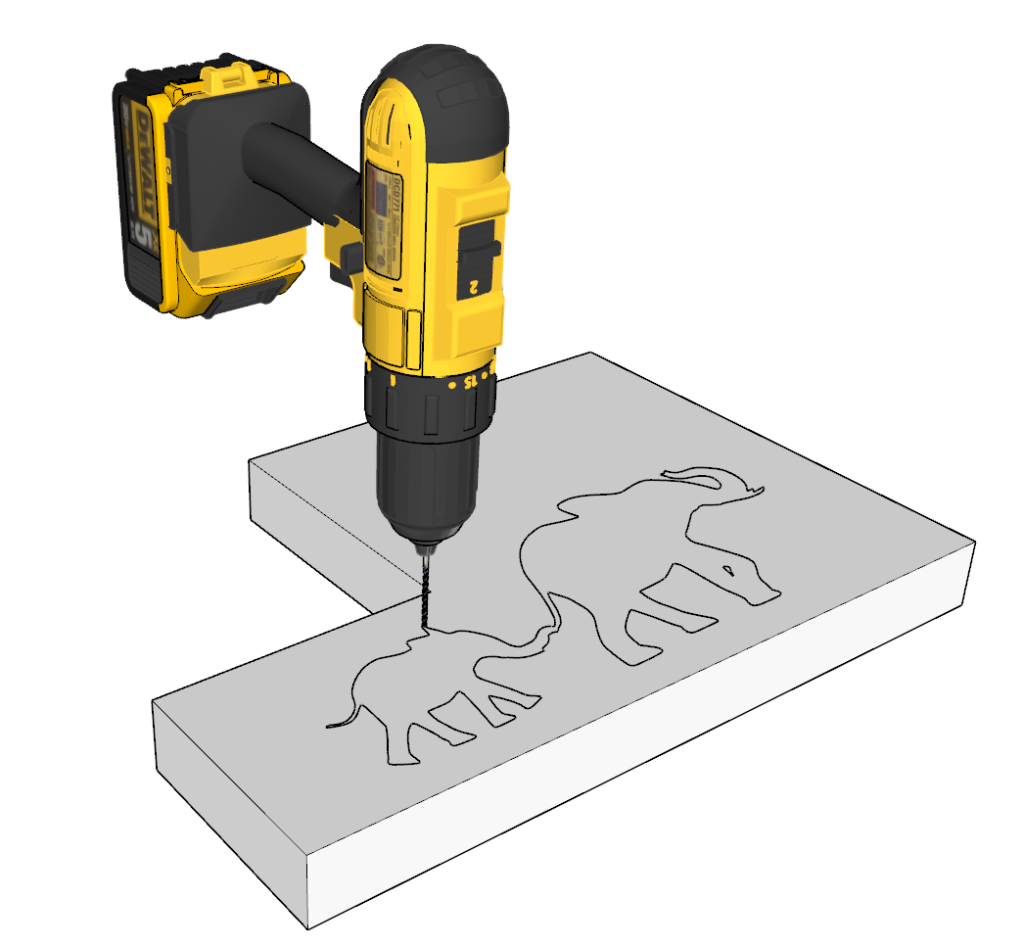
Next, use the smallest drill bit available to you and drill a small hole on any location inside the design. This is going to be the hole used to thread the scroll saw blade.

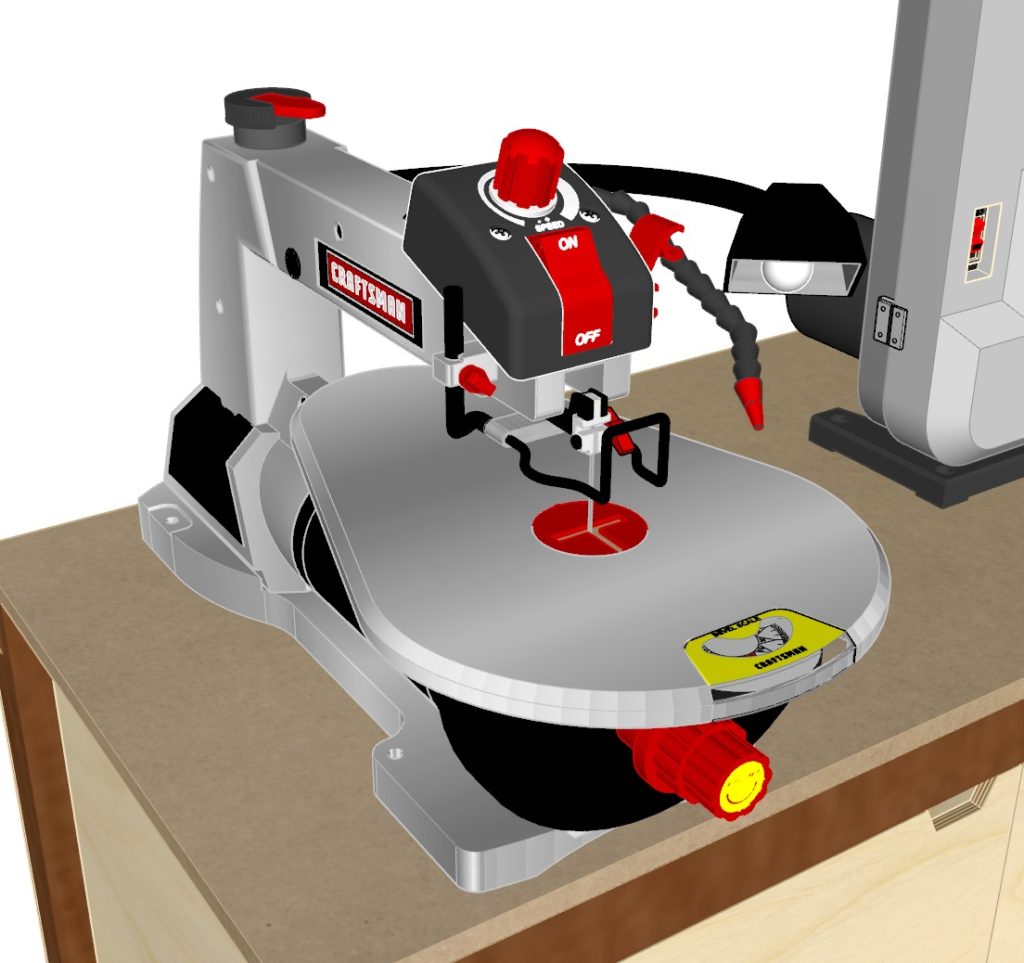
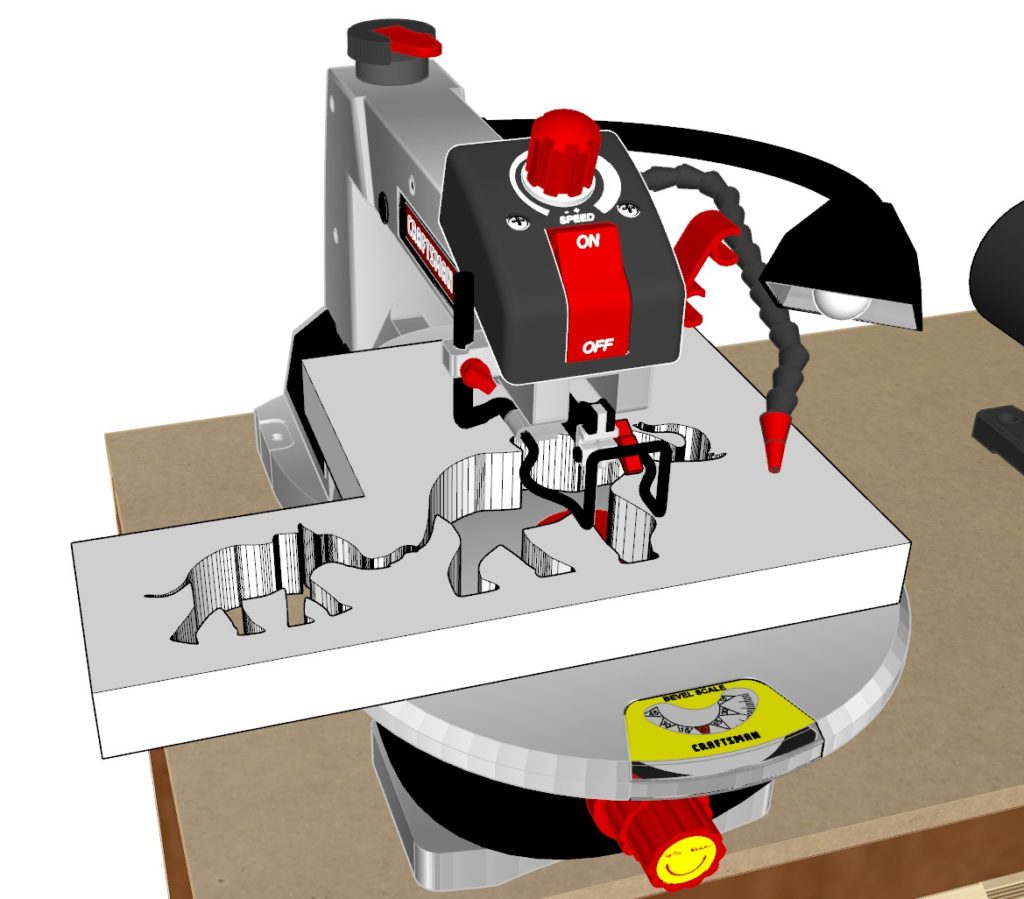
Step 4: (DIY Montessori step stool)
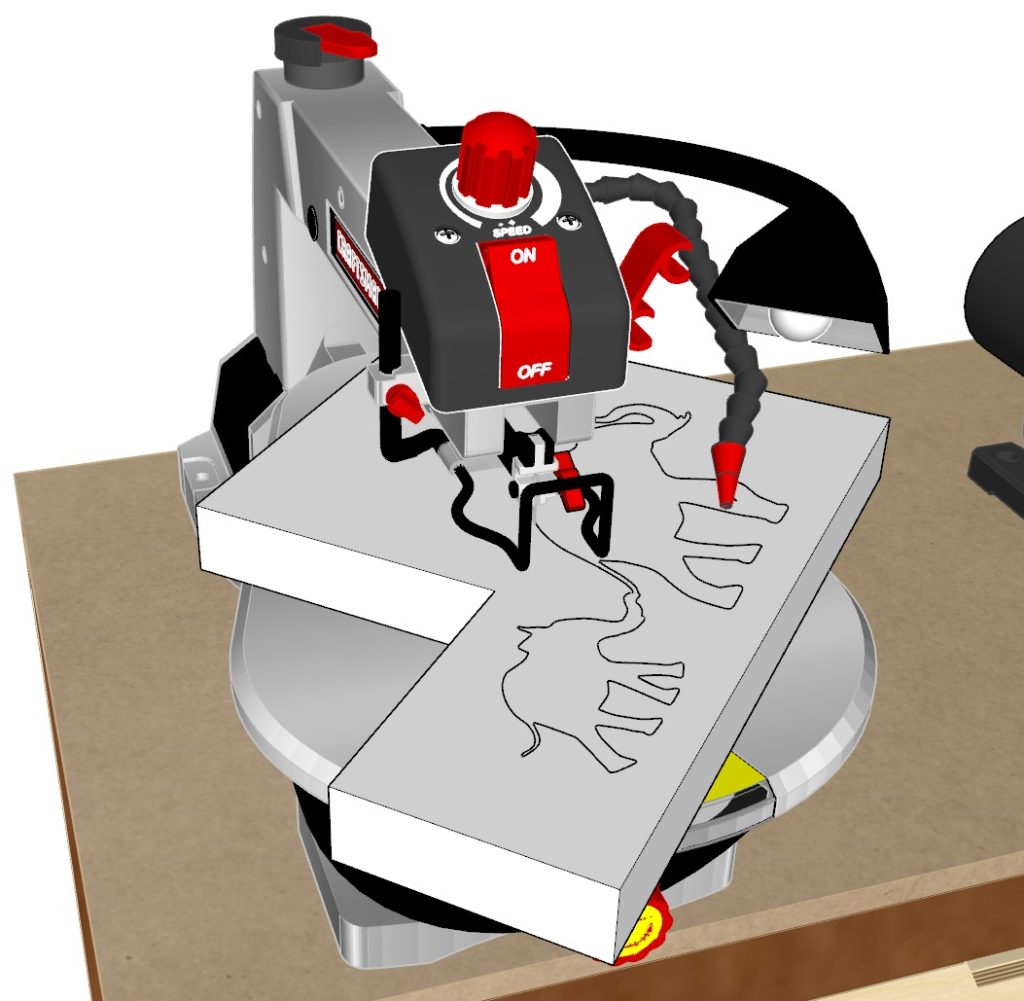
Next, use a scroll saw to cut out the image of elephants.
I like to use the scroll saw blade that has teeth on every side (in link above). I find that it’s easy to cut with and you don’t have to be turning the wood constantly. It’s easy on the wrists.
Thread the blade through the drill hole and begin cutting.
I would suggest that the trunk of the little elephant should not be made to be too thick so that the stool holds more weight.
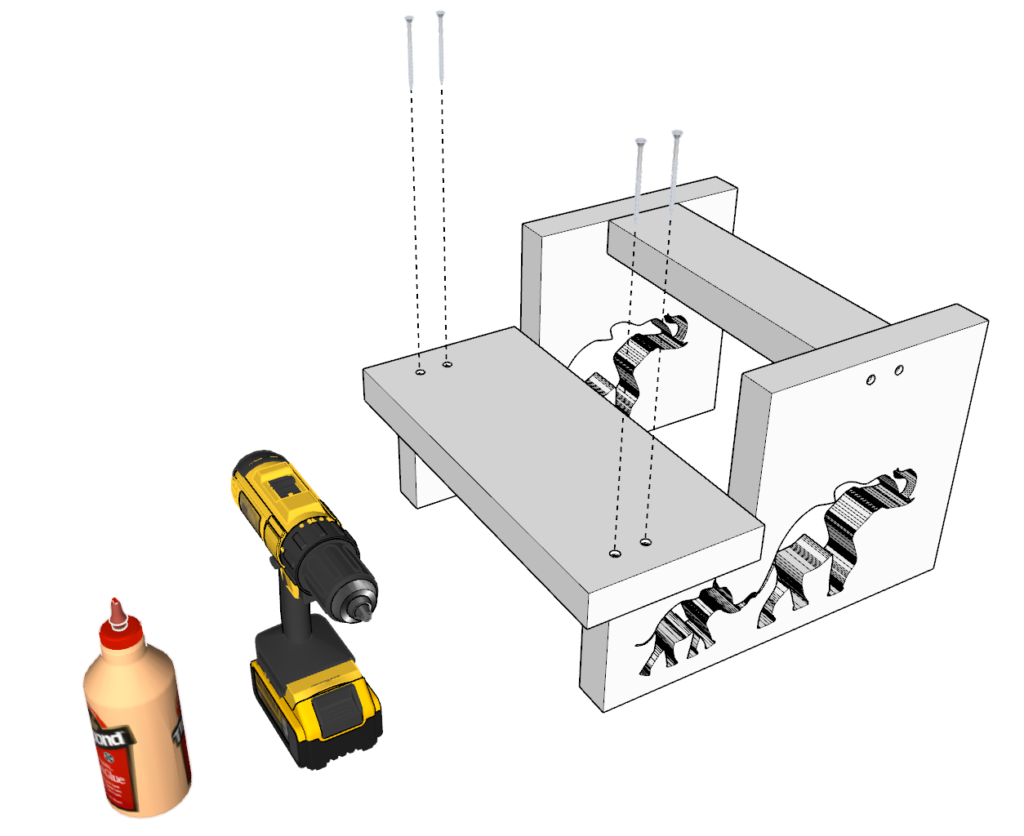
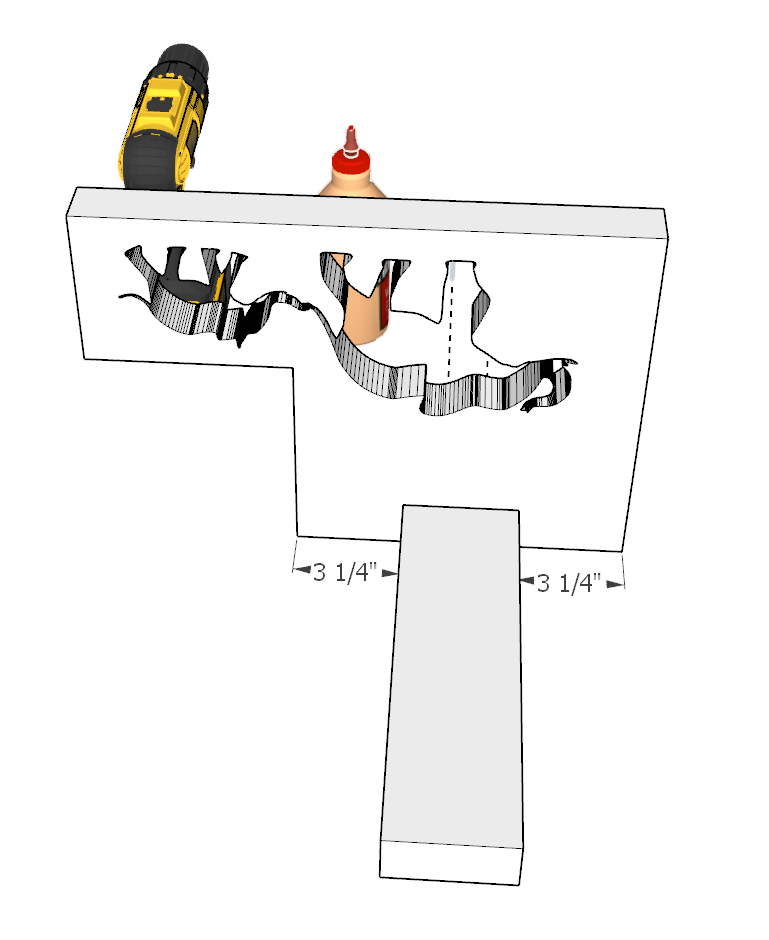
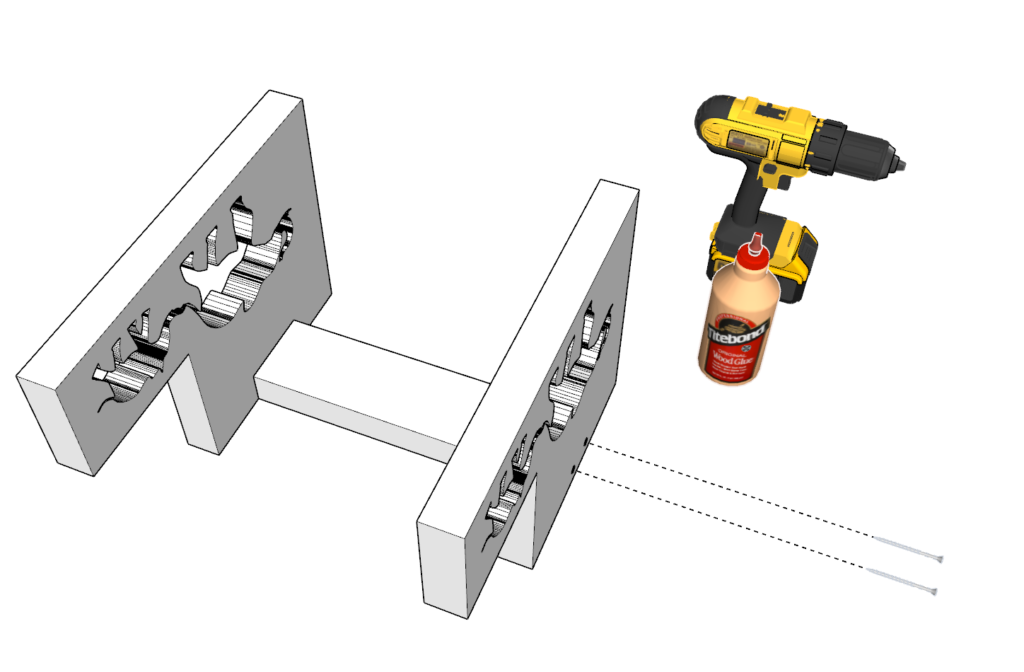
Step 5: (DIY Montessori step stool)
Next, attach the base of the step stool together with the 2×4 cut in the previous step.
Make sure you predrill the holes, add glue to all area where the wood will be making contact with each other, and add screws.
Repeat this for both sides

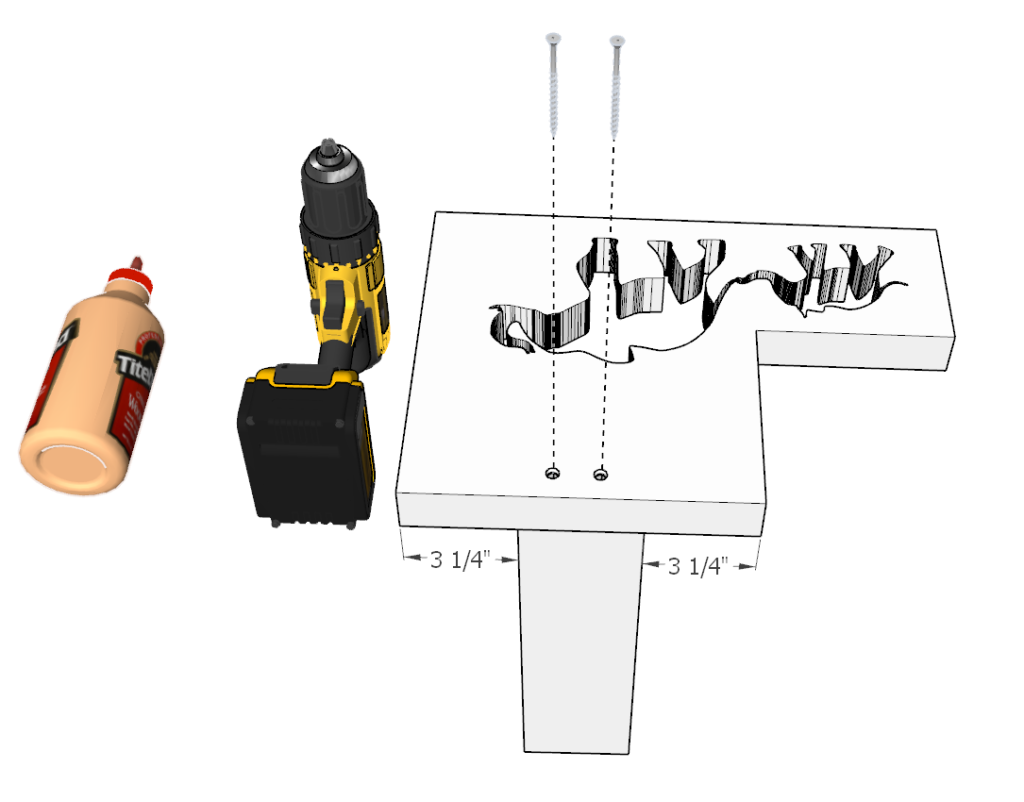
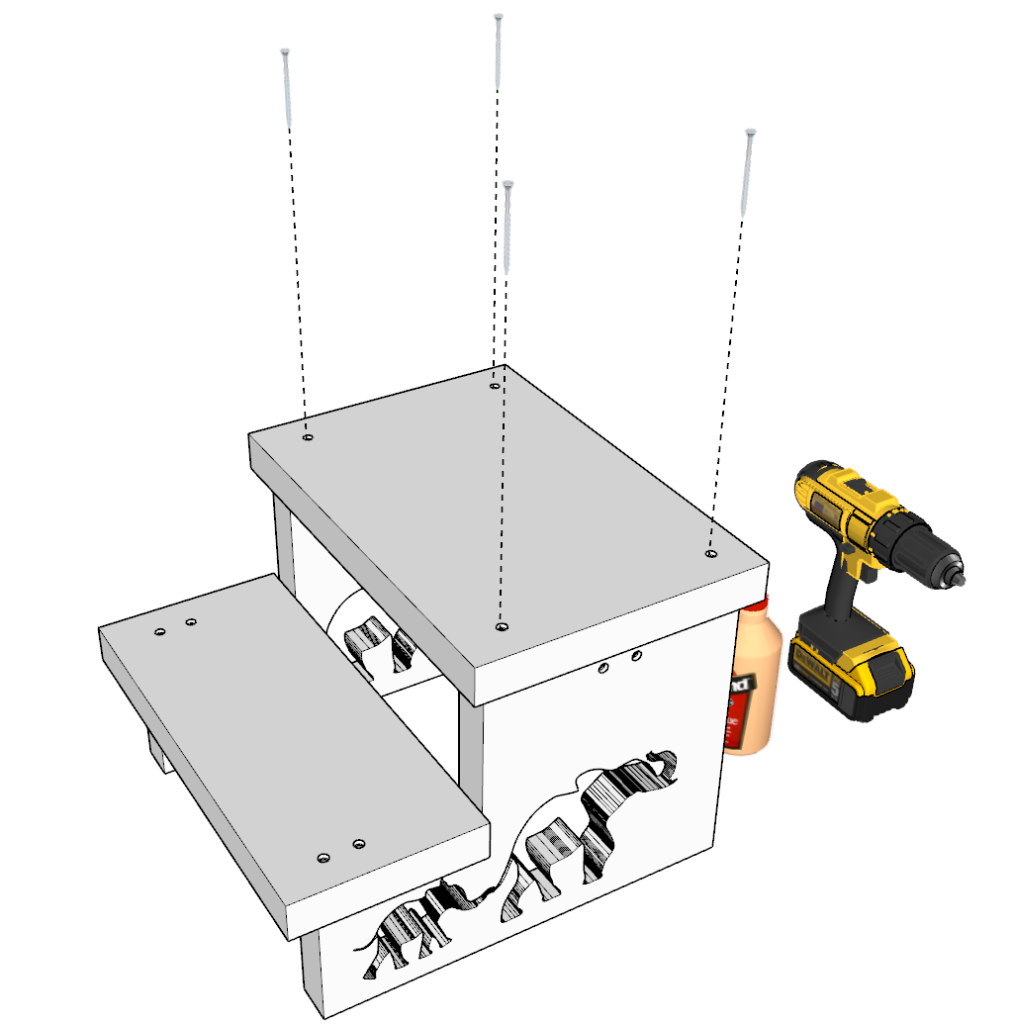
Step 6 (DIY Montessori step stool)
Next, attach the steps to the step stool. Again, predrill holes, add glue, and add screws.
Lastly, sand down the step stool so that there are not rough edges or splinters.
I use an orbital sander to make the job quick. I first use a rough sandpaper and finish it with a fine 220 grit sandpaper.
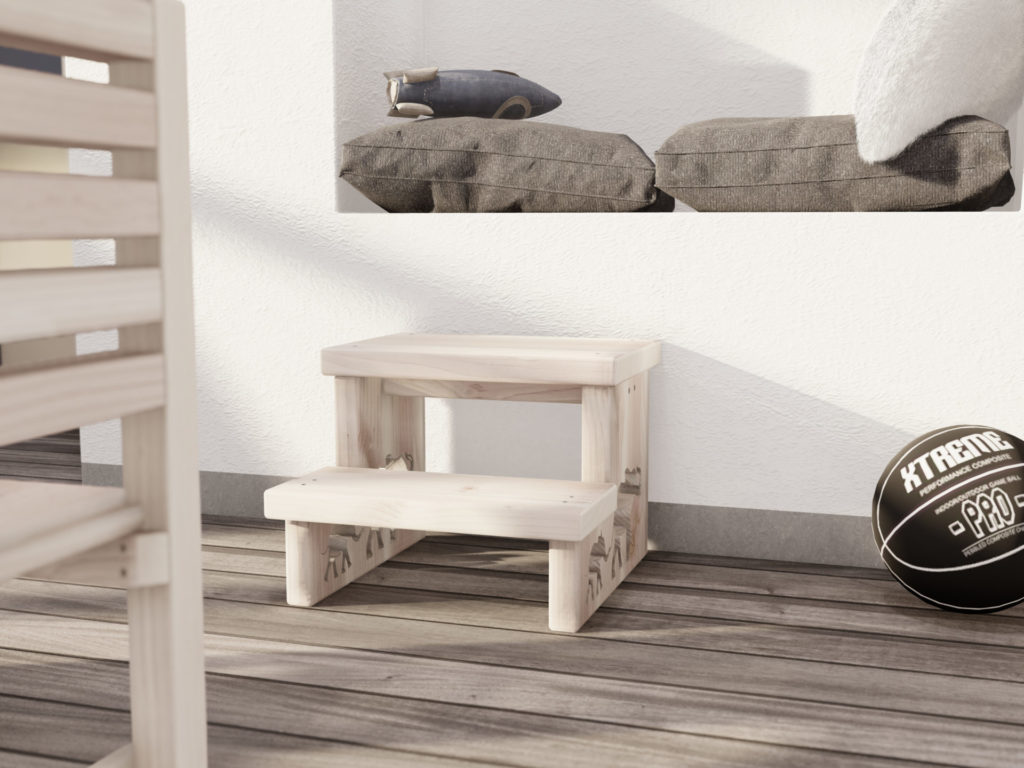
This step stool is ready to be stained or painted or left to have a natural look!