Why choose out DIY wooden bench design?
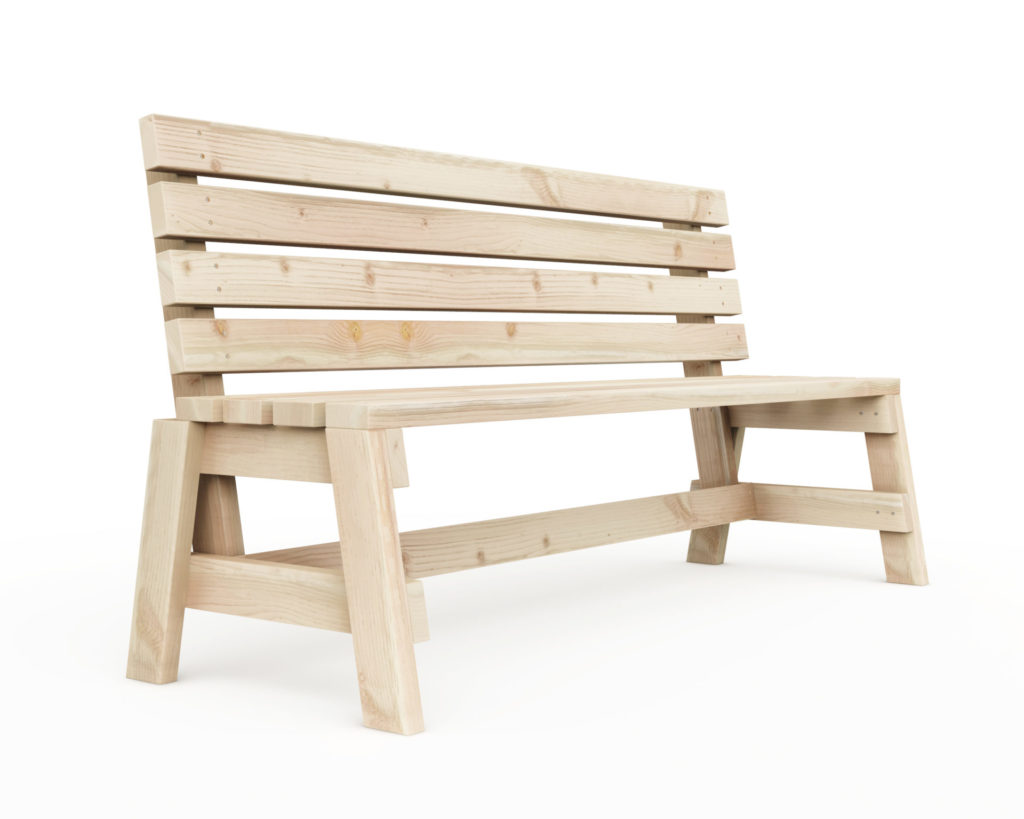
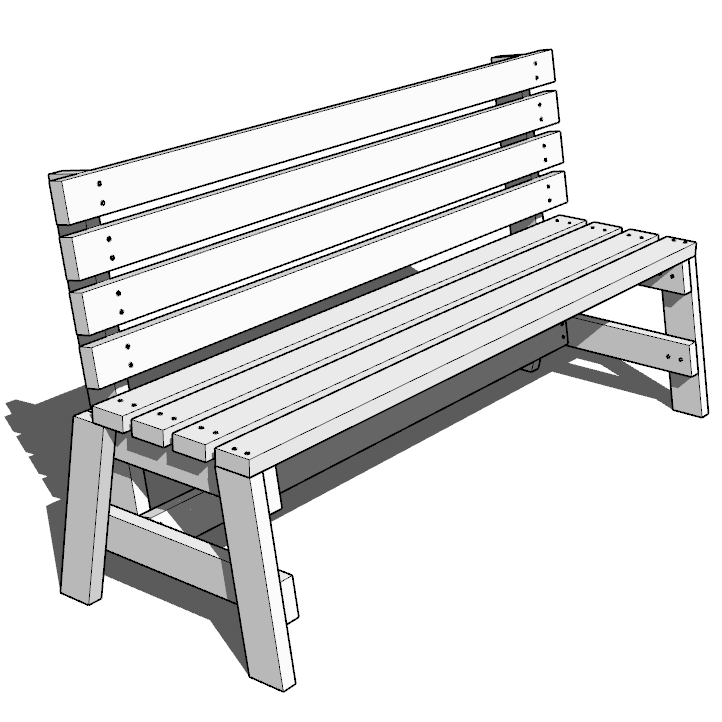
These wooden DIY patio benches are super cheap and easy to build! I am excited to share these plans because they are perfect for any level of woodworking experience you may have.
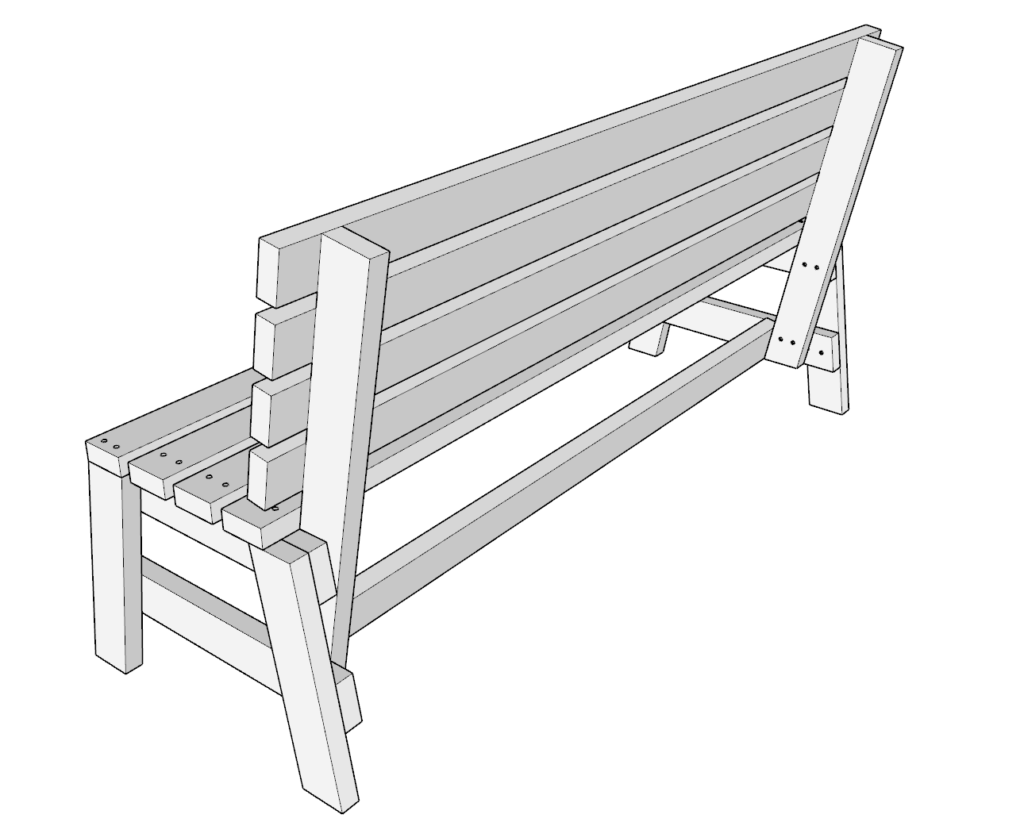
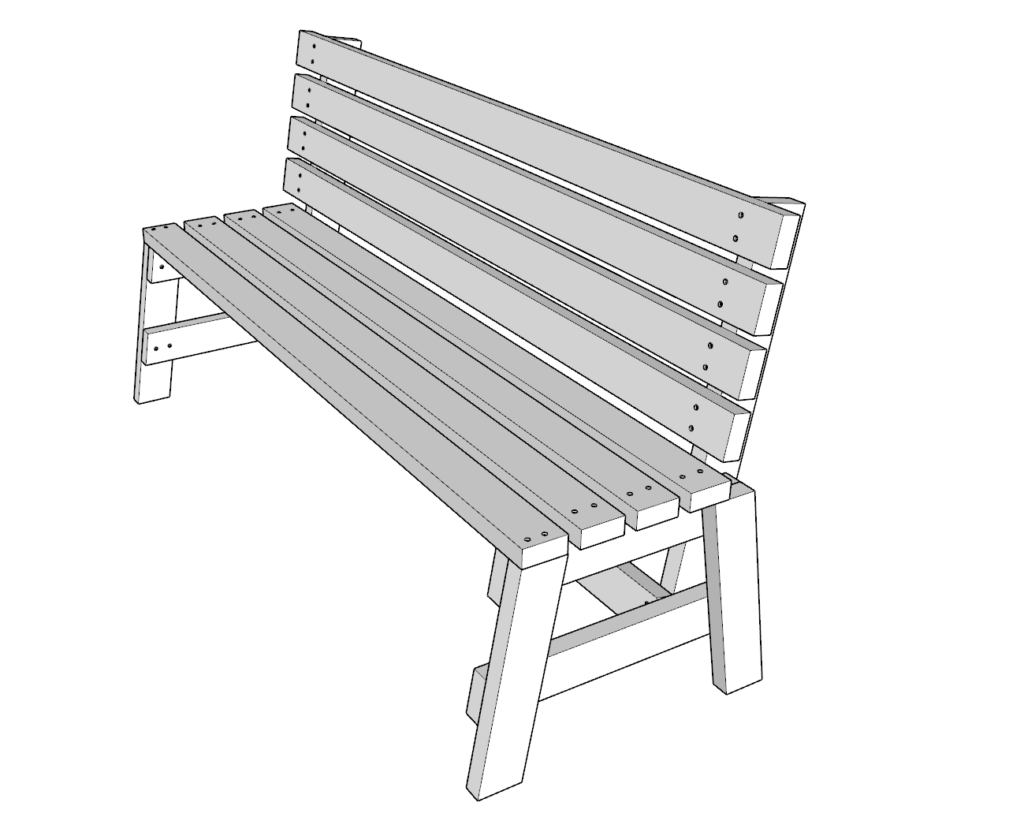
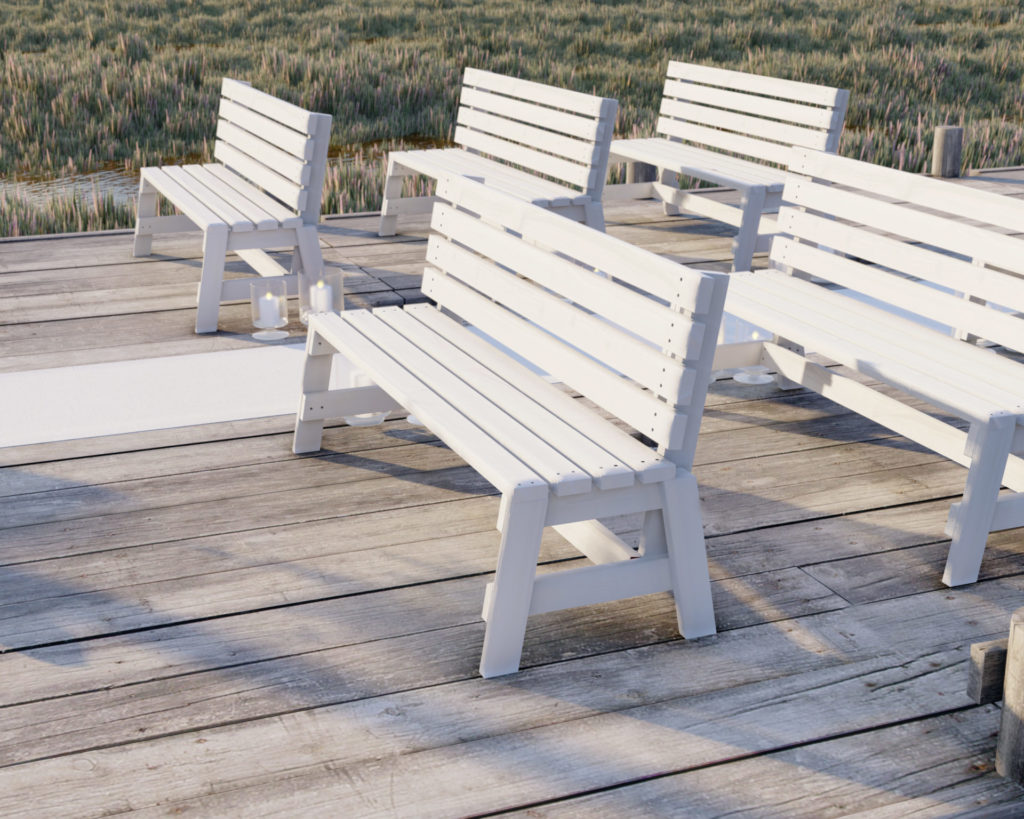
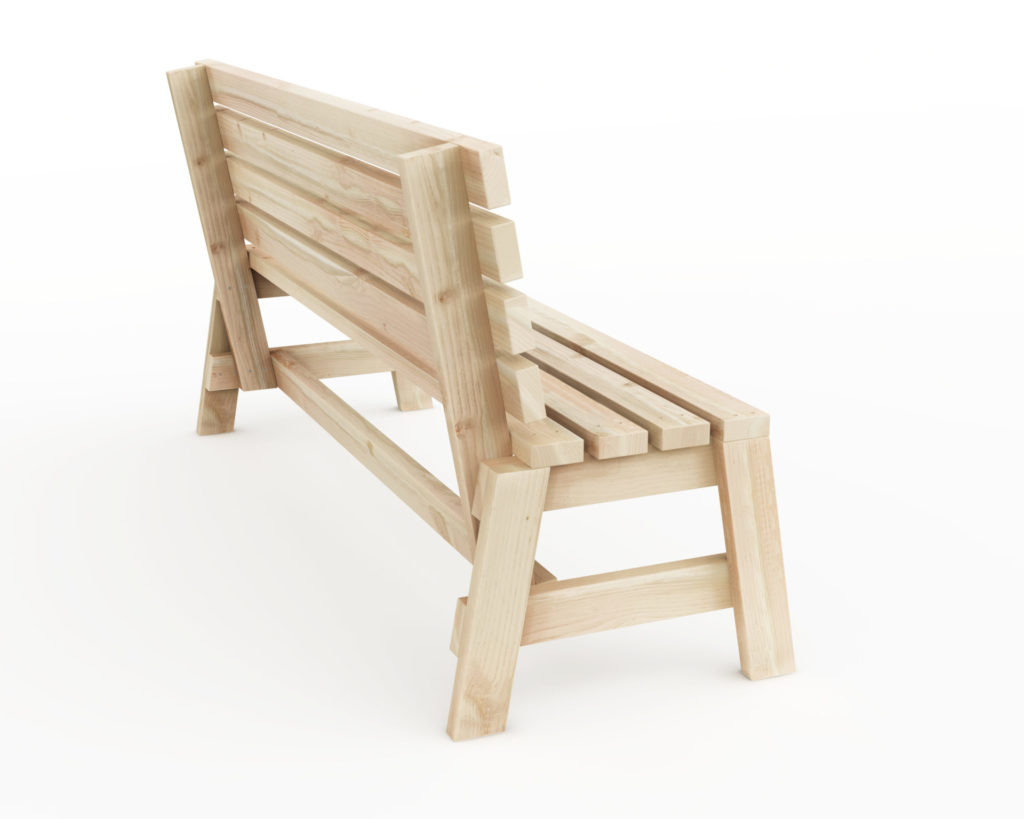
These wooden benches are comfortable, easy, and inexpensive to build, can be stored and set up easily, and are perfect for large events and parties.
The DIY plans have step by step instruction with illustrations and helpful descriptions that will help guide you through the build. You don’t have to worry about making mistakes, wasting material, or getting frustrated.
What are the special features of this DIY bench design?
- The well supported slopped back makes sitting more comfortable and ergonomic.
- These benches only cost about $50 to build. The more you make the cheaper they are. Even though these benches are made from cheap Douglas fir wood studs they still look high quality and stylish when set up.
- The joints are simple (glue and screws only), no fancy cuts, and no advanced woodworking required!
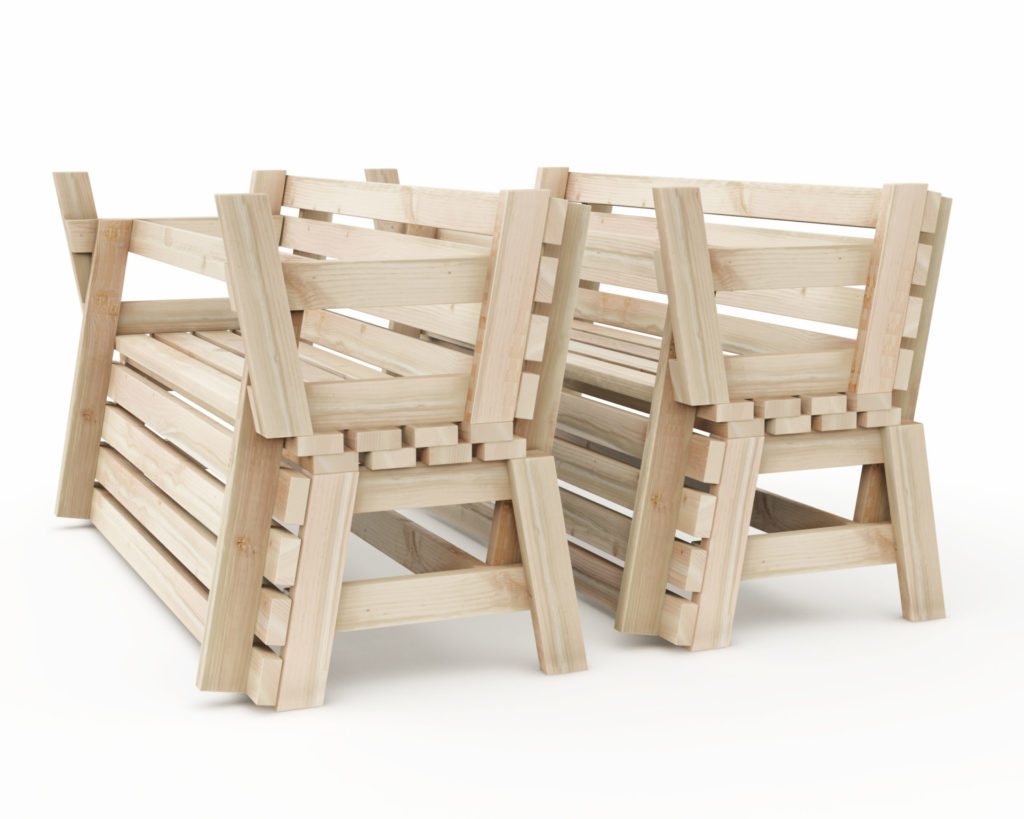
- These benches can be stored away because they can fit into one another. If your lacking storage and need seating, then these benches might be a good option for you.
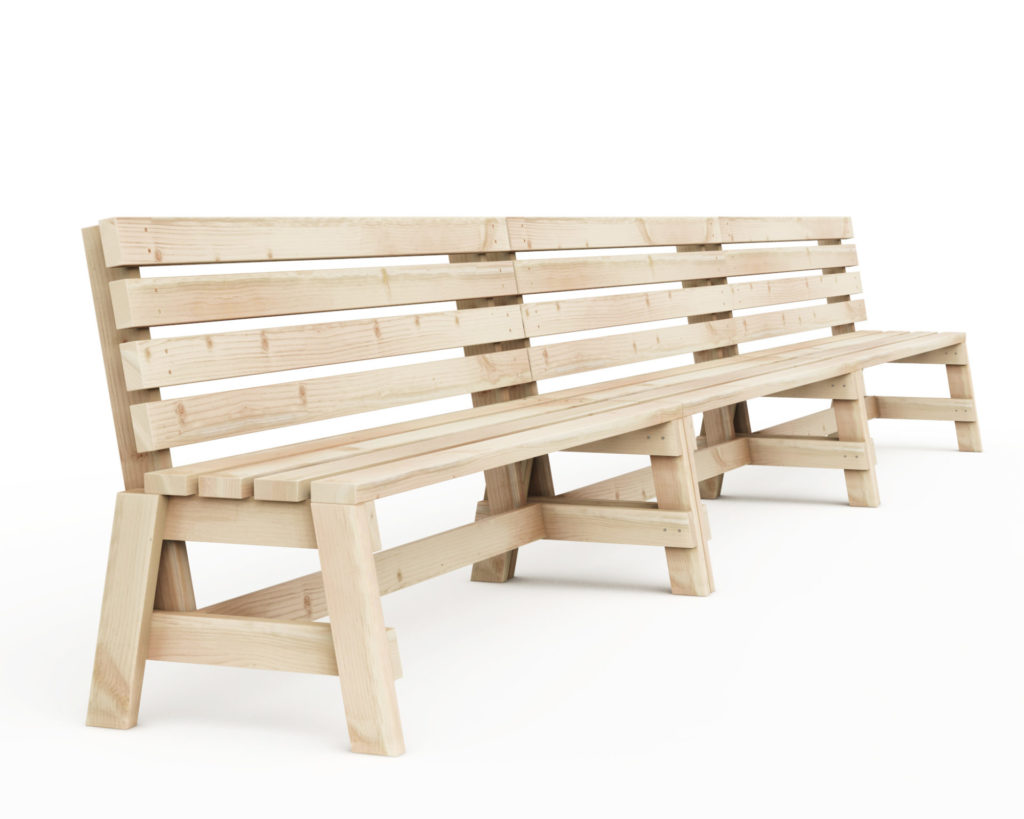
- Large scale events require a lot of seating. These benches can be set side by side to provide uninterrupted seating for tables. Having no arm rests allows guests to slide into their seating without any obstruction.
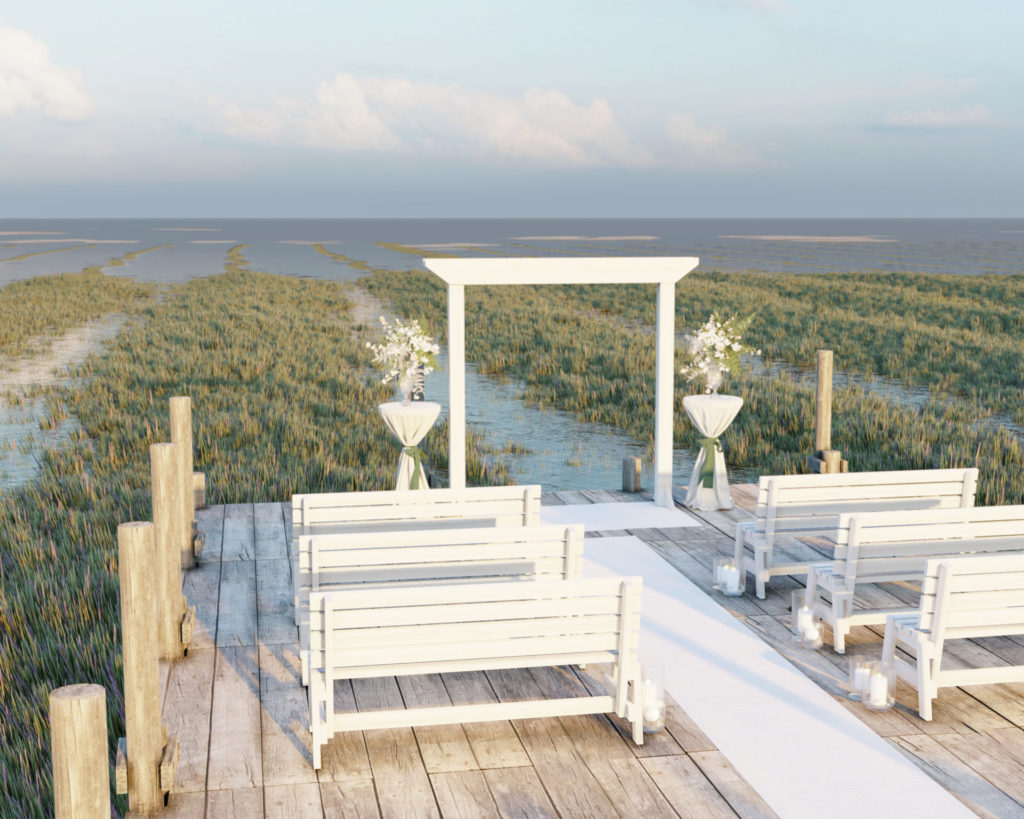
Where can I learn how to make the wedding arch in the photo?
DIY plans for the wedding arch can be found here.


Time to build
2 hours per bench
Total cost of build
$50 per bench
Skill level required
Beginner
Download the PDF plans
Outdoor wood bench PDF
What is included in the PDF download?
- Easy to read step by step instructions
- Material list
- Cut list
- Tools needed
- 3D illustrations
- Helpful links to tools needed for the project
Recommend tools for this project
- Miter saw
- Drill
- Impact driver with bit for screws
- Sander
- wood countersink drill bit
- will need 5 lb of 2.5-in screws per bench (highly recommend T25 Star Drive screws)
- Wood glue
- sand paper
Disclosure: Some of these links are affiliate links.
Material list
Available with purchase of PDF plans.
Step 1
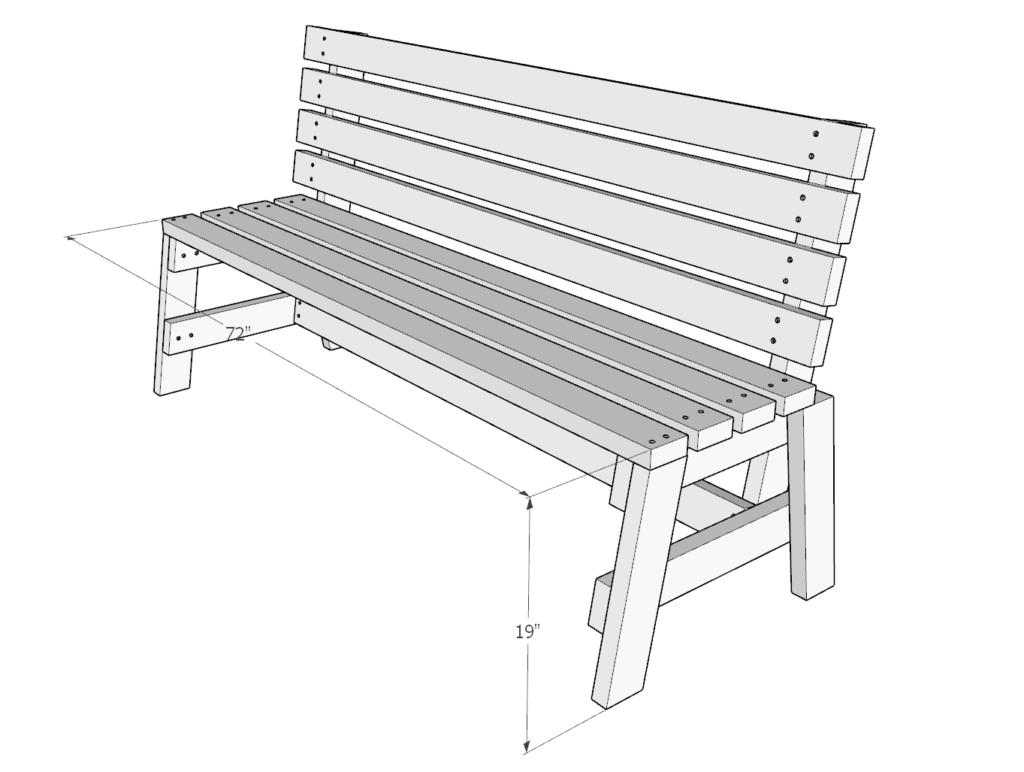
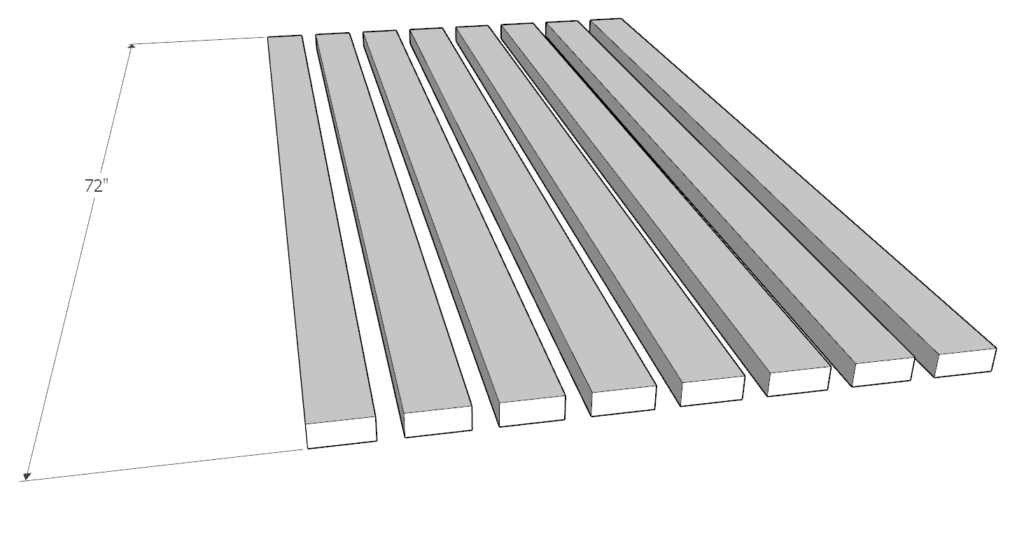
First, cut the 72-in pieces as shown in the diagram.
You will need a total of 8.
Step 2
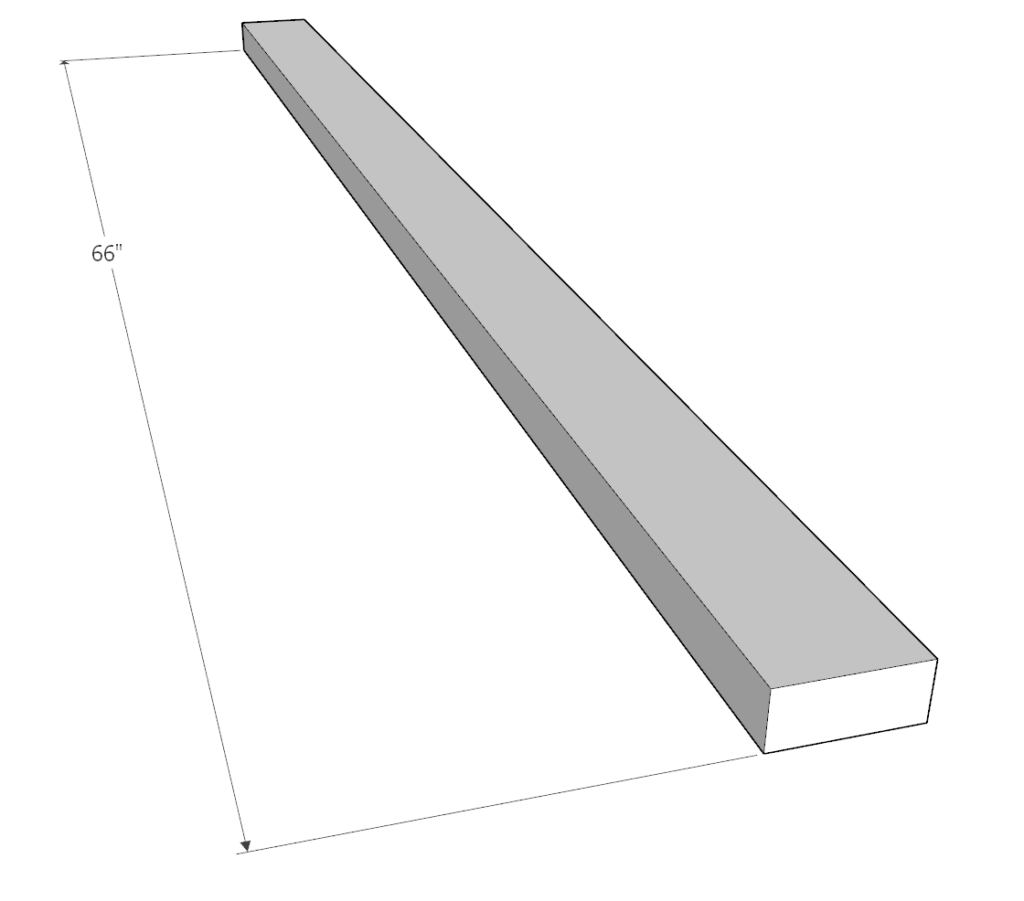
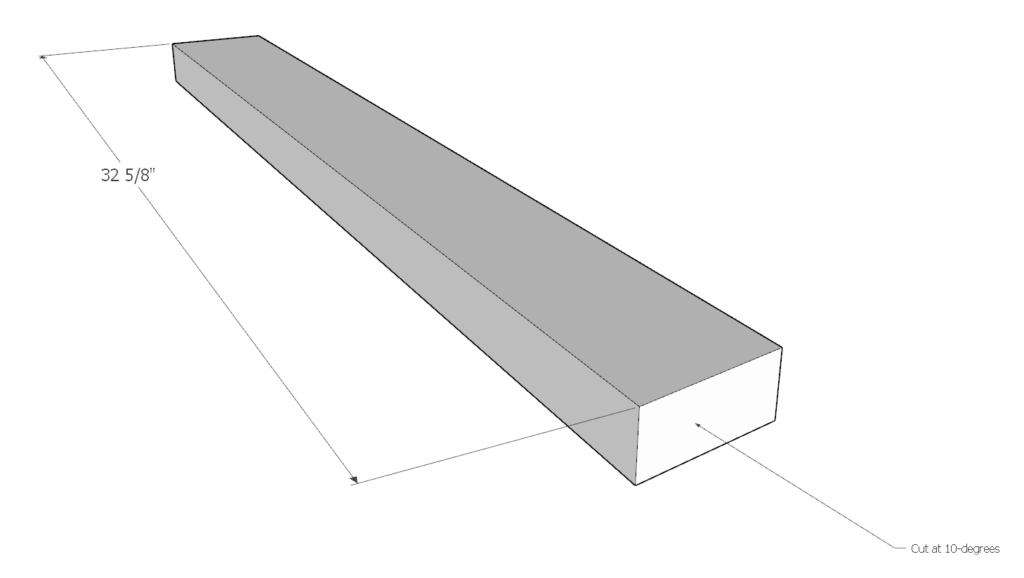
Next, cut two 66- in piece.
You will need a total of two of these.
Cut one of the ends at a 10-degree angle.

Step 3
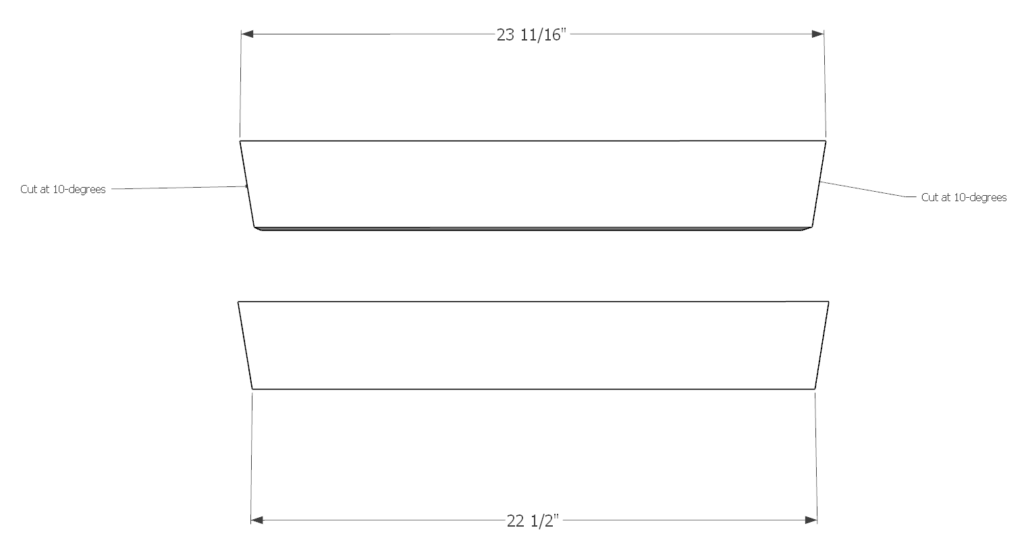
next, cut the 23 11/16-in pieces as shown in the diagram.
The ends are cut at 10-degrees on both sides as shown in the diagram.
You will need a total of two of these pieces
Step 4
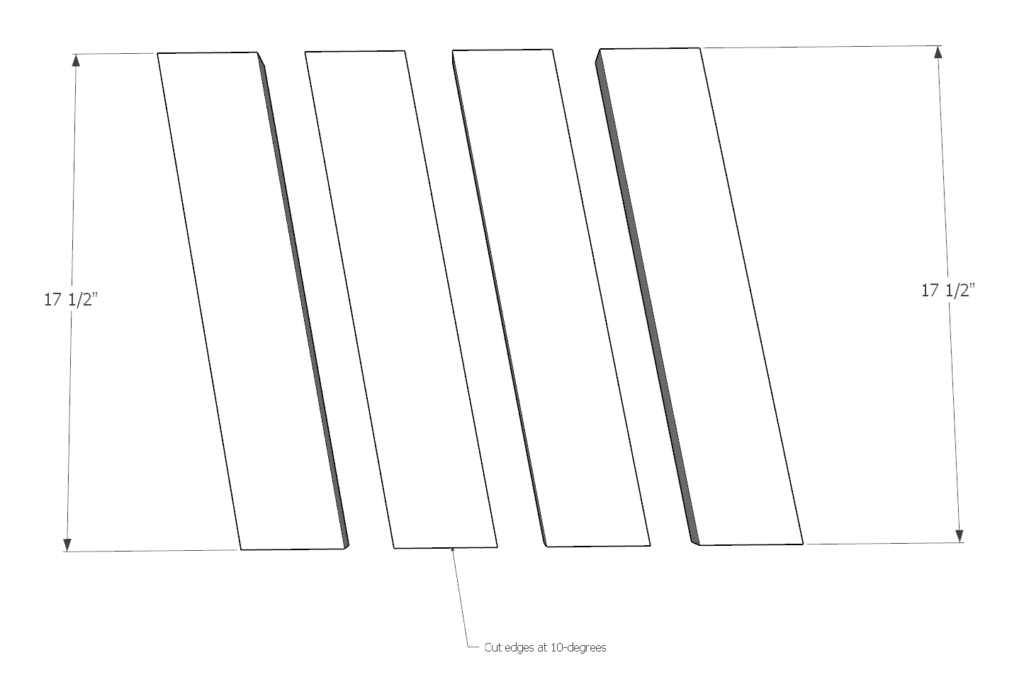
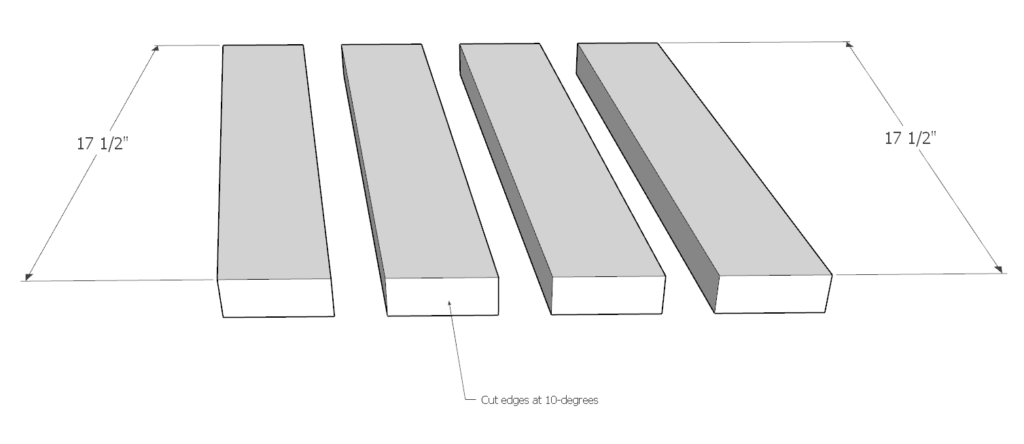
Next, precut the 17.5-in pieces as shown in the diagram.
The ends are cut at 10-degrees on both sides as shown in the diagram.
You will need a total of 4 of these pieces.
Step 5
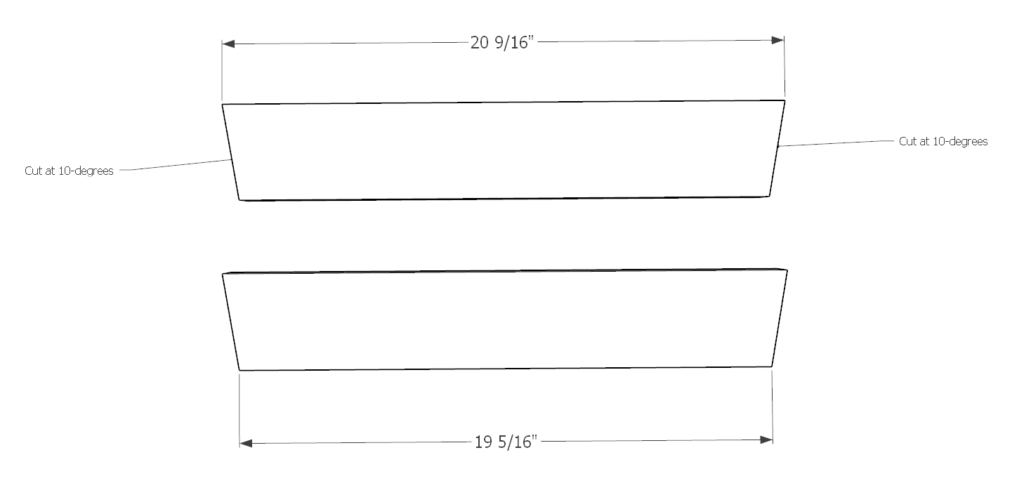
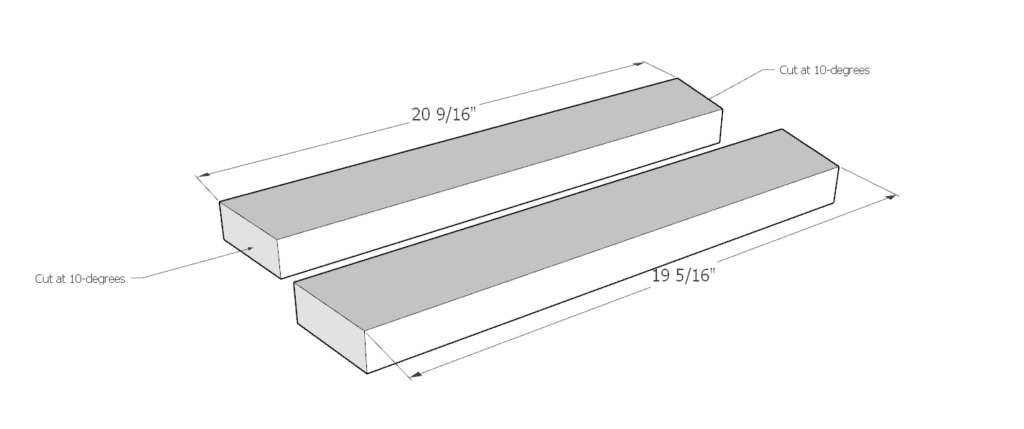
next, cut the 20 9/16-in pieces as shown in the diagram.
The ends are cut at 10-degrees on both sides as shown in the diagram.
You will need a total of two of these pieces
Step 6
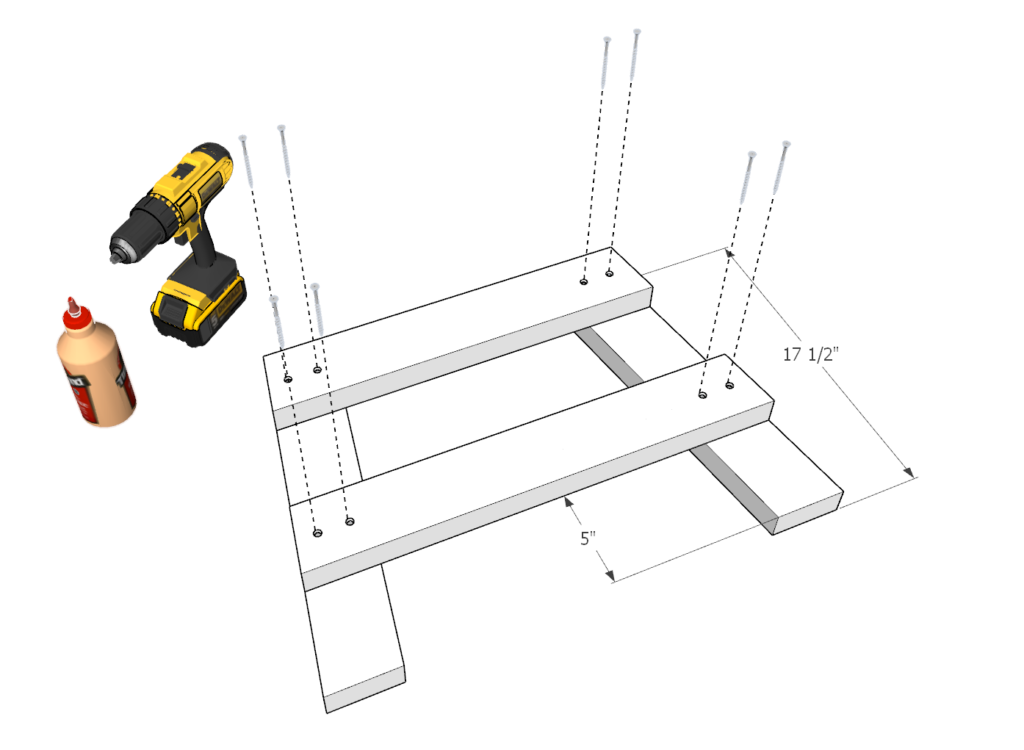
begin the assembly of the legs by putting together the 17.5-in pieces together with the 20 9/16-in piece and the 23 11/16-in pieces you cut in step 3 and 5.
Arrange the pieces as shown in the diagram
The 23 11/16-in piece must be about 5 inches away from the floor as shown in the diagram.
Predrill the holes, add glue to all areas that the wood pieces will be making contact, and add screws.
Make a total of two leg units like this.
Step 7
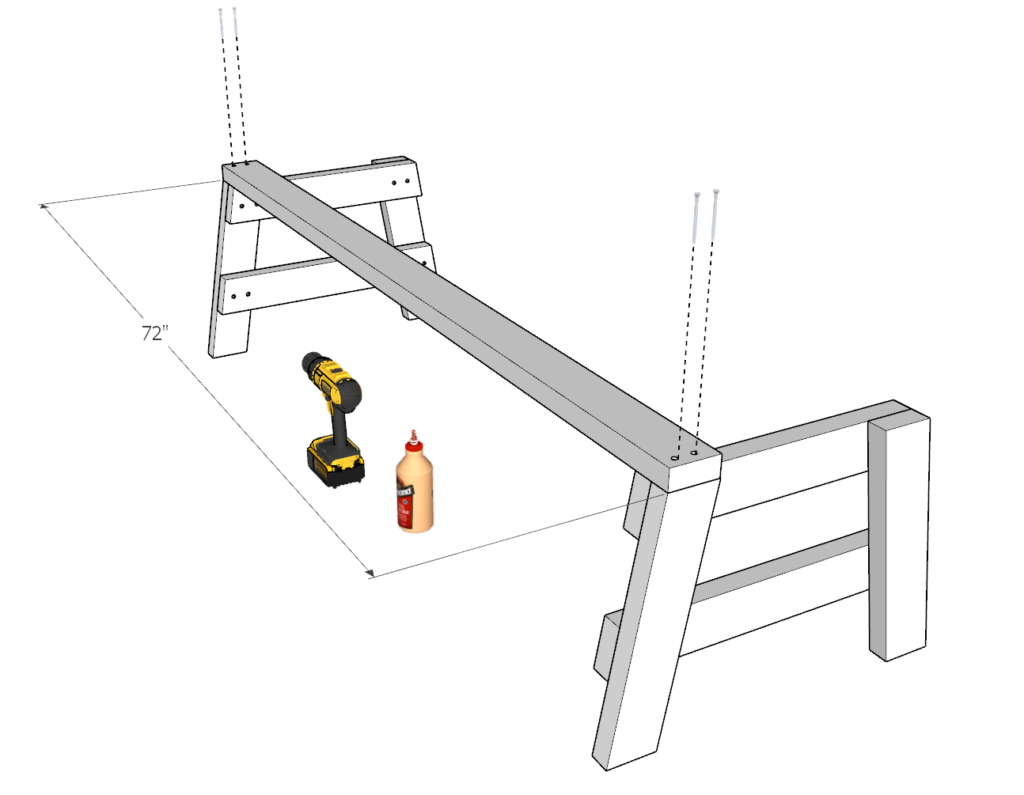
Next, take one of the 72-in pieces and connect the two leg units you made in step 6.
predrill, add glue, and add screws.
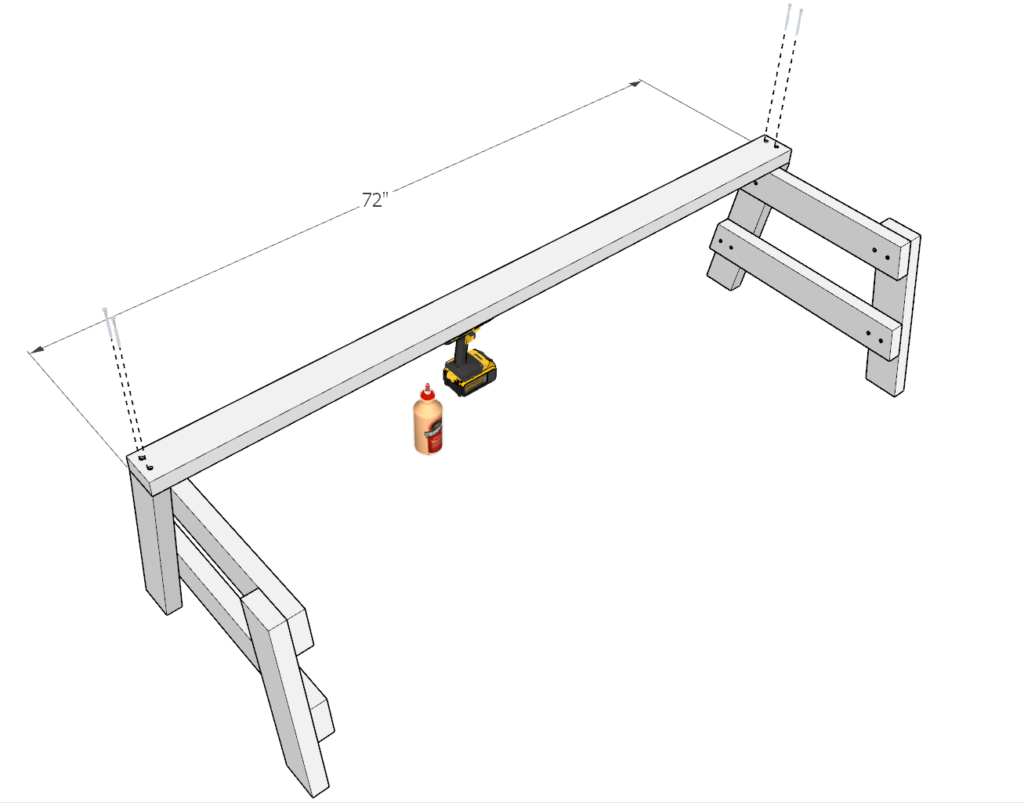
Step 8
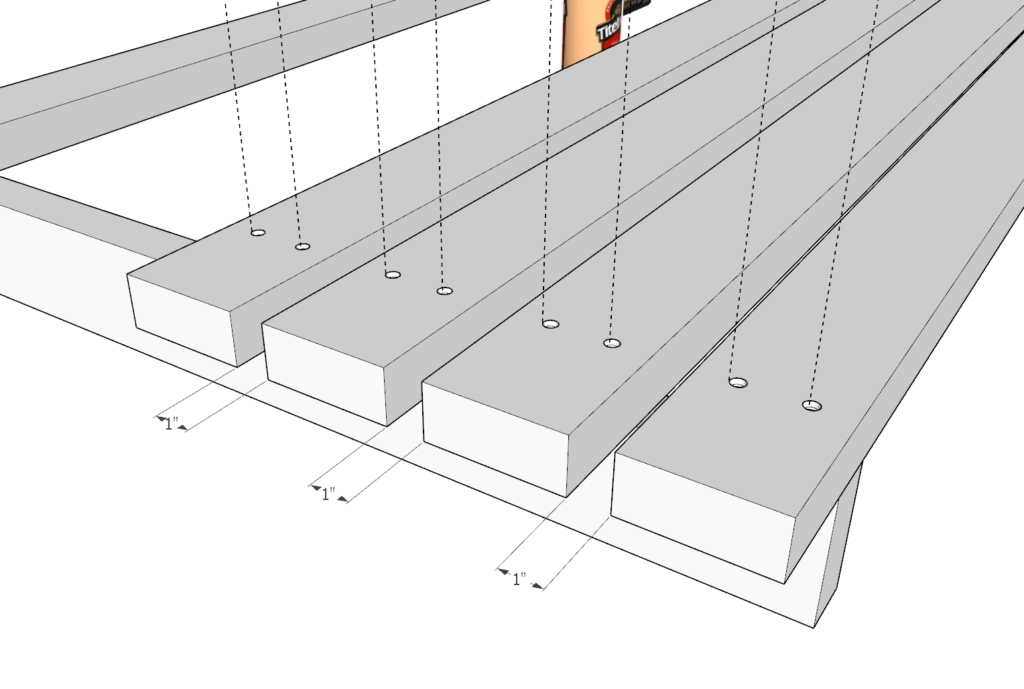
Next, add three more decking 72-in pieces you cut earlier to the bench. Space them 1-in apart.
Predrill, add glue, and add screws.
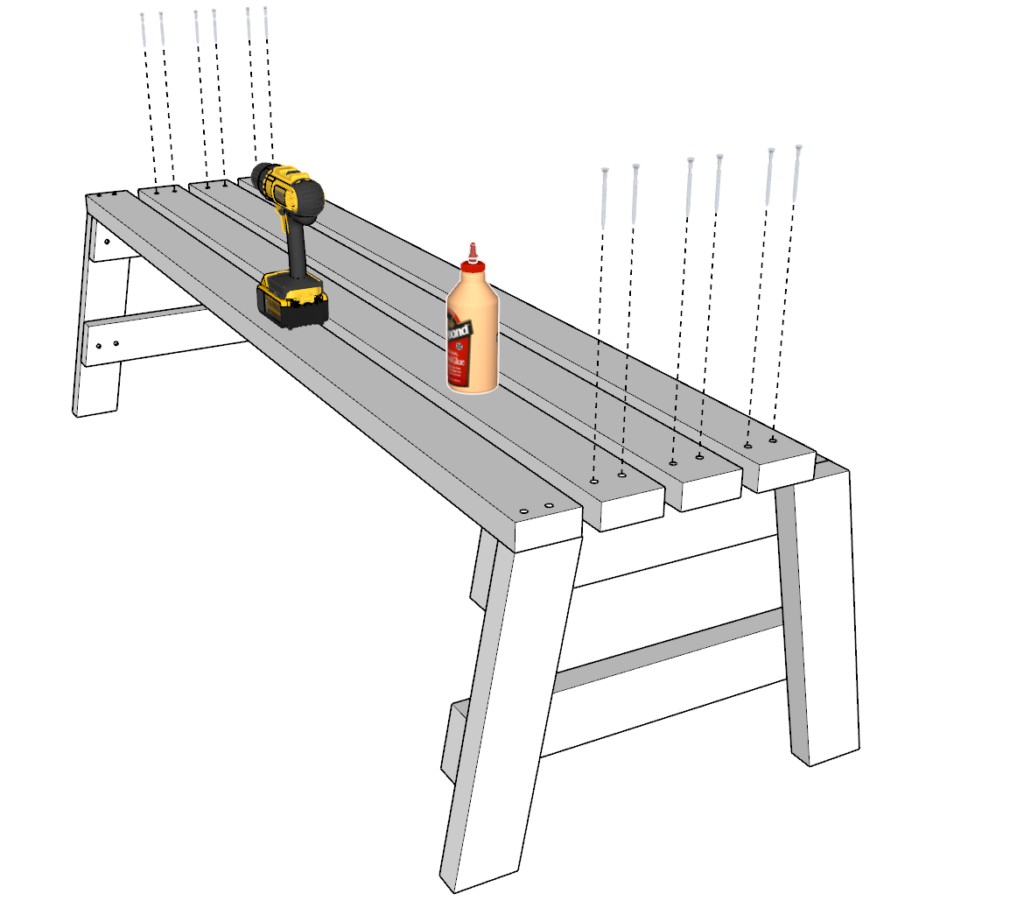
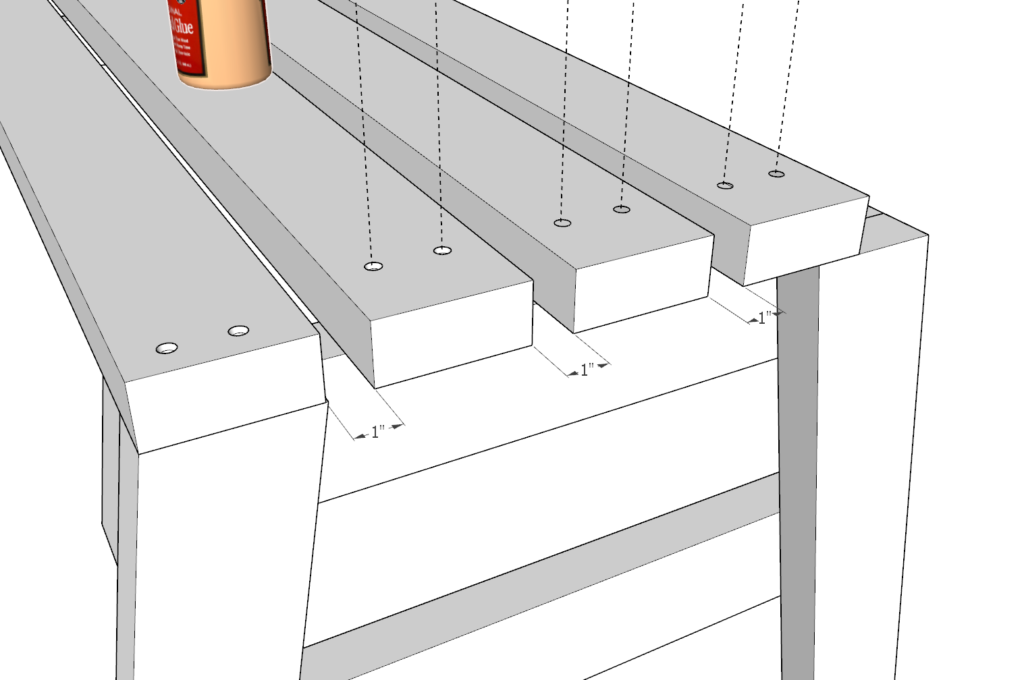
Step 9
Next, arrange two of the 32 5/8-in pieces and the 66-in piece you cut previously as shown in the diagram.
Predrill, add glue, and add screws.
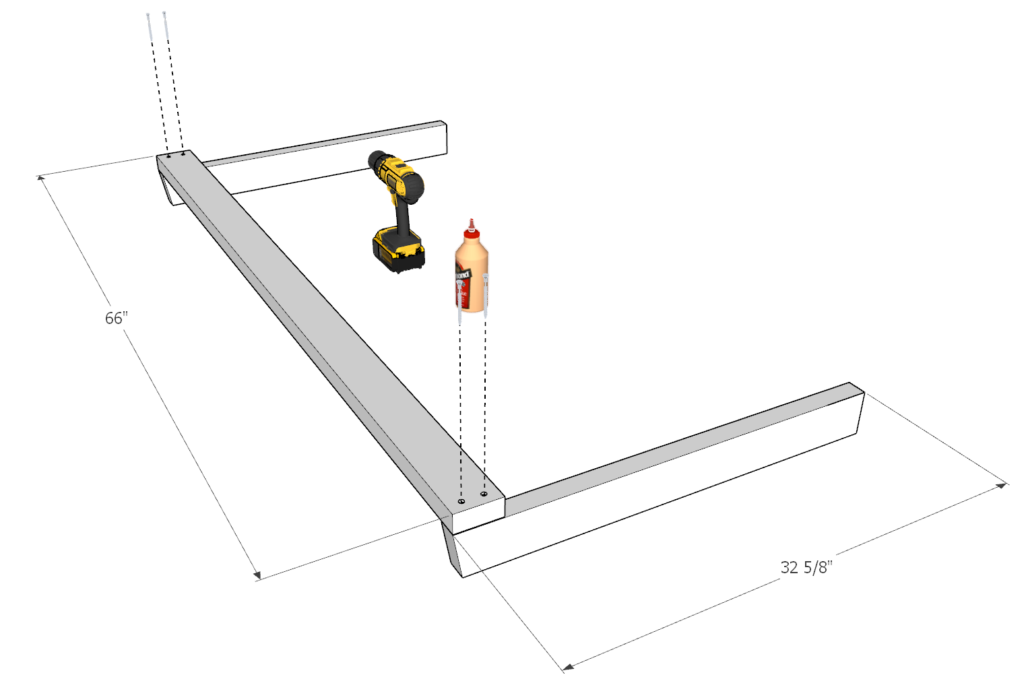
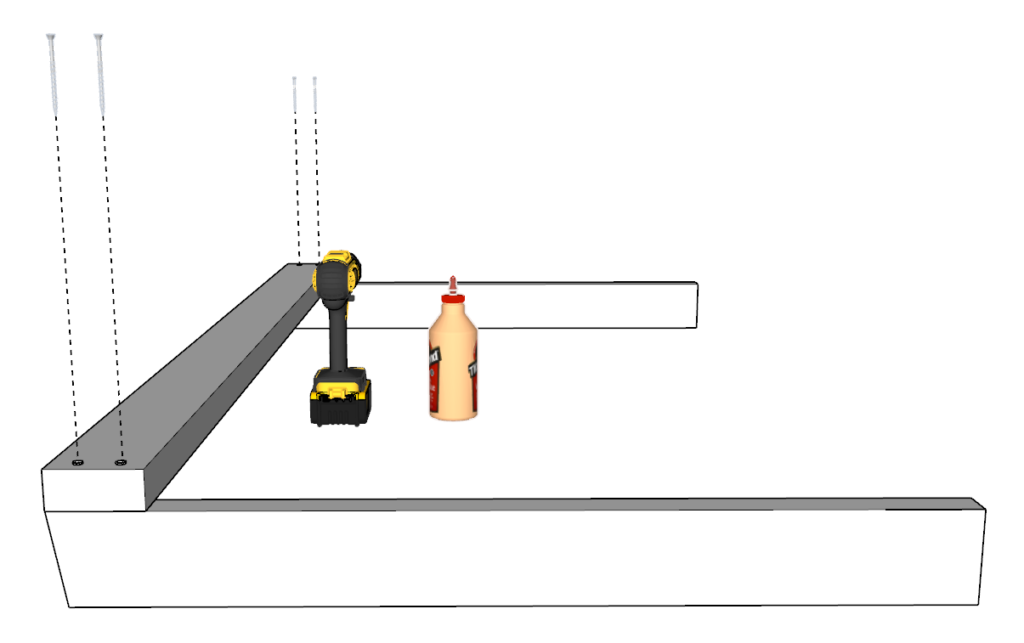
Step 10
Next, add the 72-in backrest decking pieces.
Start by working from the opposite end from the previous step, spacing out the 72-in pieces 1 inch apart. Add a total of four 72 in pieces.
Predrill, add glue, and add screws.
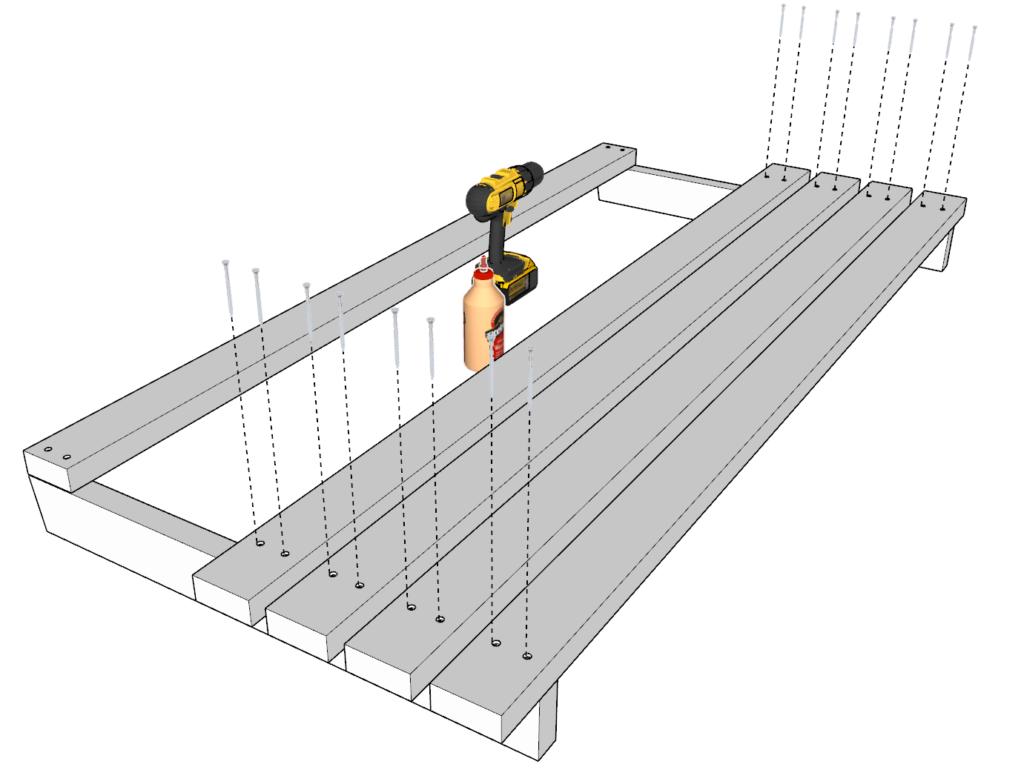
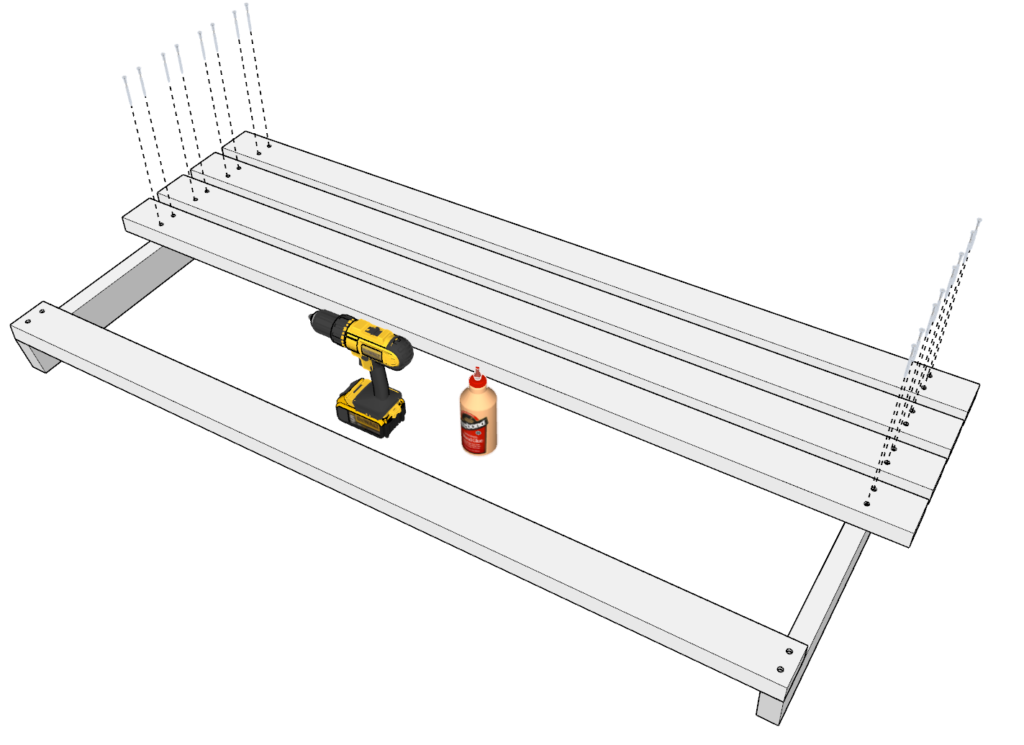
Step 11
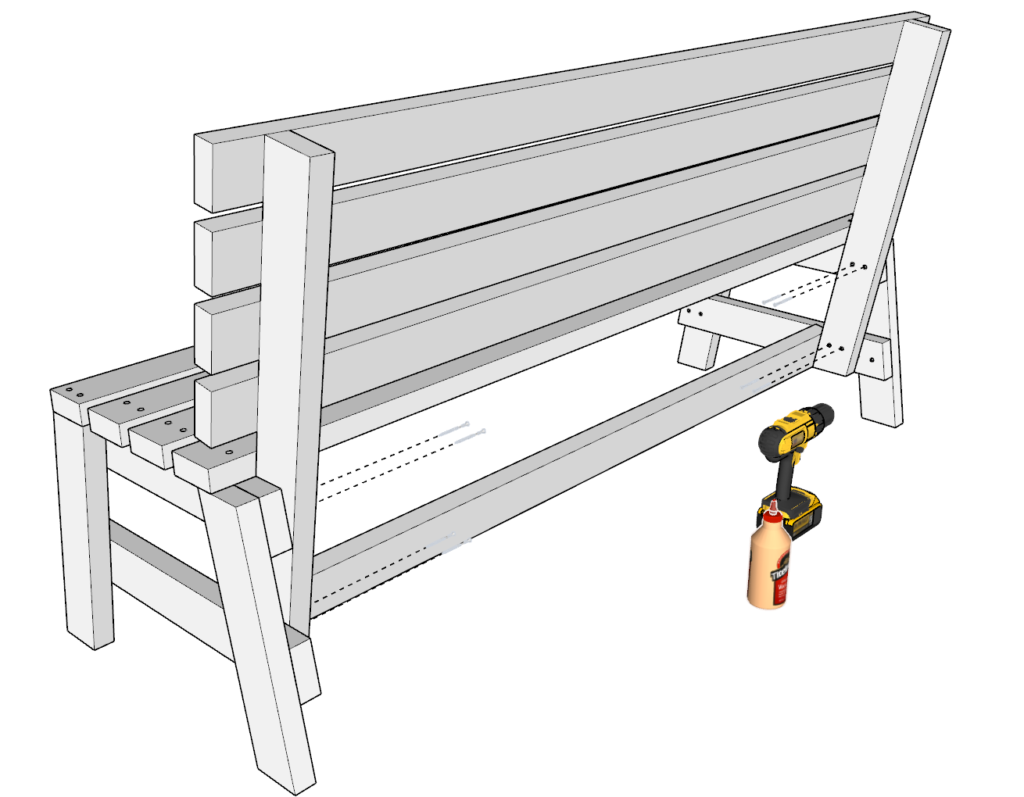
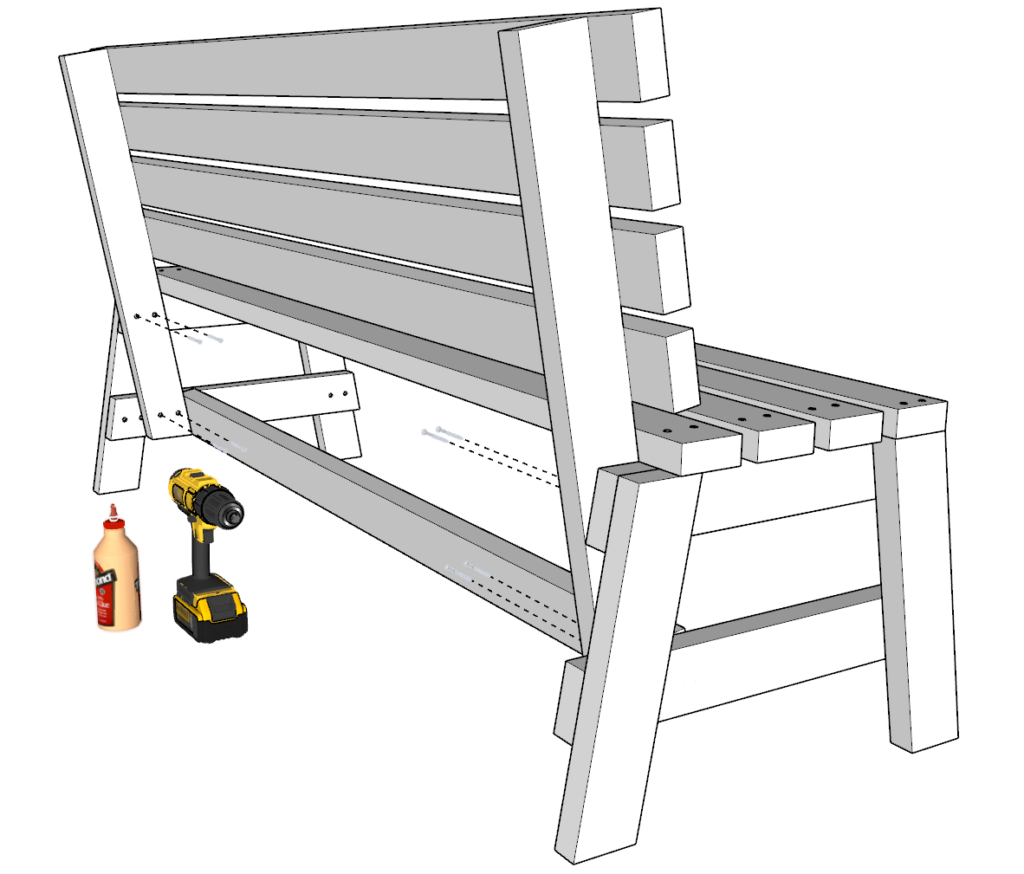
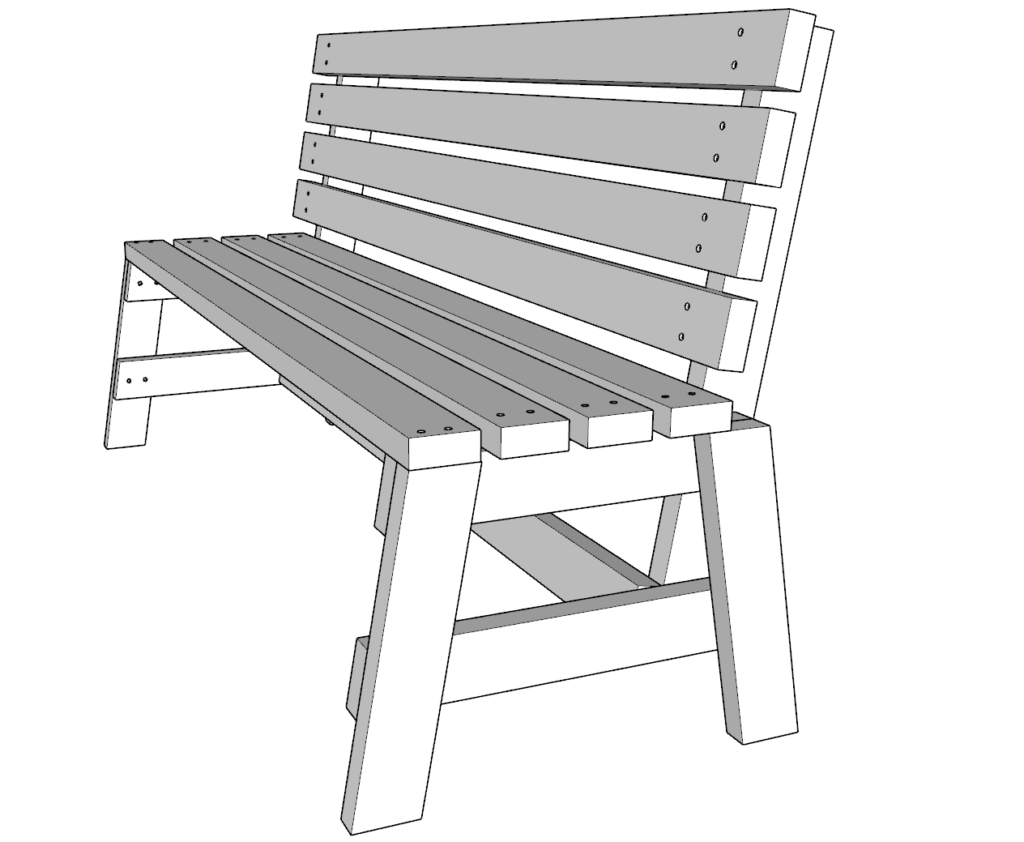
Next, insert the backrest in the appropriate position as shown in the diagram.
The edge of the 32 5/8-in pieces should be flush with the furthest back 72-in base decking piece. The bottom of the 32 5/8-in pieces that is cut at a 10 degree angle should also align appropriately at the bottom.
Predrill, add glue, and add screws as shown in the picture.
Step 12
At this point all the bench needs to be sanded down.
I use a 80 grit paper for my orbital sander to help take away all major imperfections and then I follow up with a fine grit 220+ afterwards.
If you did not choose to paint the wood pieces before you assembled it then pain the bench and seal it to protect it so it last a long time.
This is the last step of the plans for the 6ft long DIY Park Bench from 2×4 wood construction, Fast & Easy to build Step-By-Step instruction post.
