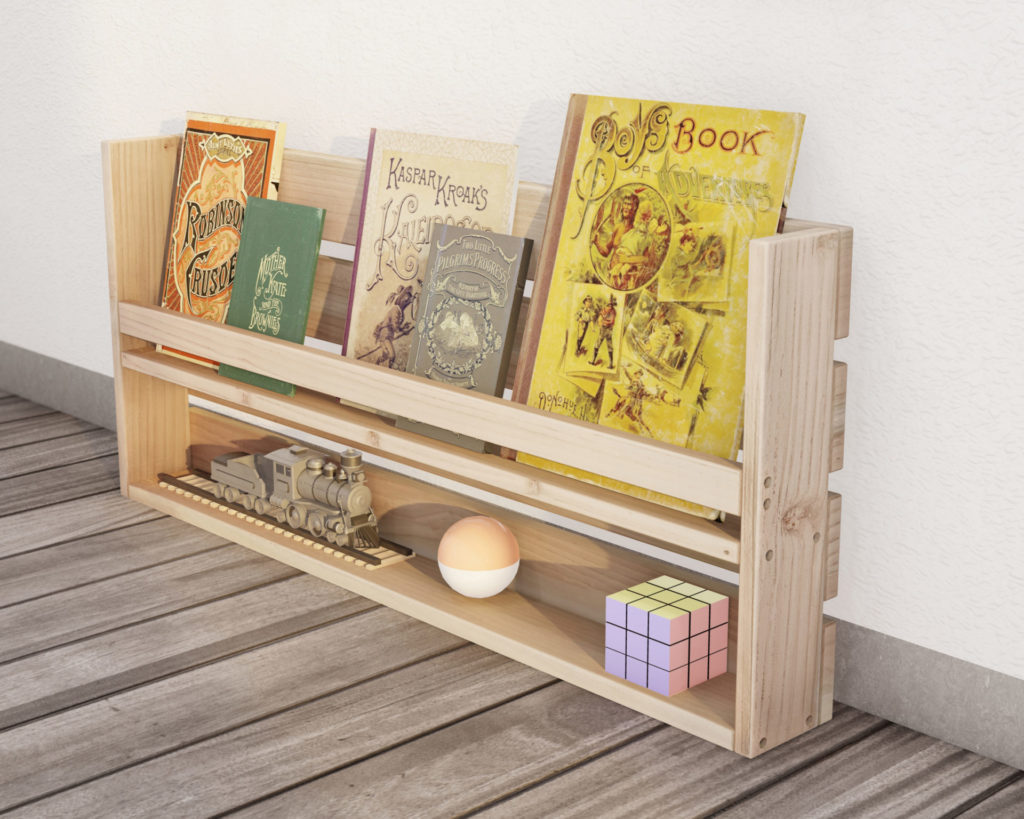
Why make a DIY Montessori floor shelf?
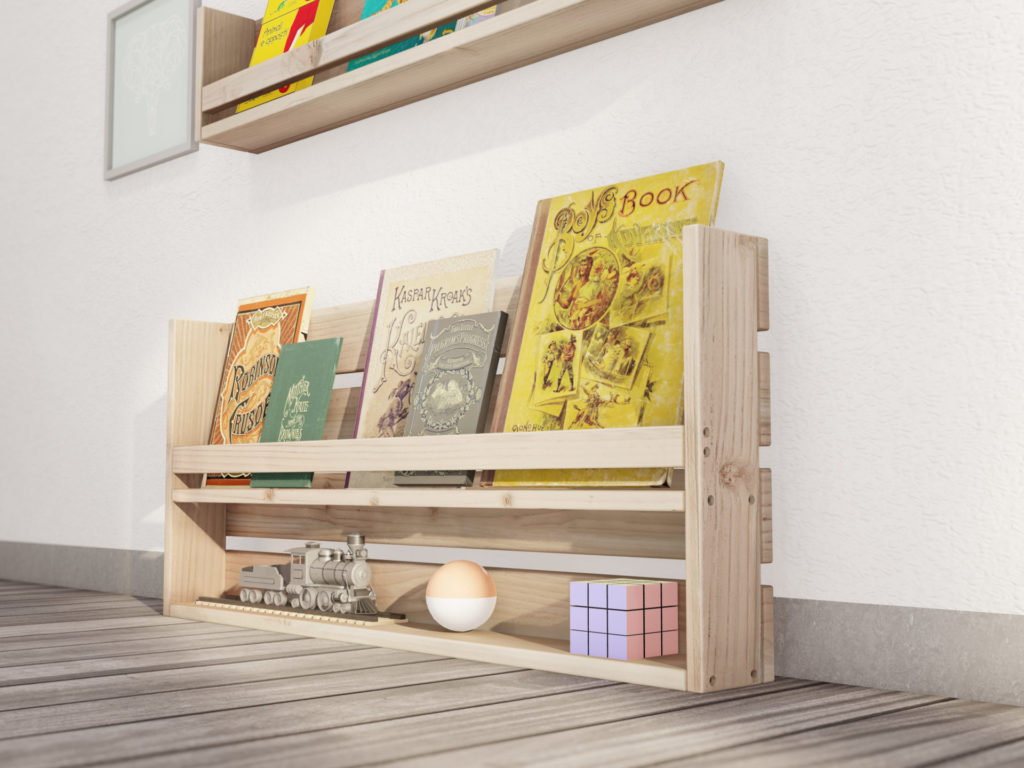
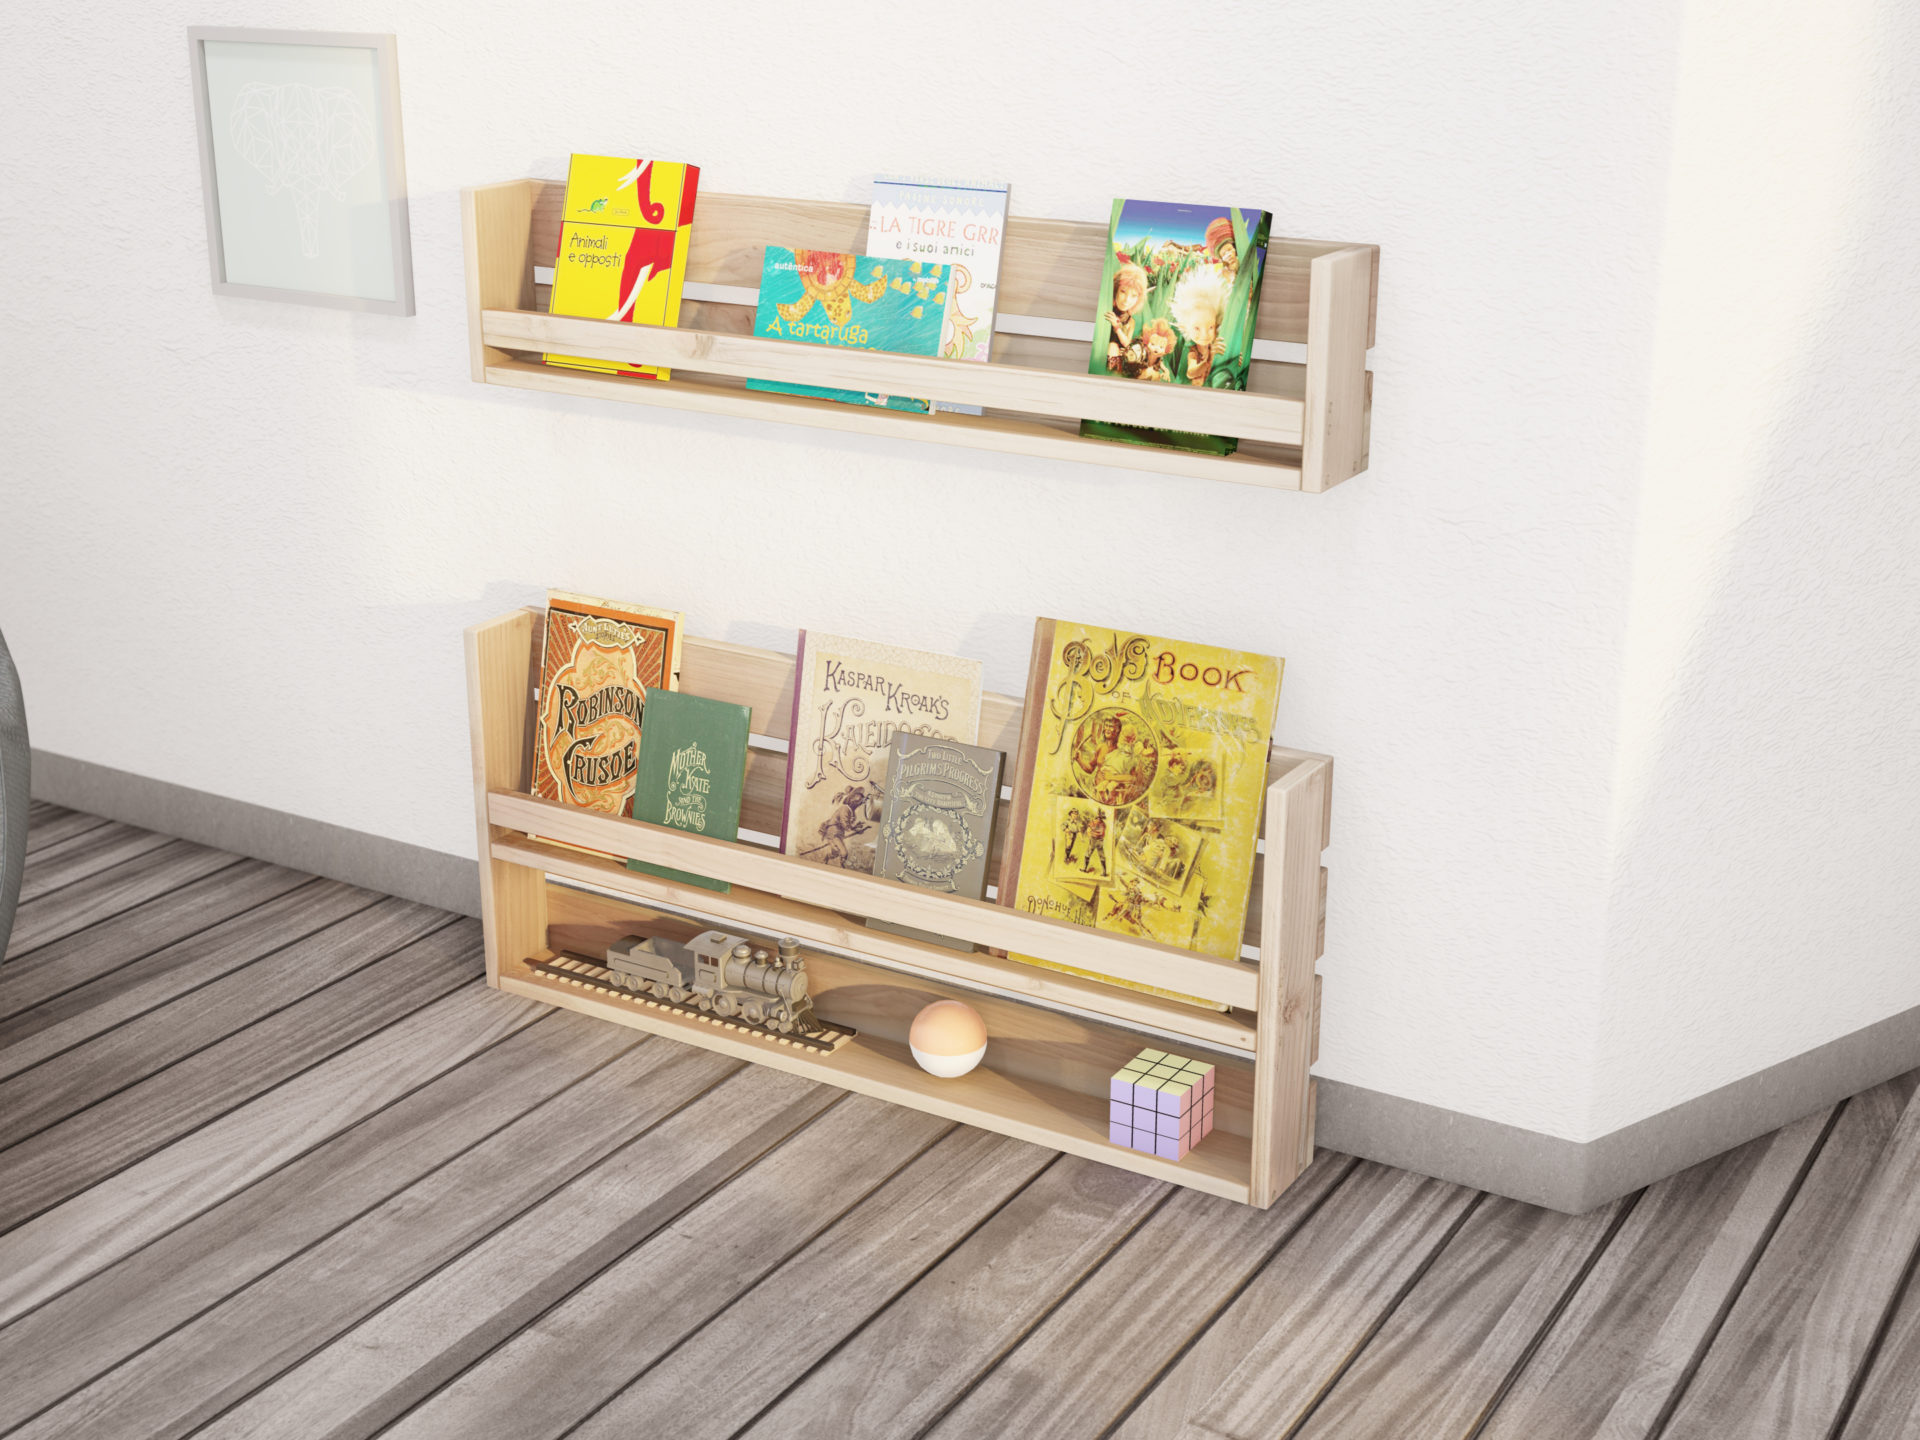
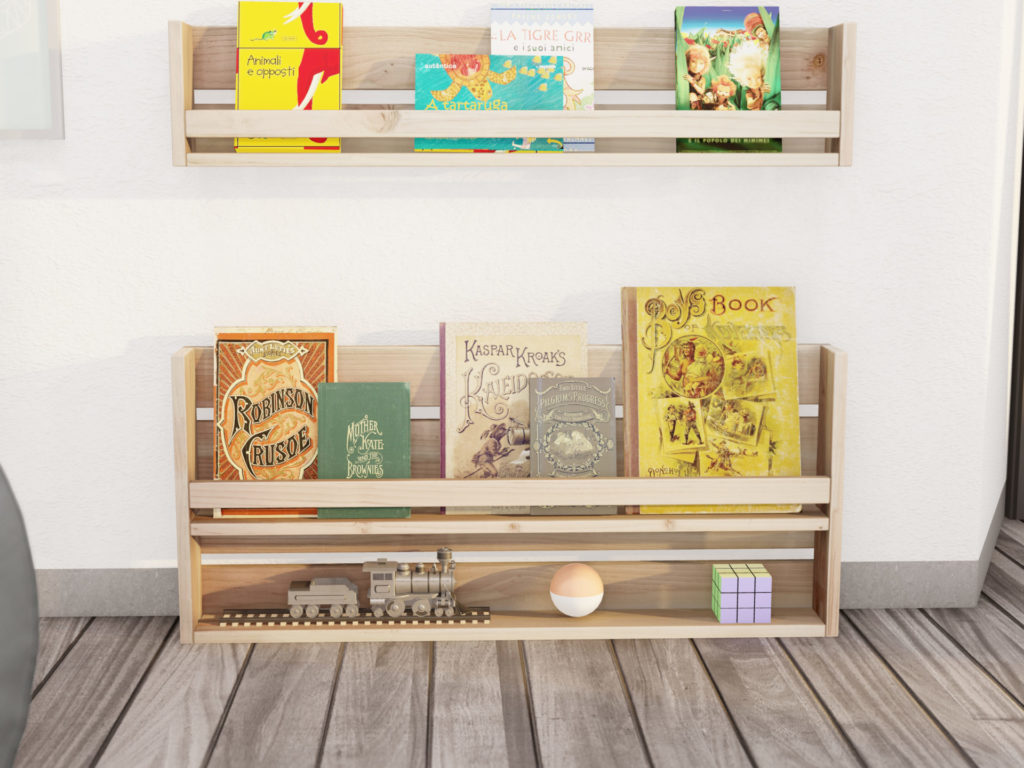
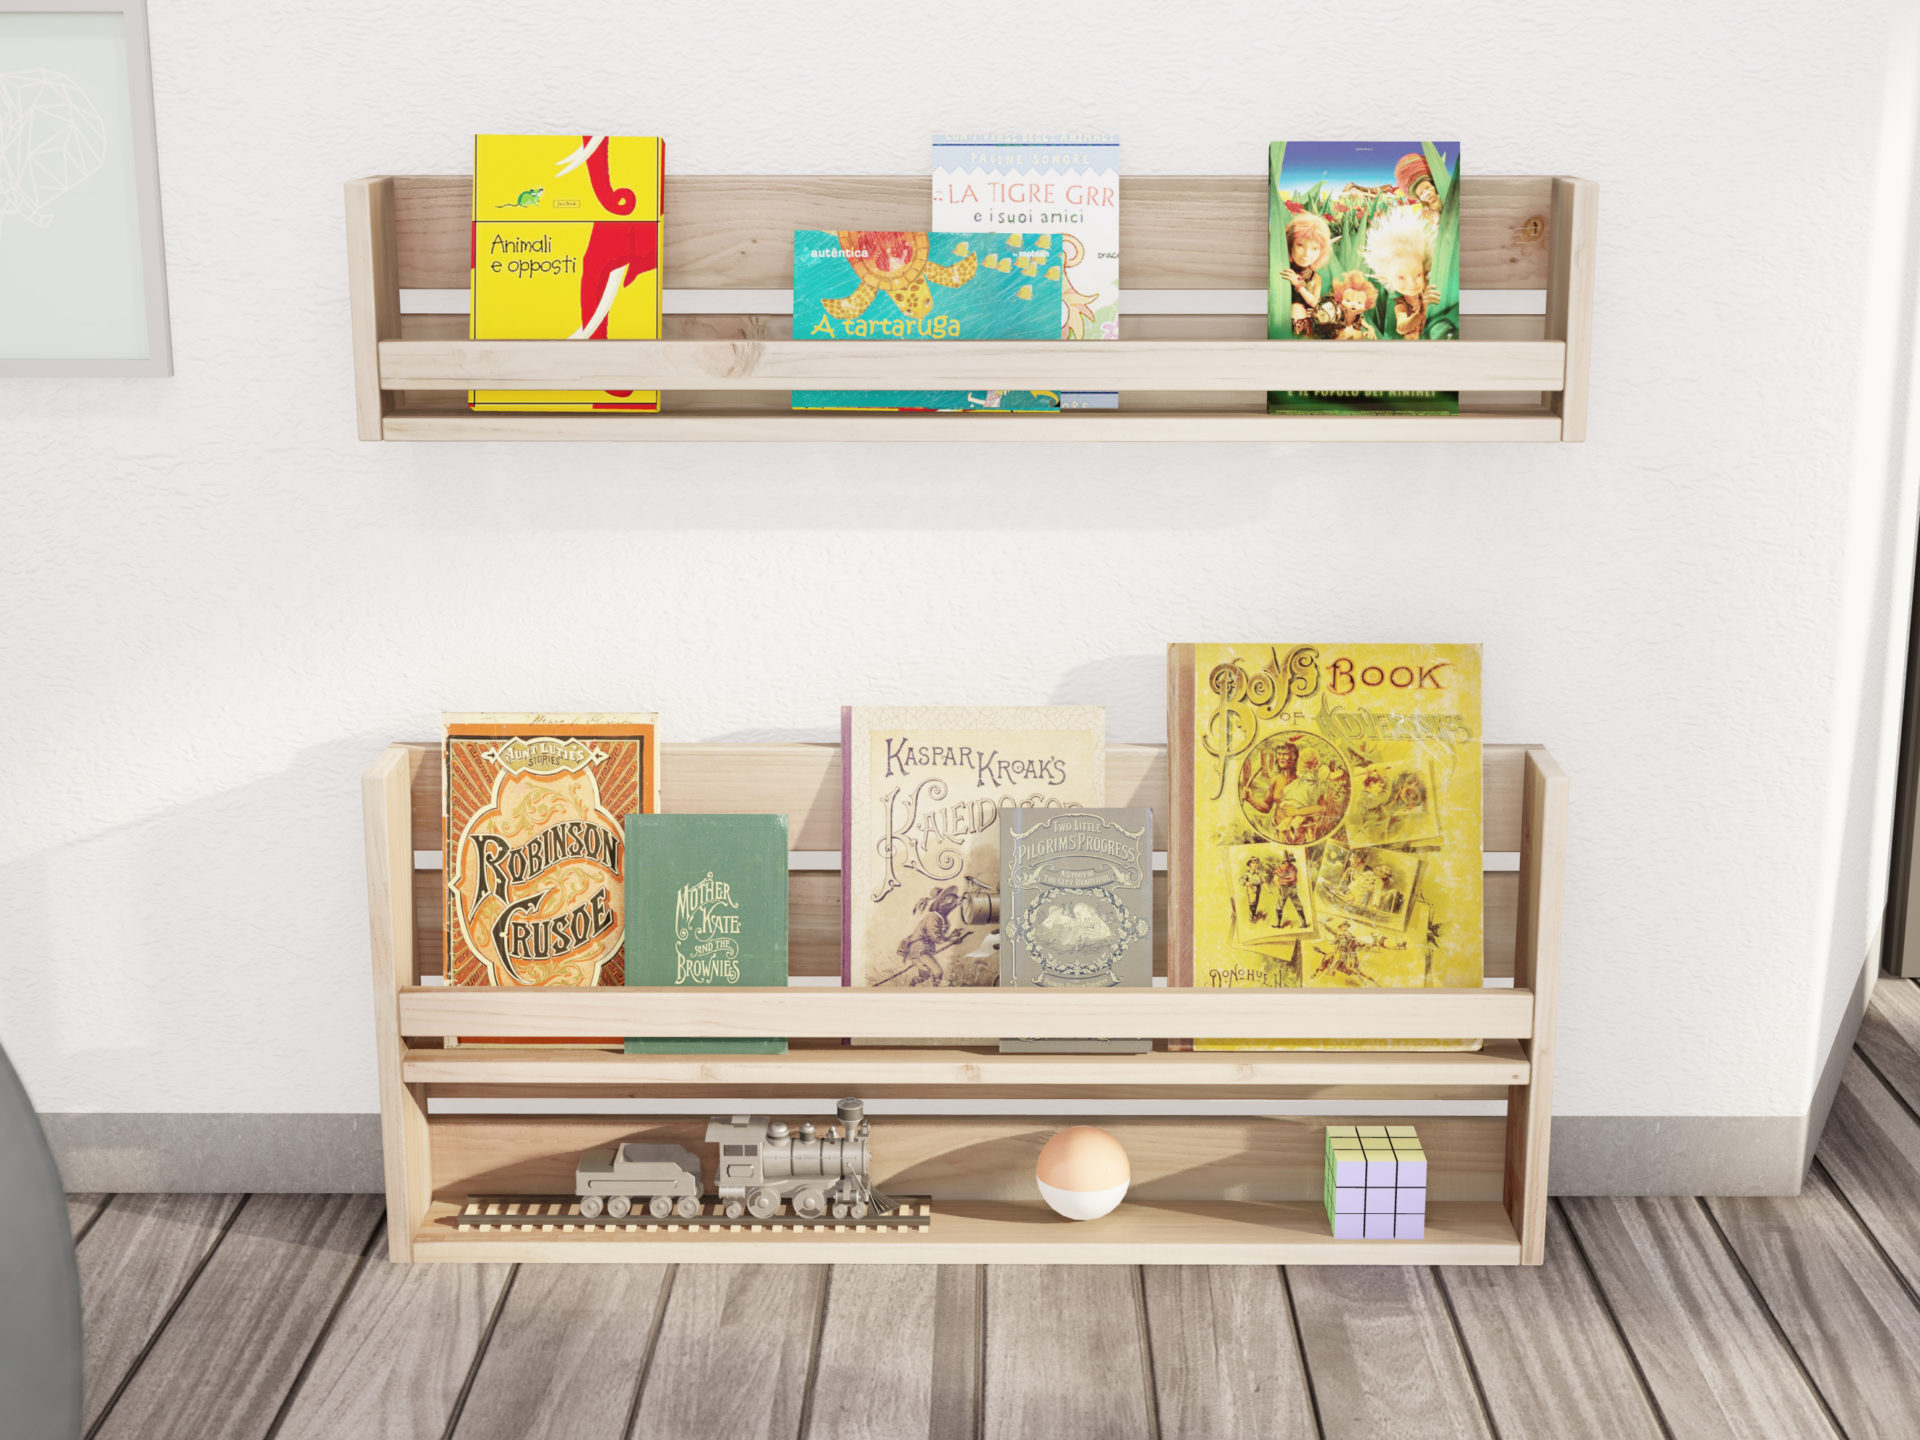
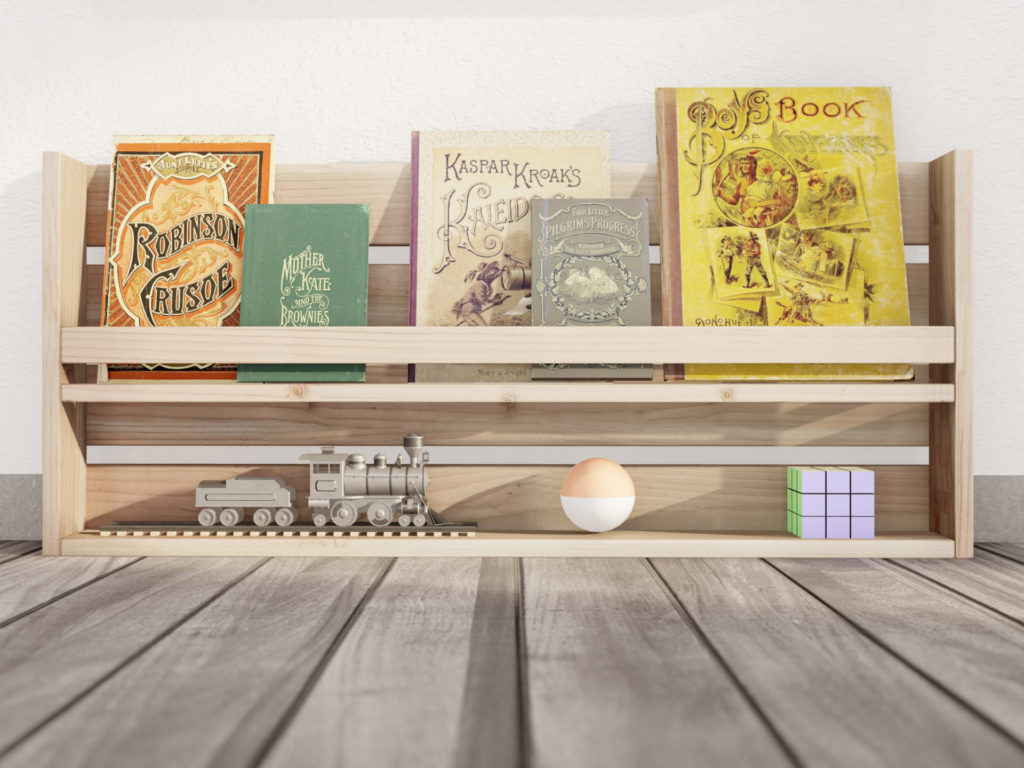
The Montessori floor shelf encourages accessibility and freedom for children. The height of the shelf allows for the children to visualize the books and items stored with minimal obstruction. The shelf allows for a minimalistic display of books that can showcase colorful, handpicked, age-appropriate books for your child to choose from and explore.
By having the shelf low to the ground, the display is more inviting and inserting for the little ones. Having the display at eye level also helps toddlers with clean up because they can easily reach.
What are the specifications of the DIY Montessori floor shelf?
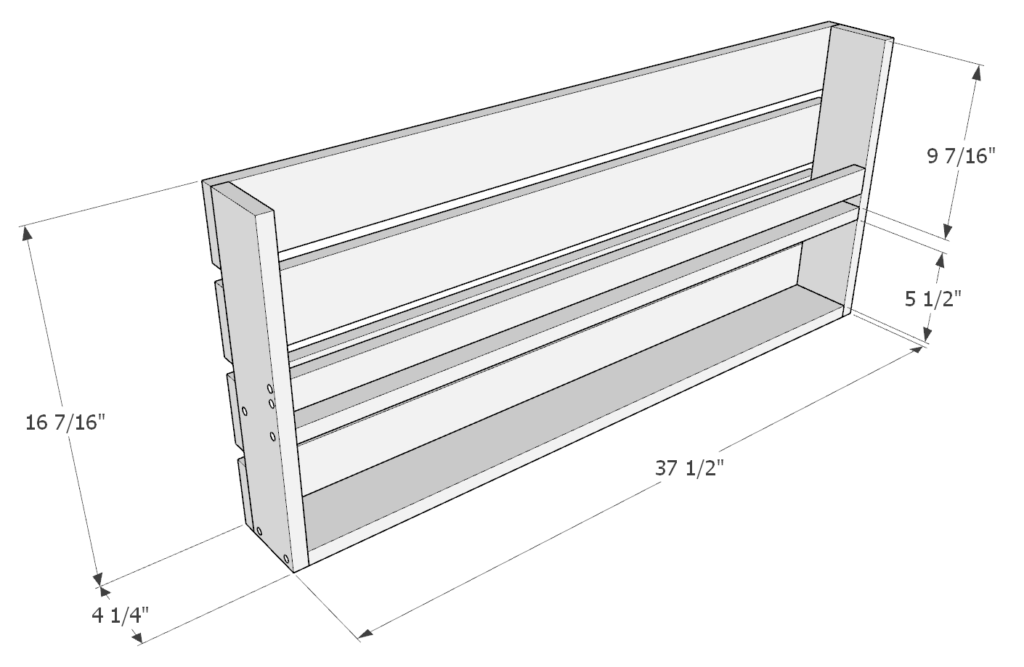
The height of the shelf is about 17 inches, and the length is 37.5 inches.
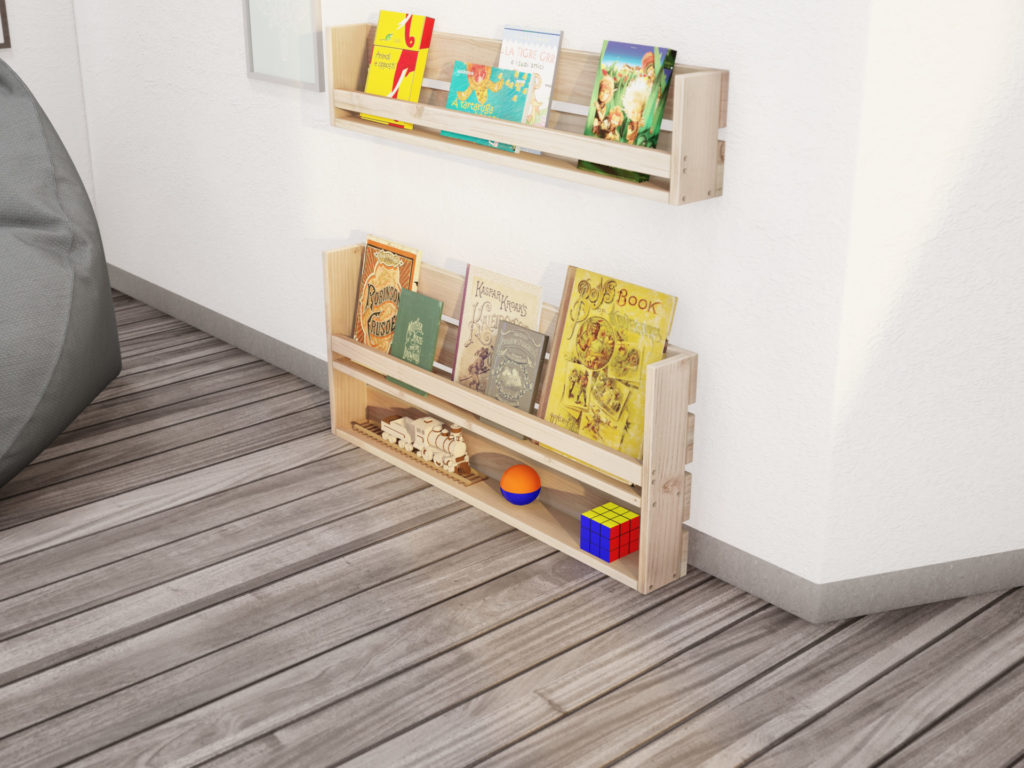
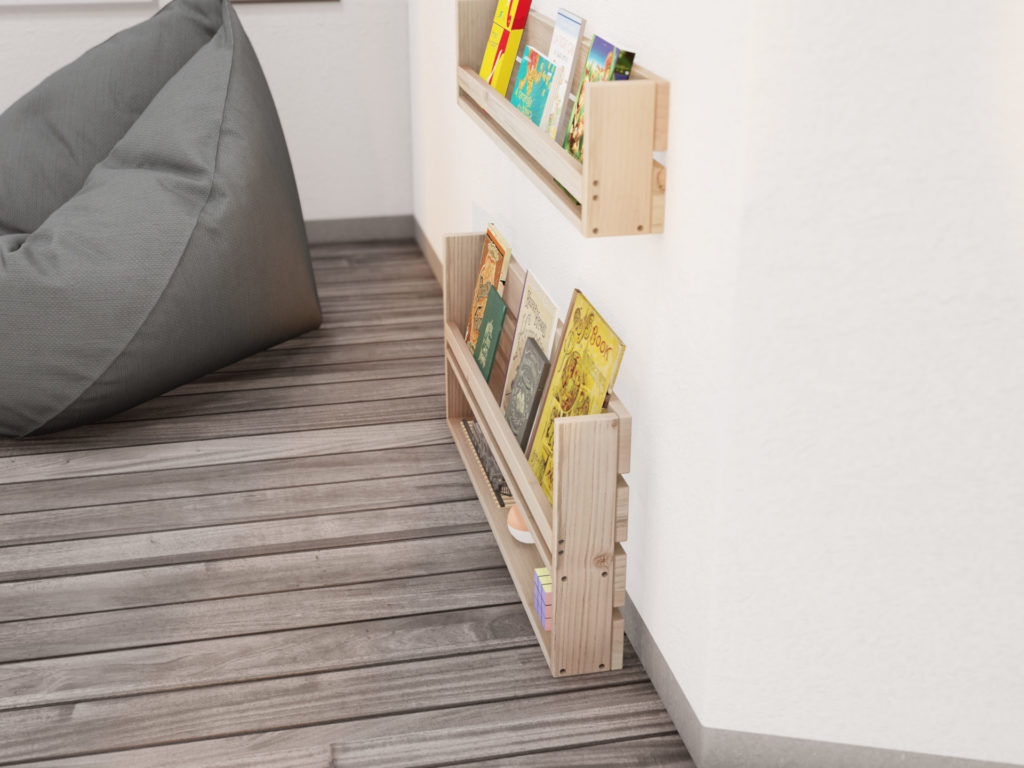
This shelf has an upper compartment to display books and a lower compartment to display toys and activities.
This shelf is made from simple lumber found in most hardware stores. The joints are simple, and the design is easy to understand if you follow our step-by-step instructions. This is a beginner level appropriate woodworking build.
What other Montessori room pieces are a part of this room set-up?
Lego play and storage system plans can be found here.
Floor shelf plans can be found here.
Wall shelf plans can be found here.
Step stool plans can be found here.
Chair plans can be found here.
Activity and weaning table plans can be found here.
Twin size floor bed plans can be found here.
Children’s wardrobe plans can be found here.
Storage and activity shelf plans can be found here.
Time to build
1 hours
Total cost of build
$25
Skill level required
Beginner
Download the PDF plans
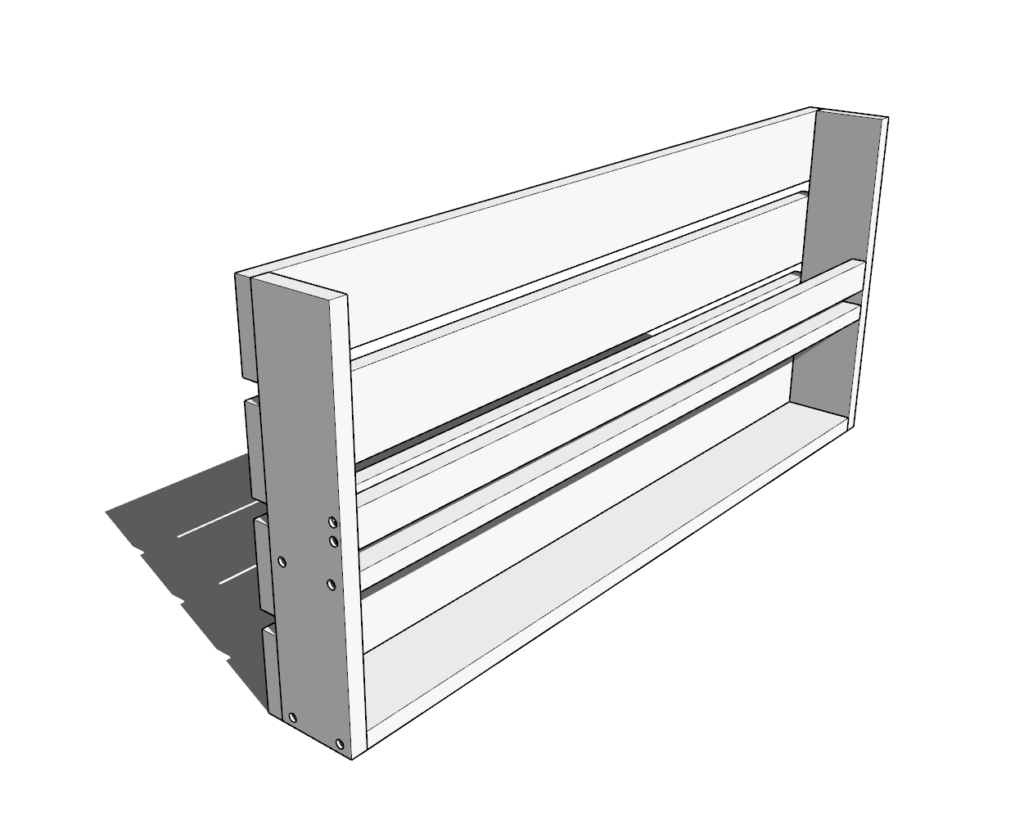
Plans for how to build the DIY Montessori floor shelf.
What is included in the PDF download?
- Easy to read step by step instructions
- Material list
- Cut list
- Tools needed
- 3D illustrations
- Helpful links to tools and materials needed for the project
Recommend tools for this project
- Saw (miter saw recommended for precision cuts)
- Drill
- Impact driver with bit for screws
- Sander
- wood countersink drill bit
Cut list and material list
Available with purchase of PDF plans.
Step 1 (Montessori shelf)
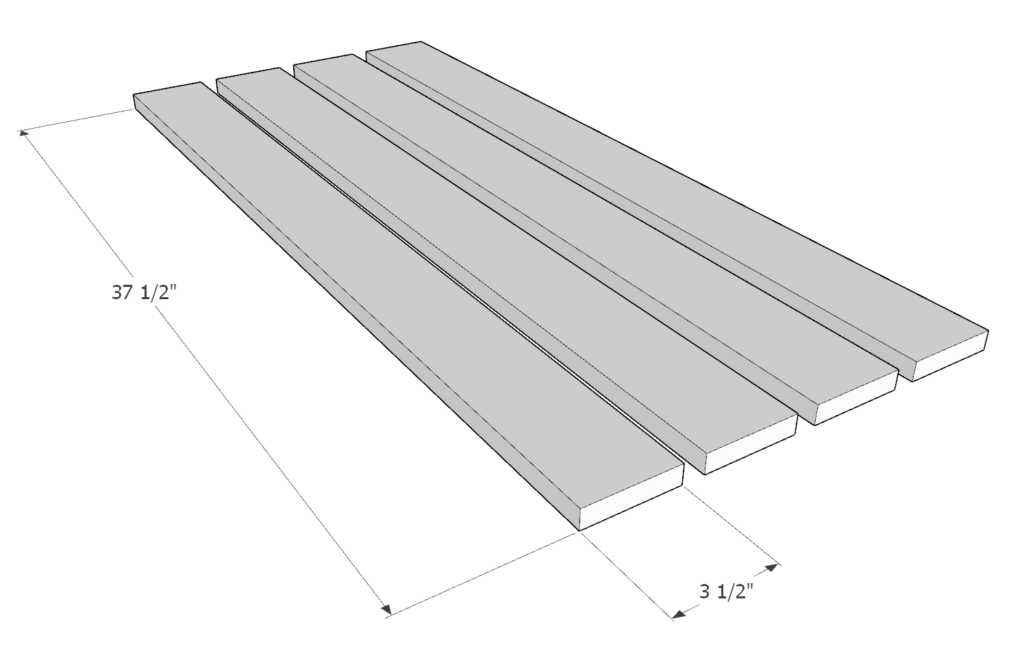
First, cut the lumber pieces into the dimensions into the following dimensions.
- (4) 1in x 4in x 37.5 in long
- (2) 1in x 4in x 16 7/16 in long
- (2) 1in x 4in x 36 in long
- 1in x 2in x 36 in long.
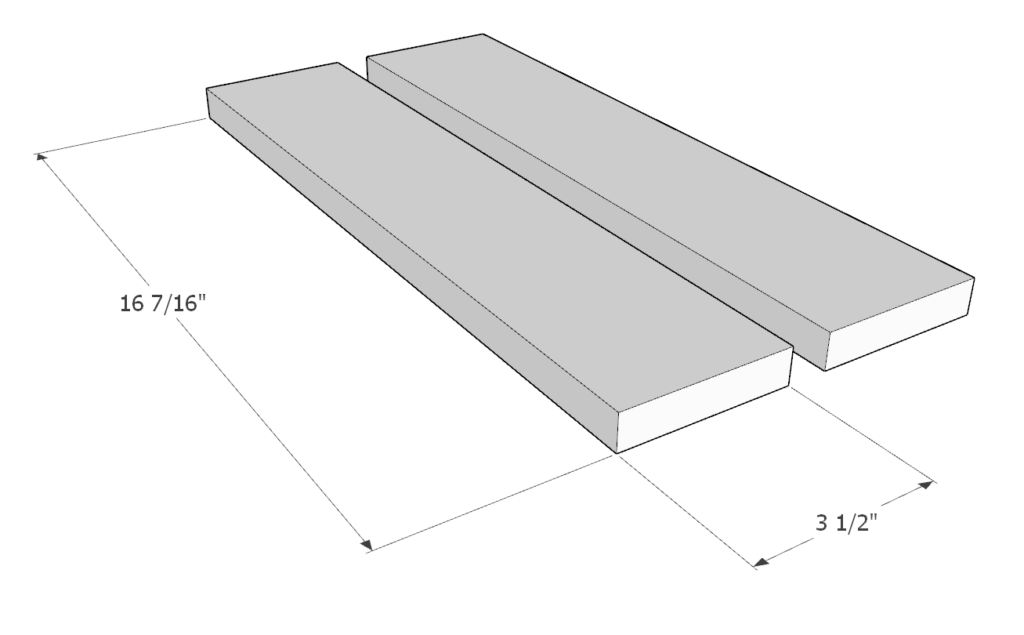
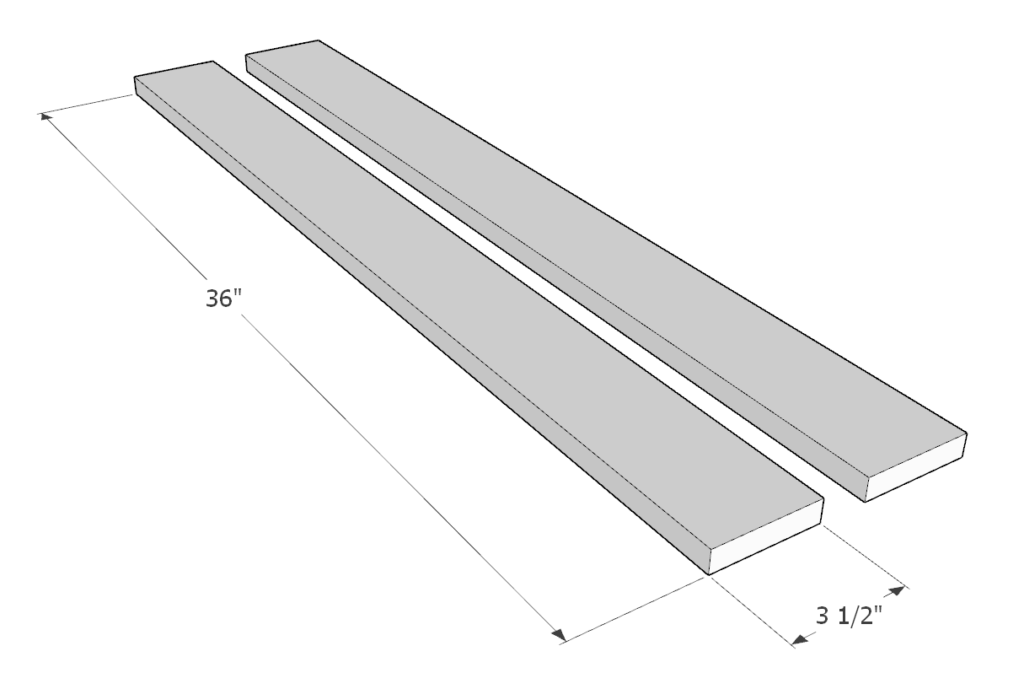

Step 2 (Montessori shelf)
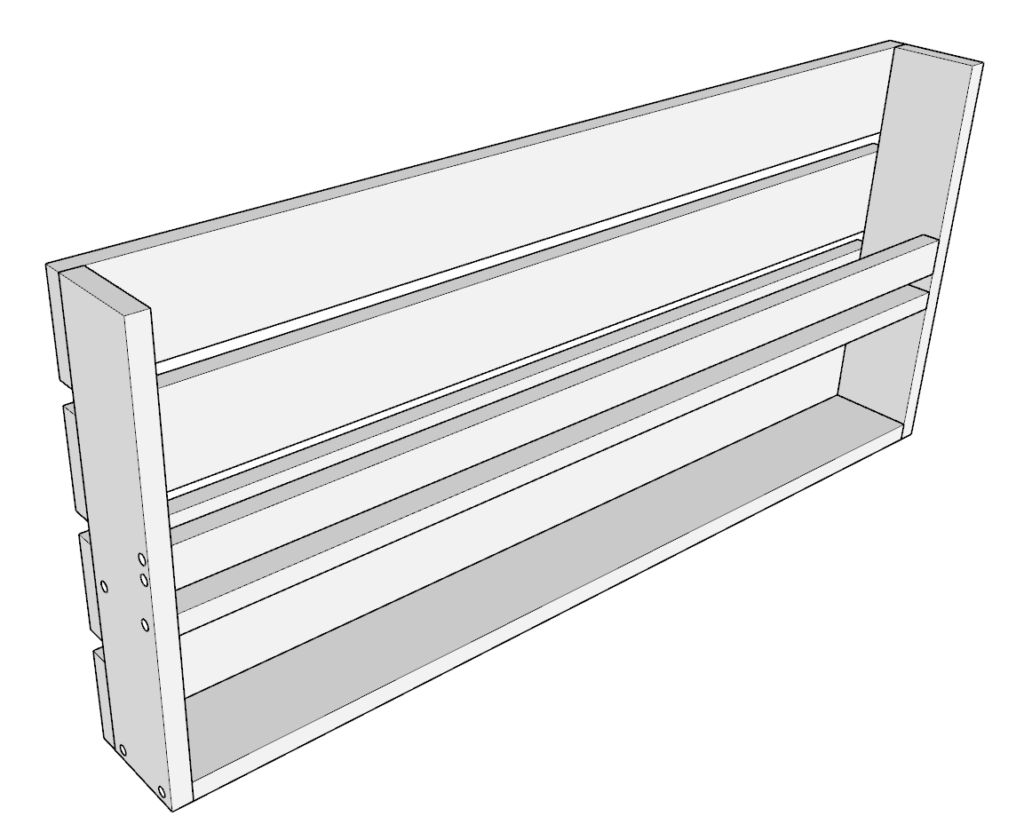
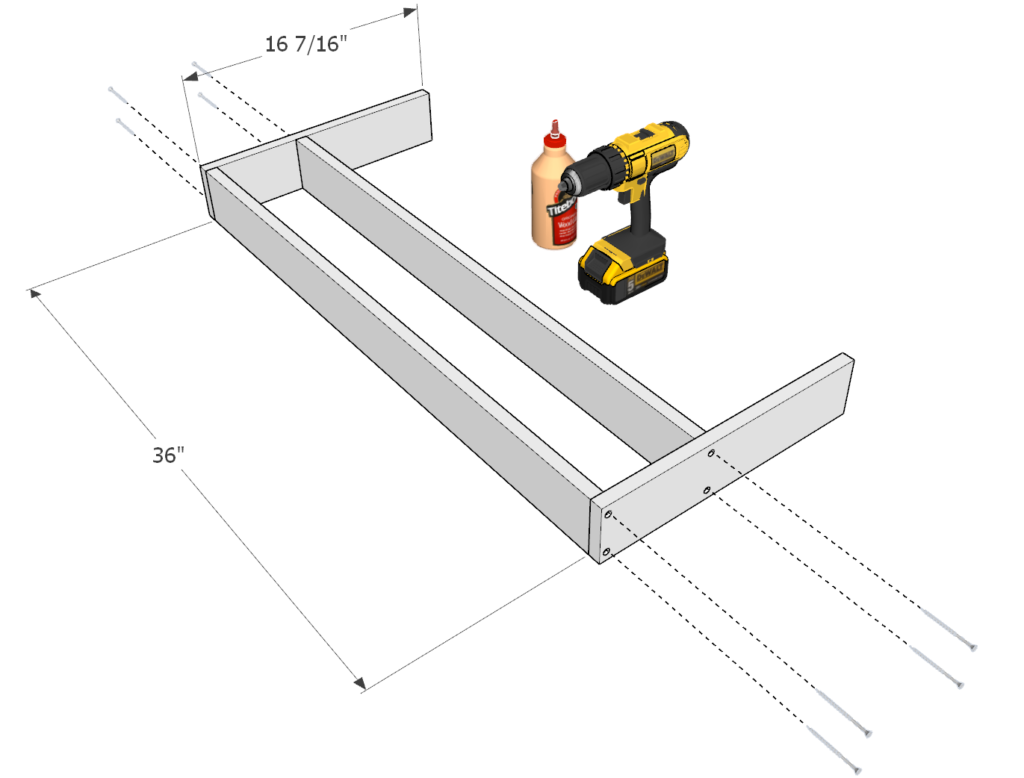
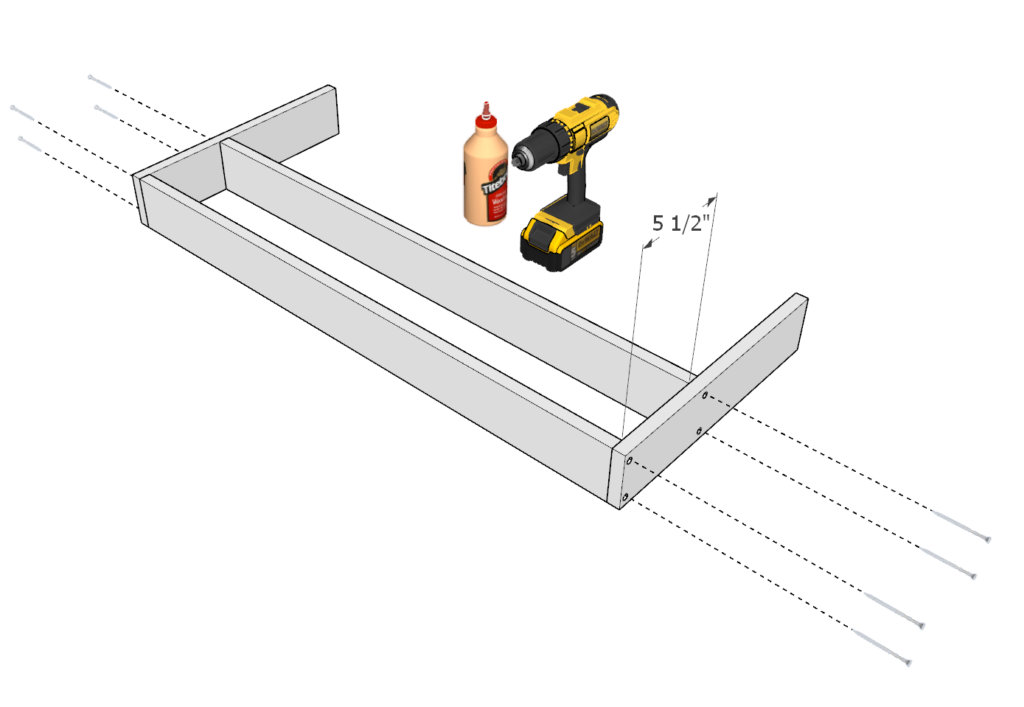
Next assemble the frame of the shelf using two of the 16 7/16 in 1×4 lumber pieces and two of the 36 in 1×4 lumber piece as shown in the diagram below.
Space them out 5.5 inches appart.
Apply glue to all the areas that will be joined together. Predrill holes for the screws and add the 1.5 inch screws.
predrilling is important to prevent the wood from splitting and to create an overall stronger joint.
Step 3 (Montessori shelf)
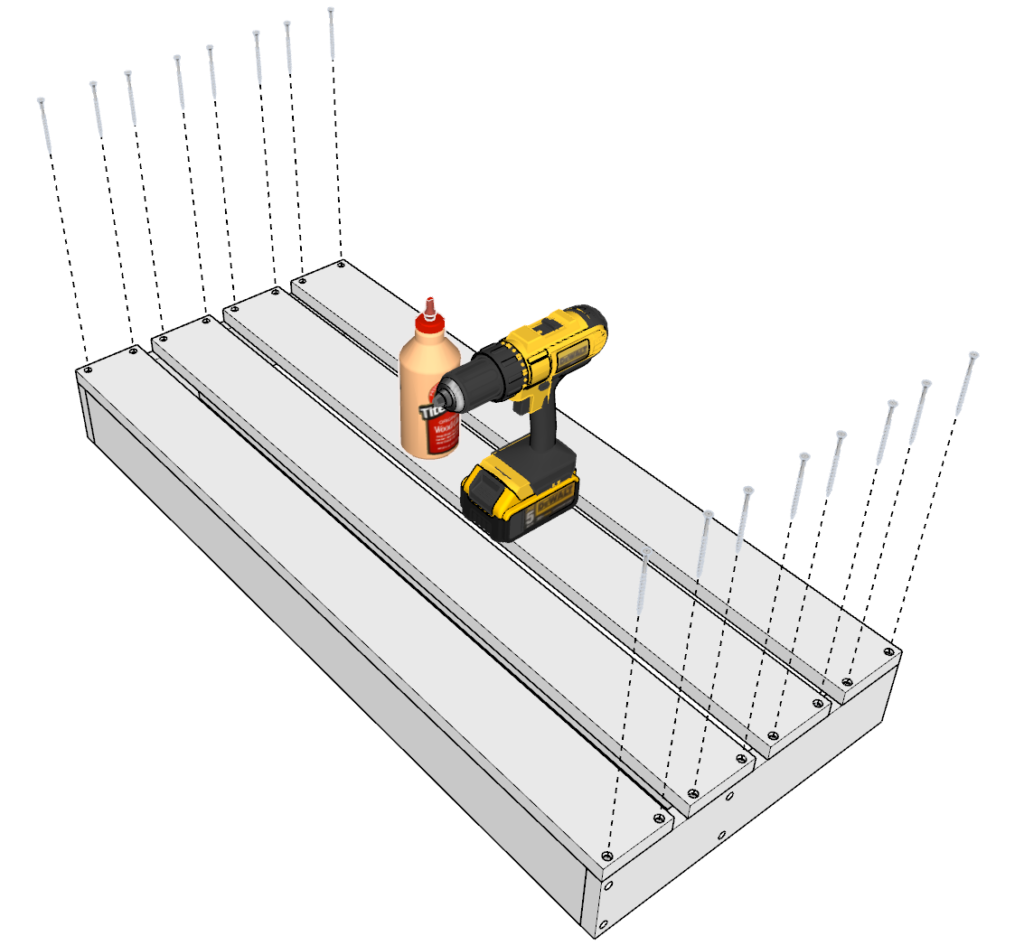
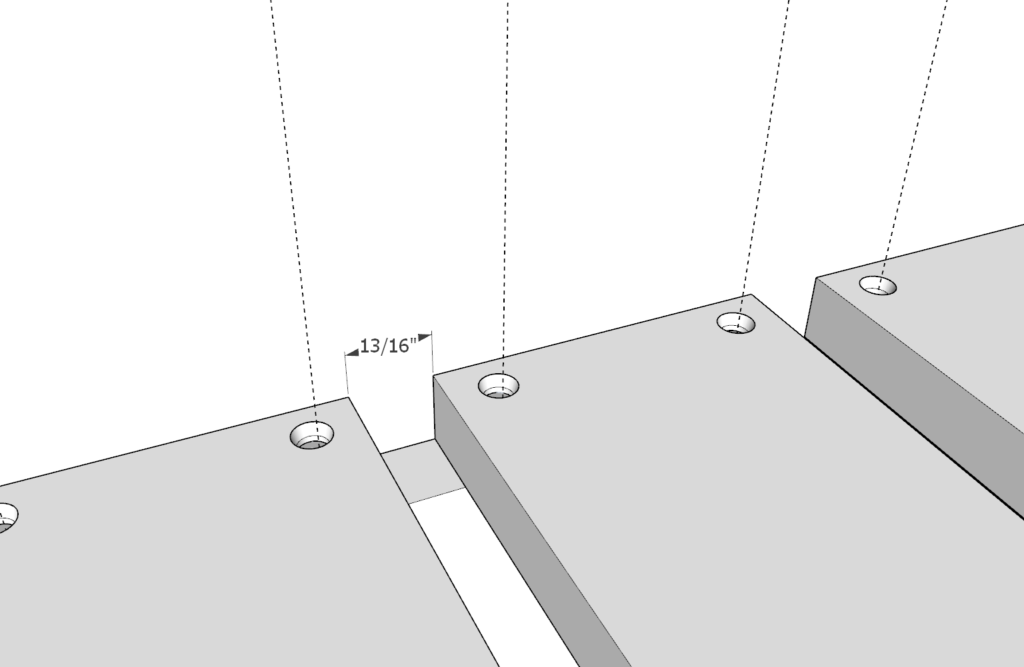
Next, add four of the 37.5 inch 1×4 lumber pieces and add them to the frame of the shelf.
Predrill, add glue, and add screws as shown.
Step 4 (Montessori shelf)
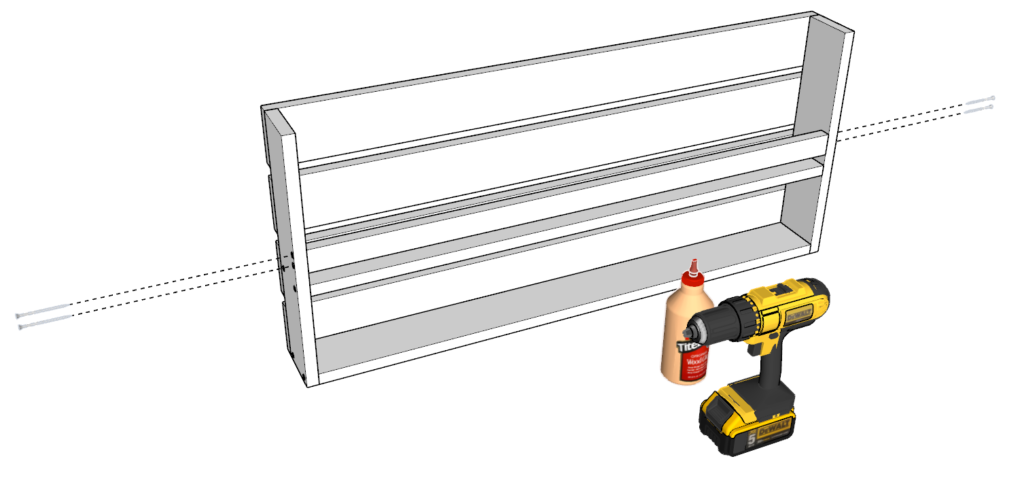
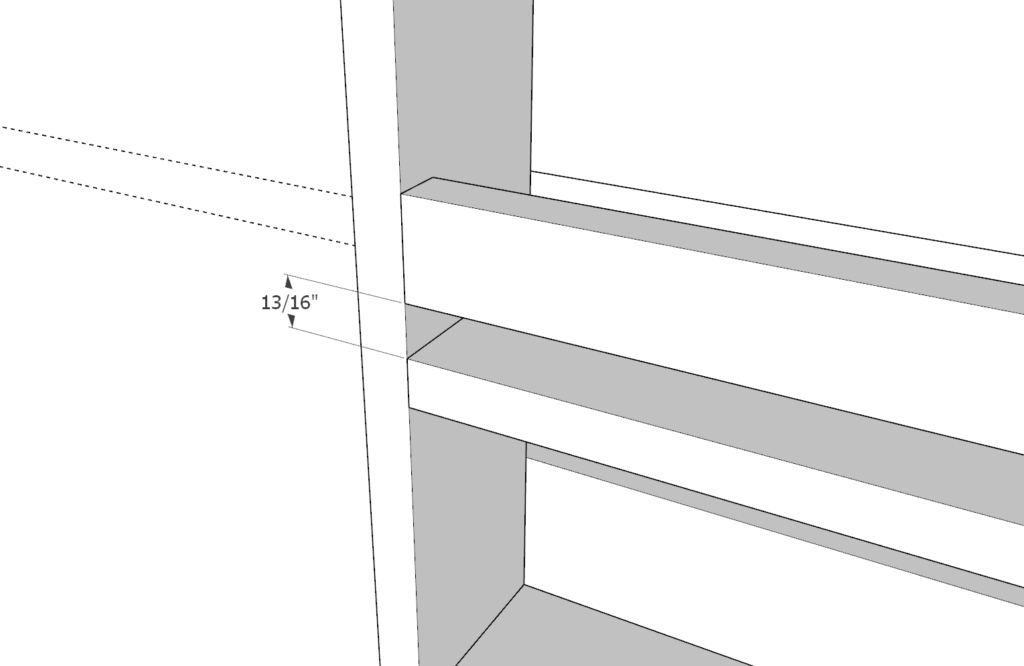
Next, add the 36 inch 1×2 lumber pieces as a book brace.
Space it about 13/16 inches away from the book shelf board as shown below.
Predrill, add glue, and add screws as shown.
Step 5 (Montessori shelf)
The final step is to sand down the shelf.
I start sanding with a rough grit sandpaper. Usually about 80-grit. Then, for the final touch I use a fine grit. Usually, a 220-grit.
It is important to round the corners to prevent injury in case your child bumps their head into an edge.
Attach the shelf to the wall to prevent injury.
